
The SS5 CrossLink Lightbar Kit for Prinsu and Sherpa roof racks adds a high-power LED lightbar to your roof rack wind deflector. Available in 6-pod and 7-pod configurations, this kit transforms your rack into a serious lighting platform. Here's the full walkthrough.
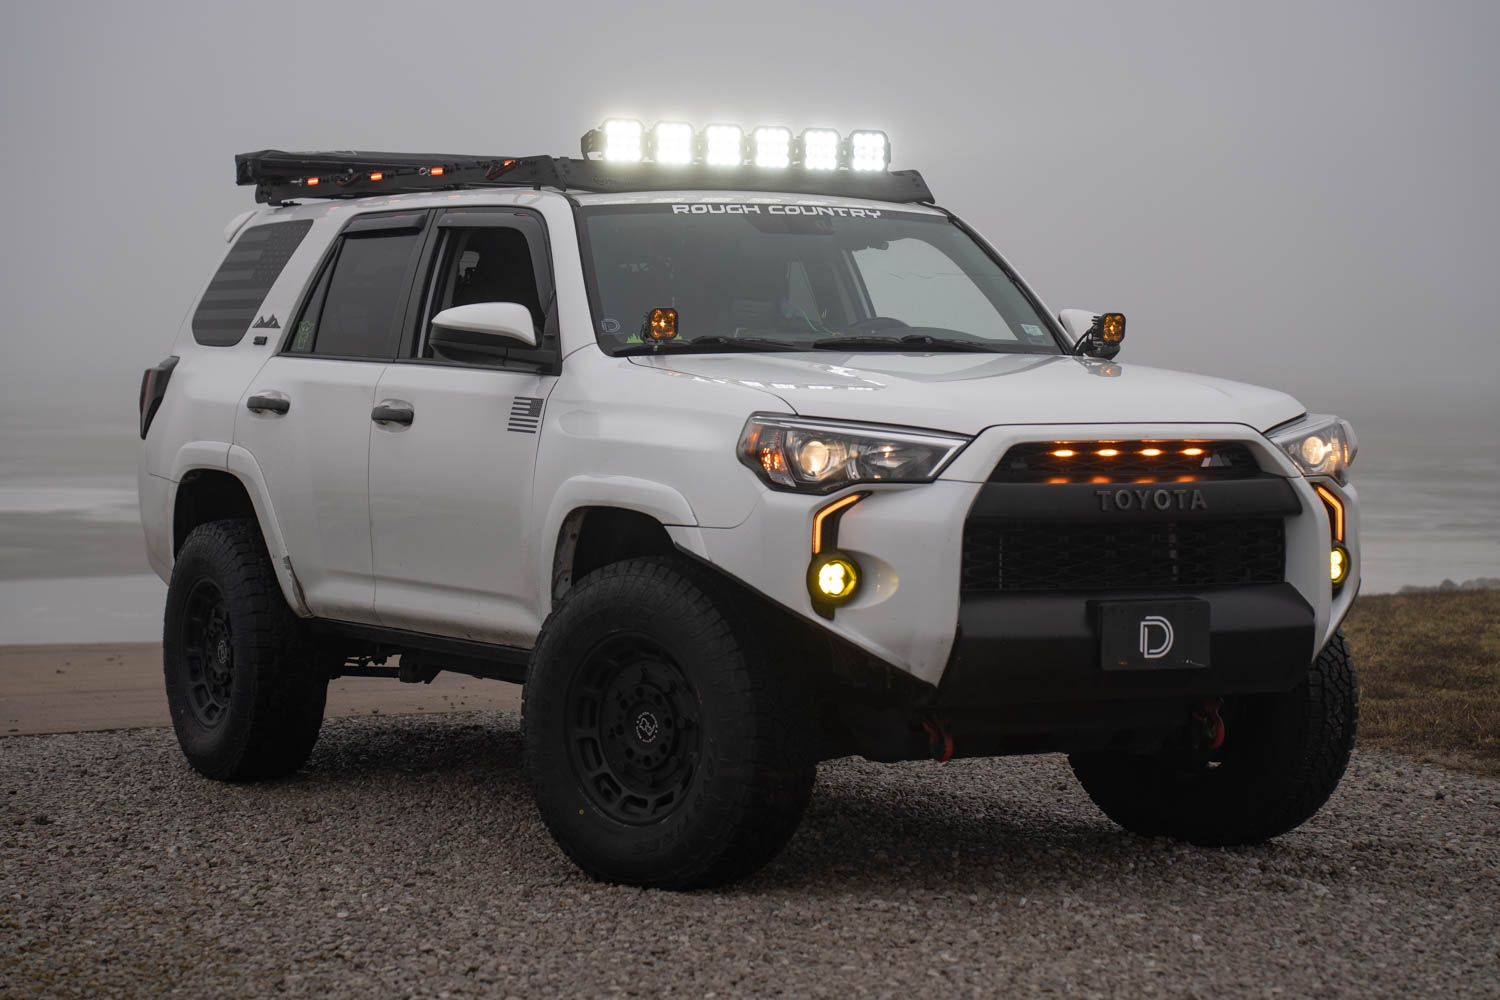
Table of Contents
- Installation Video
- Tools Required
- Mounting Instructions
- Wiring Instructions
- Questions About the Install?
- Shop CrossLink Lightbars at Ess K Customs
Installation Video
Tools Required
- T30 Torx (Prinsu)
- 10mm socket
- 13mm socket
- 13mm wrench
- 5/32" Allen key / T-handle
- Tape measure
Mounting Instructions
Step 1 — Prep the Wind Deflector
Remove the four T30 Torx bolts (two on each side) securing the wind deflector. Slide two double T-nuts onto the top-facing channel of the wind deflector. Loosely install the crosslink lightbar brackets onto the double T-nuts with the flanged screws hand-tight. Reinstall the wind deflector using the four T30 bolts.
Step 2 — Assemble the CrossLink Lightbar
Assemble the CrossLink lightbar per the included instructions. For 6-pod configurations, install the support link mount on the center crosslink support. For 7-pod configurations, secure two support link mounts on the second and fifth crosslink supports.
Step 3 — Mount the Lightbar
With a helper, loosely install the SS5 CrossLink lightbar to the brackets. Once centered, secure the lightbar starting with the 5/32" Allen flange bolts — apply upward pressure on the CrossLink bracket so it sits against the wind deflector panel, then tighten. Slide the single T-nut into the top forward channel of the first support crossbar, attach the support bracket, and secure everything down tight once aimed.
Wiring Instructions
Step 4 — Connect and Route Wiring
Plug the included CrossLink DT harness into each SS5 LED pod. Secure the positive and negative leads to the battery terminals. Route the toggle switch through the firewall into the cab and mount in your preferred location. Stick the included three wire routing tabs along the edge of the windshield (top, middle, and bottom). Route the DT lead up the windshield and under the wind deflector, then plug the DT harness into the CrossLink harness.
Step 5 — Test
Test for functionality. If everything is working, complete the installation with the included zip ties. The install is complete.
Questions About the Install?
If you run into any issues during the installation, contact Ess K Customs — as an authorized Diode Dynamics dealer, we're here to help.
Shop CrossLink Lightbars at Ess K Customs
Ready to add a CrossLink lightbar to your roof rack? As an authorized Diode Dynamics dealer, Ess K Customs carries genuine SS5 CrossLink kits with full manufacturer warranty.
Browse SS5 CrossLink Lightbars at Ess K Customs →
This install guide applies to Diode Dynamics SKUs: DD7894P, DD7816, DD7817, DD7818, DD7819, DD7820, DD7821, DD7822, DD7823, DD7824, DD7825, DD7826, DD7827, DD7828, DD7829, DD7830, DD7831