
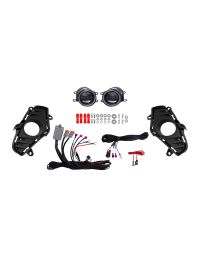
The 2019-2025 Toyota RAV4 Add-On Fog Light Kit brings powerful auxiliary fog lighting to your RAV4 for better visibility in poor weather and low-light conditions. If you've picked up this kit, here's everything you need to get it installed and working.
Follow the step-by-step instructions below, or watch the full install video first.

Table of Contents
- Installation Video
- Tools Required
- Installation Instructions
- Questions About the Install?
- Shop RAV4 Fog Light Kits at Ess K Customs
Installation Video
Tools Required
- 10mm socket
- Plastic trim removal tool
Installation Instructions
Step 1 — Open the hood and use a 10mm socket to remove the fasteners securing the top edge of the front bumper cover.
Step 2 — From underneath the vehicle, remove the fasteners securing the lower edge of the bumper cover.
Step 3 — Remove the fasteners and clips securing the front wheel liners. Repeat on both sides.
Step 4 — Carefully pull outward on the bumper cover to release it from the fender flares. Remove the retaining clip on each side.
Step 5 — Reach behind the driver-side wheel liner and disconnect any electrical connectors attached to the bumper cover.
Step 6 — With all fasteners and connectors removed, pull the bumper cover straight forward and set it aside on a protected surface.
Step 7 — Using a trim tool, release the wiring harness clips attached to the back of the factory fog light bezels.
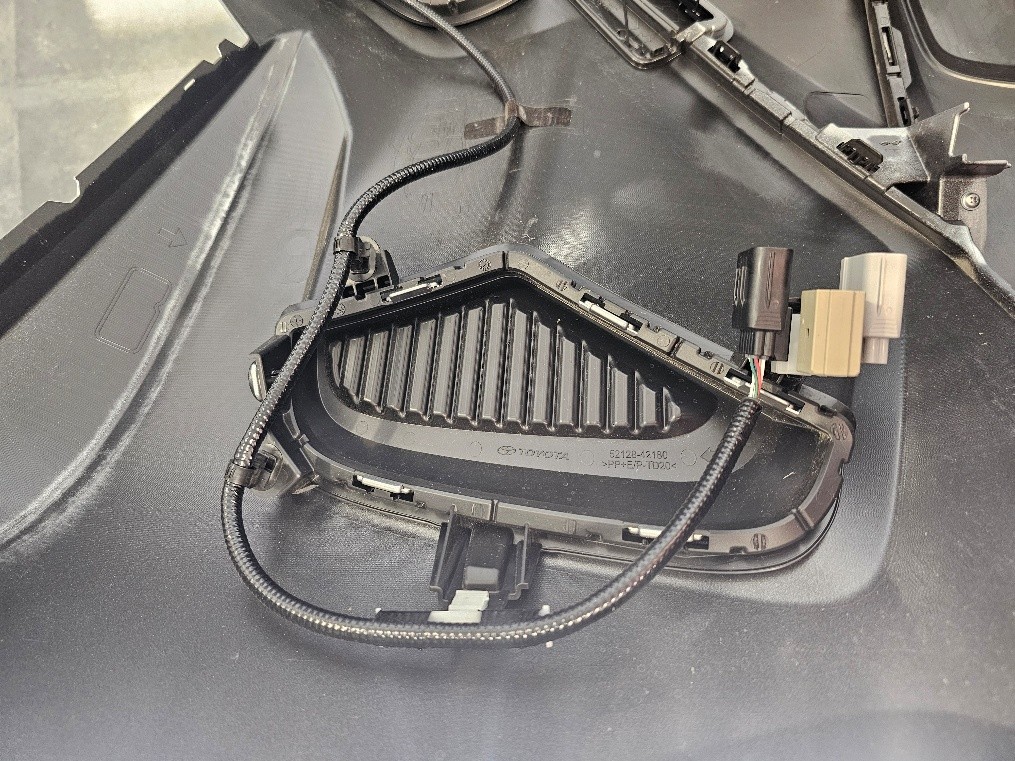
Step 8 — Release the retaining tabs and remove the factory fog light bezels from the bumper cover.
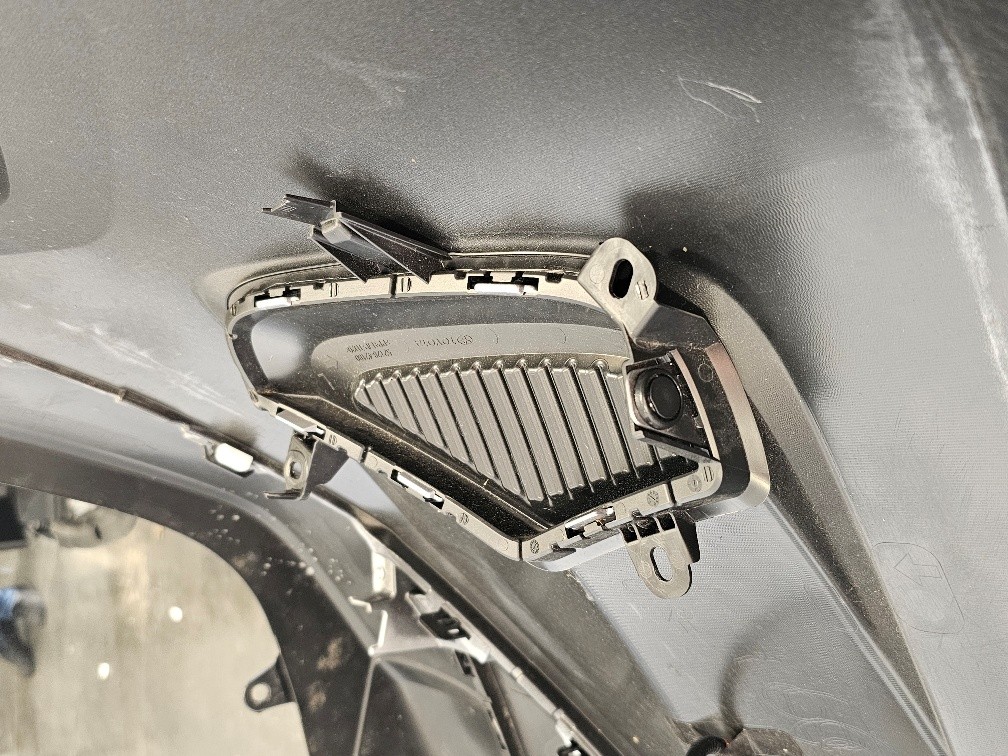
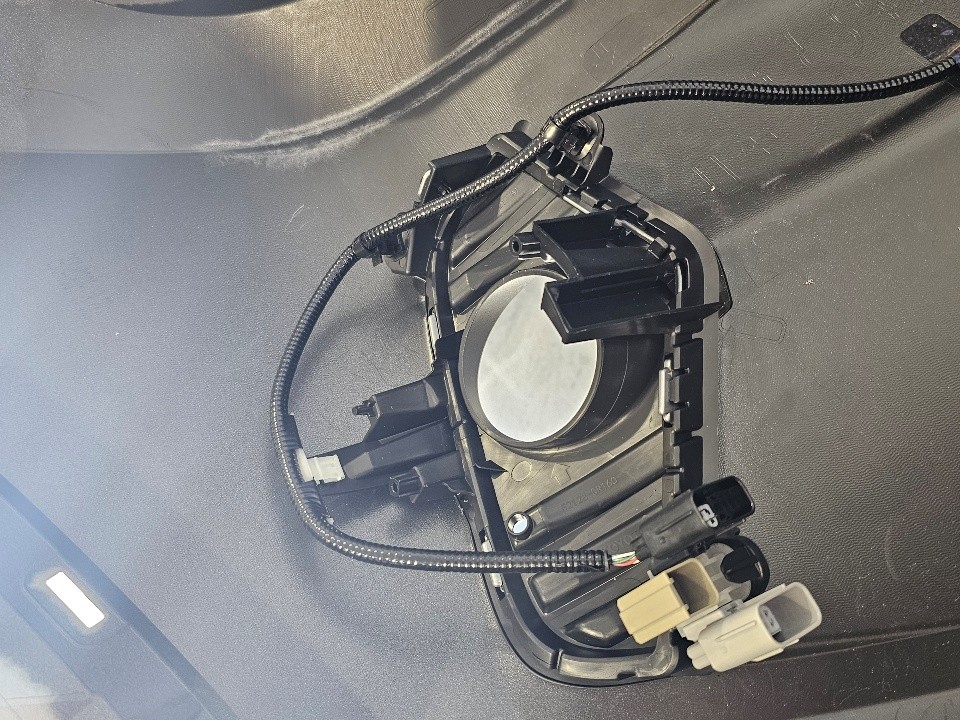
Step 9 — Install the provided fog light bezels into the bumper and secure them using the factory clips. Repeat on the opposite side.
Step 10 — Mount the fog light pods into the bezels using the included hardware, following the washer orientation shown below.
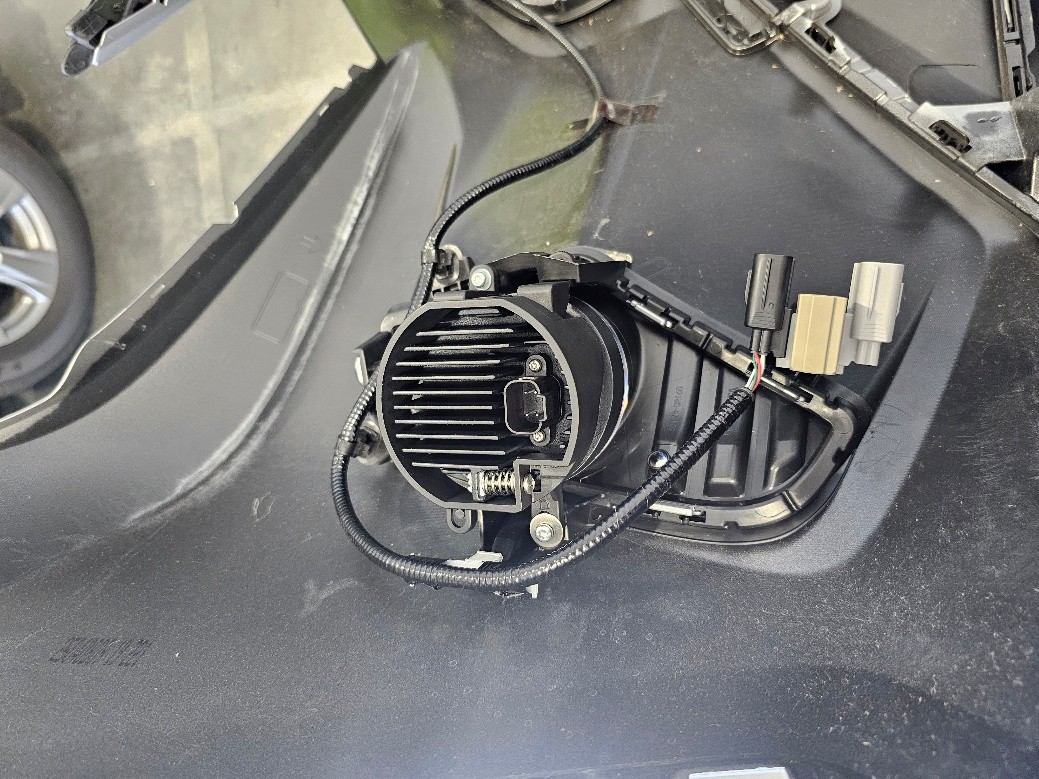
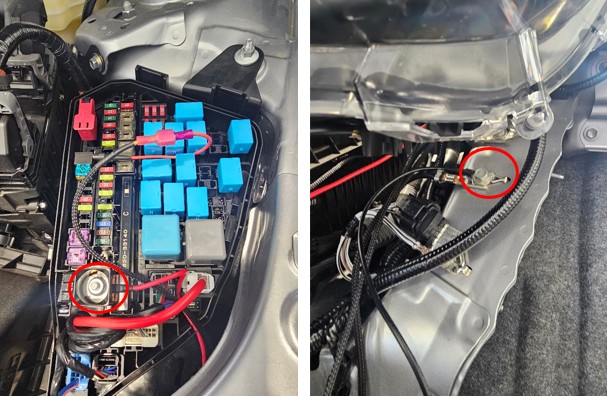
Step 11 — Connect the wiring harness according to your vehicle configuration. Attach power and ground connections in the engine bay, and connect the fog light outputs to each pod.
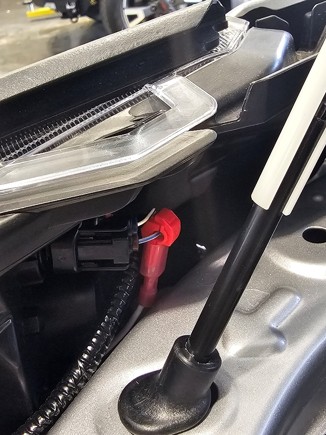
Step 12 (Optional) — To use the included backlight feature, use the supplied T-taps to connect the backlight wire to the driver-side sidemarker wiring. Connect activation and deactivation wires as shown below.
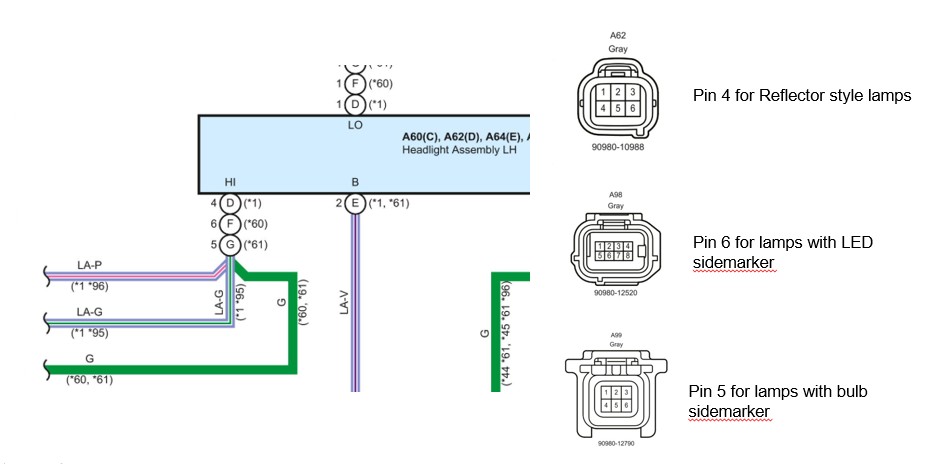
Deactivation Wire: Use a T-Tap to connect the deactivation wire to the driver's side headlamp connector. Refer to the chart below to find which wire to tap, depending on your connector type.
Activation Wire: Tap the activation wire into the passenger side sidemarker connector.
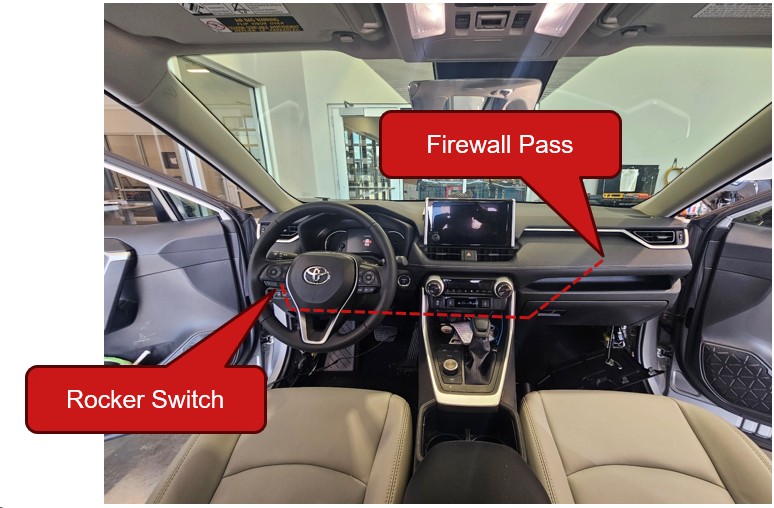
Step 13 — Route the switch wiring through the firewall grommet and into the cabin. Mount the switch in an available factory switch blank and secure the ground connection.
Step 14 — Reinstall the front bumper cover, reconnect all electrical connectors, and test the fog lights for proper operation.
Step 15 — Aim the fog lights as needed, then reinstall all remaining fasteners and clips in reverse order of removal. The install is complete.
Questions About the Install?
If you run into any issues during the installation, contact Ess K Customs — as an authorized Diode Dynamics dealer, we're here to help.
Shop RAV4 Fog Light Kits at Ess K Customs
Ready to upgrade your RAV4's fog lighting? As an authorized Diode Dynamics dealer, Ess K Customs carries genuine products with full manufacturer warranty.
Shop SS3 Toyota RAV4 Fog Light Kit →
This install guide applies to Diode Dynamics SKUs: DD8819, DD8820, DD8821, DD8822, DD8823, DD8824, DD8817, DD8818