
The SS3 LED Headlight Kit for 2014-2023 Polaris RZR XP replaces the factory headlights with four SS3 LED pods for a more aggressive appearance and a massive increase in light output. This bolt-on, plug-and-play kit offers combo and driving beam patterns for optimal nighttime visibility, plus amber backlights for DRL accent lighting. 100% engineered and assembled in the USA. Here's the full walkthrough.
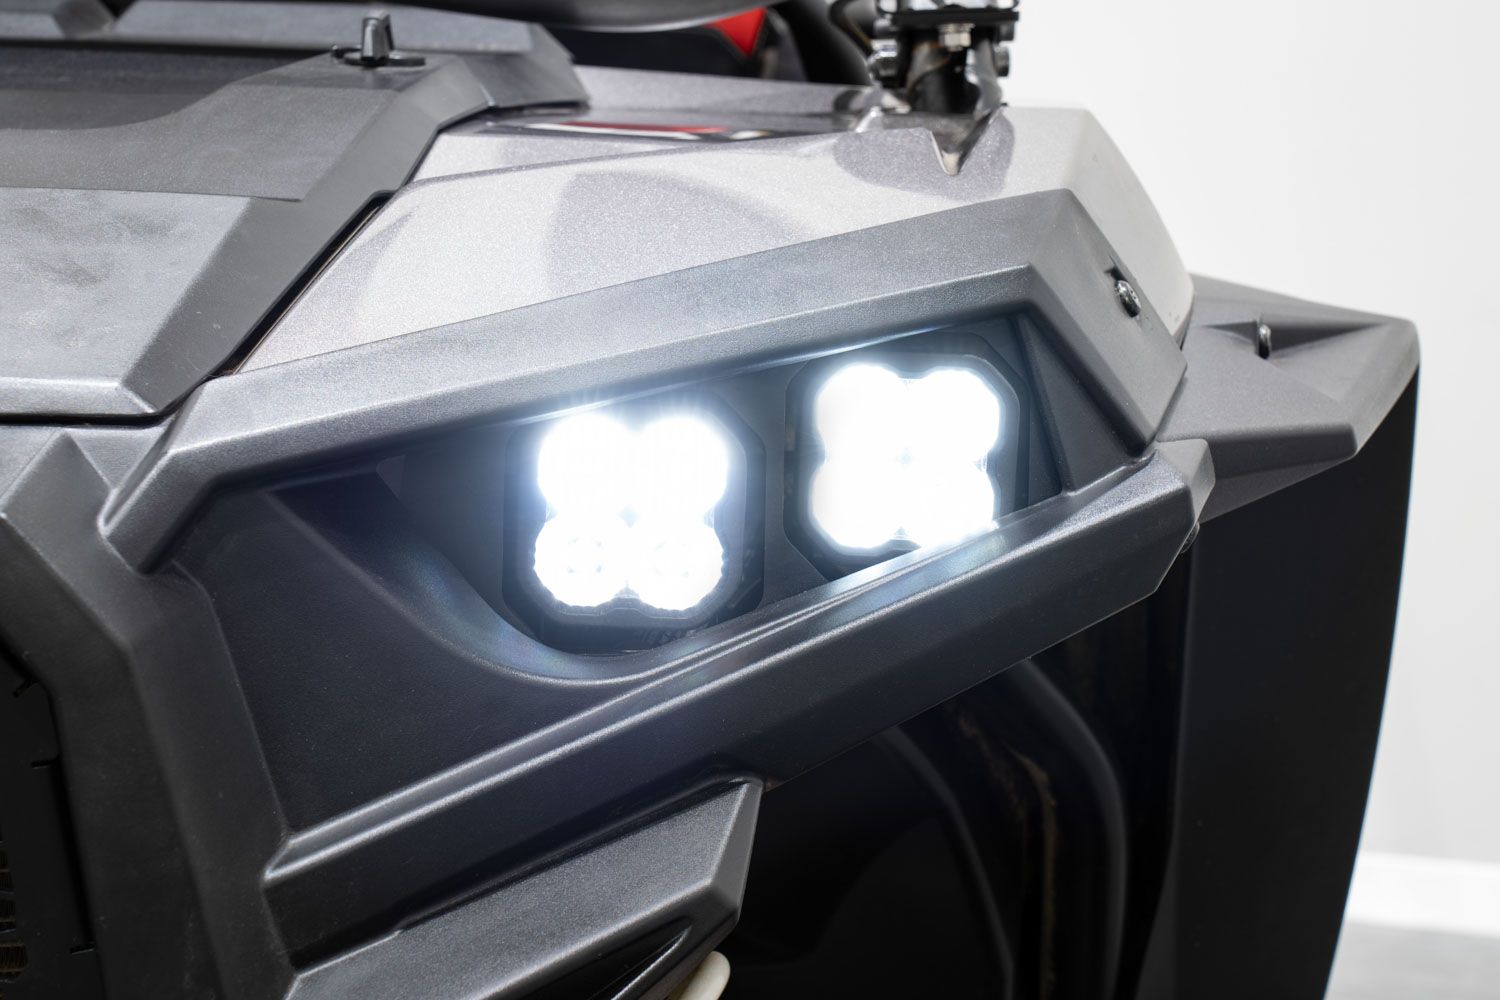
Table of Contents
- Installation Video
- Tools Required
- Mounting Instructions
- Wiring Instructions
- Questions About the Install?
- Shop RZR Lighting at Ess K Customs
Installation Video
Tools Required
- Ratchet
- 10mm socket
- 13mm wrench
- T40 Torx ratchet
- T20 Torx ratchet
- 5/32" Allen key
- Zip ties
Mounting Instructions
Step 1 — Remove the Upper Hood Panel
Twist the two latches on the upper hood panel, then lift it up and toward the front of the vehicle. Set it aside.
Step 2 — Remove the Front Bumper
Remove two T40 Torx bolts from the top, three T40 bolts from each side (driver and passenger), and two T40 bolts from the lower front fender. Disconnect the factory headlight connectors on both sides by pinching the release tab and pulling back. Pull down on the grille tabs to remove the grille. Disconnect the factory DRL connectors on both sides. Pull the front bumper up and off the vehicle.
Step 3 — Swap the Headlight Brackets
Remove three T20 Torx bolts from each factory headlight housing to remove it from the bumper. Remove the factory springs (they won't be reused). Align the included headlight bracket in place and secure with the three T20 Torx bolts you just removed. Repeat on both sides.
Step 4 — Mount the SS3 Pods
Assemble your SS3 LED pods per the included assembly guide. Secure the SS3 combo pod on the inner portion of the headlight bracket and the SS3 driving pod on the outside. Drop the carriage bolt through the u-bracket and headlight bracket, add the washer and lock washer, and fasten with a 13mm wrench. Aim as desired and secure with the 5/32" Allen bolts on each side. Repeat on the other side.
Wiring Instructions
Step 5 — Install the Headlight Harness
Locate the factory bus bar and attach the ring terminal for the backlight feature using a 10mm socket. Route the longer lead to the driver's headlight and the short lead to the passenger headlight.
Step 6 — Modify the Factory Connector
Remove the retainer on the factory headlamp connector by prying the clip over the lock. Pull out the rubber cavity plug with needle-nose pliers (it won't be reused). Insert the blue backlight wire lead into the empty cavity with the clip face up until it locks into place. Reinstall the factory retainer.
Step 7 — Connect and Reinstall
Plug the included headlight harness into the factory headlight connector (both are labeled for driver and passenger sides). Reinstall the front bumper with the SS3 headlight kit and secure with T40 Torx bolts. Plug the DT connectors into each pod — the outer SS3 driving pod is labeled "low beam" and the inner SS3 combo pod is labeled "high beam."
Step 8 — Swap the Fuse and Test
Locate the fuse box inside the vehicle and remove the cover. Find the 7.5A lights fuse, remove it, and install the provided 15A fuse in its place. Test for proper operation, zip tie any loose wiring away from hot or moving parts, make final aiming adjustments, and reassemble any remaining panels. The install is complete.
Questions About the Install?
If you run into any issues during the installation, contact Ess K Customs — as an authorized Diode Dynamics dealer, we're here to help.
Shop RZR Lighting at Ess K Customs
Looking for lighting upgrades for your Polaris RZR XP? As an authorized Diode Dynamics dealer, Ess K Customs carries genuine products with full manufacturer warranty.
Browse RZR Headlight Kits at Ess K Customs →
This install guide applies to Diode Dynamics SKUs: DD7842P, DD7843, DD7844