
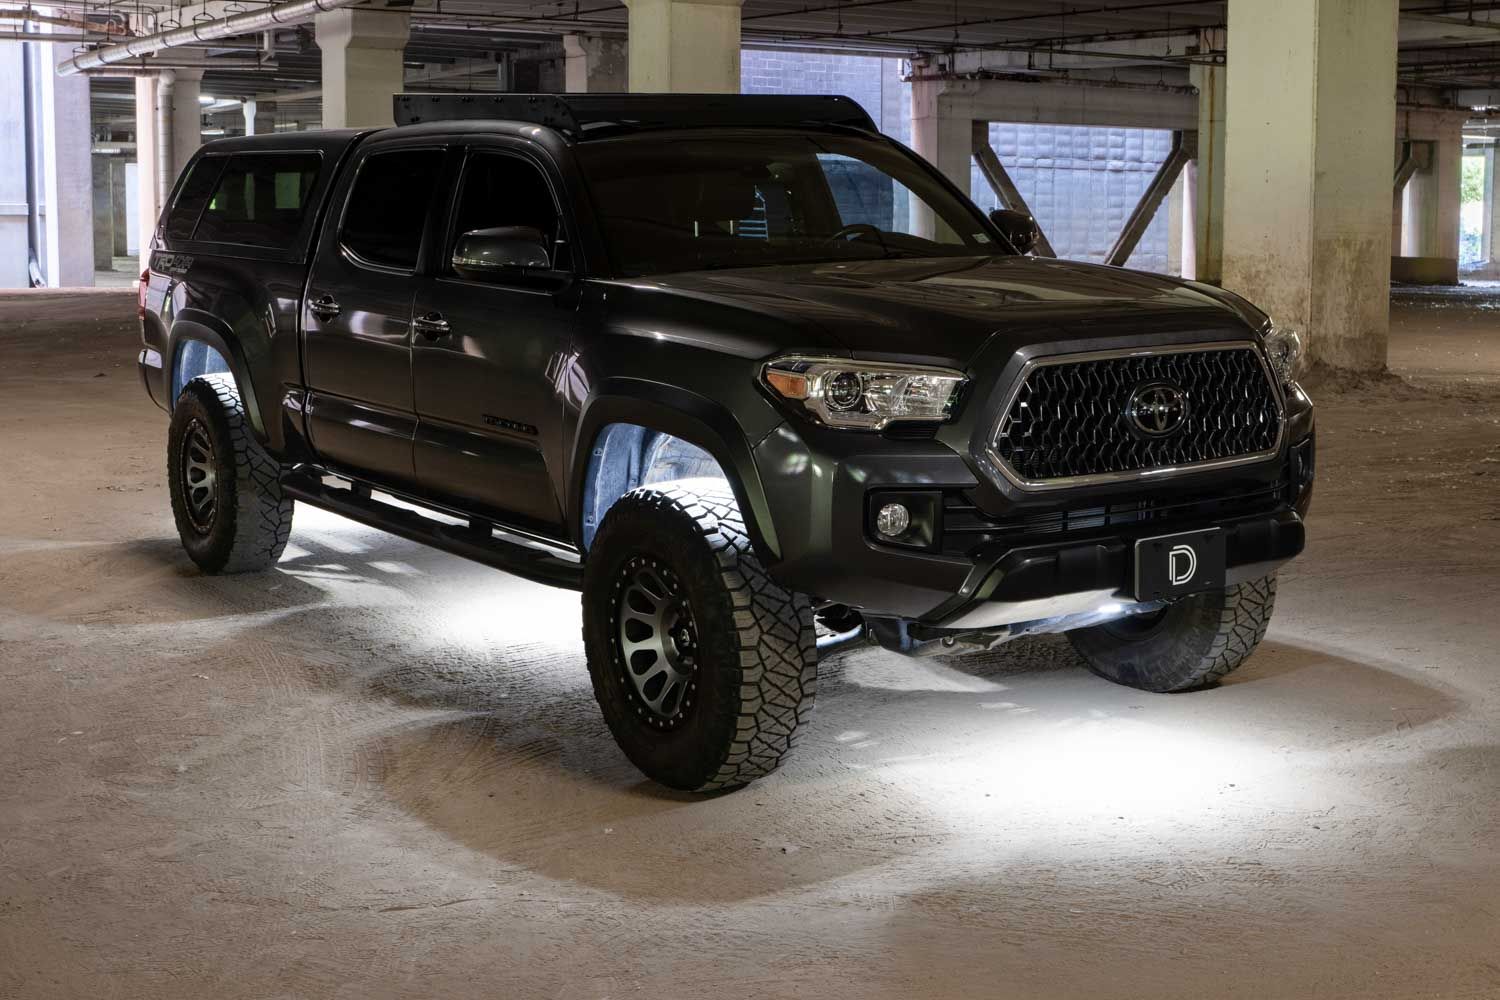
Stage Series Rock Lights are the perfect way to add functional underglow to your truck. This guide covers how to mount and wire the Stage Series 8-Pack Rock Light Kit on the 2016-2023 Toyota Tacoma, with multiple mounting options including magnet, drill, and zip tie methods.
NOTE: This product should not be used on a 24V system. Disconnect the negative battery terminal before starting.
Table of Contents
- Installation Video
- Tools Required
- Mounting Instructions (Front)
- Wiring Instructions
- Questions About the Install?
- Shop Tacoma Rock Lights at Ess K Customs
Installation Video
Tools Required
- Drill with 1/4" drill bit
- 5/32" Allen wrench
- 8mm wrench
- Ratchet with 10mm socket
- Flathead screwdriver
- Steel fish tape
- Plastic trim removal tools
- Zip ties (included)
Mounting Instructions (Front)
Step 1 — Identify the mounting location under the front bumper where you want to place each Rock Light.
Step 2 — Magnet Mount (Non-Invasive)
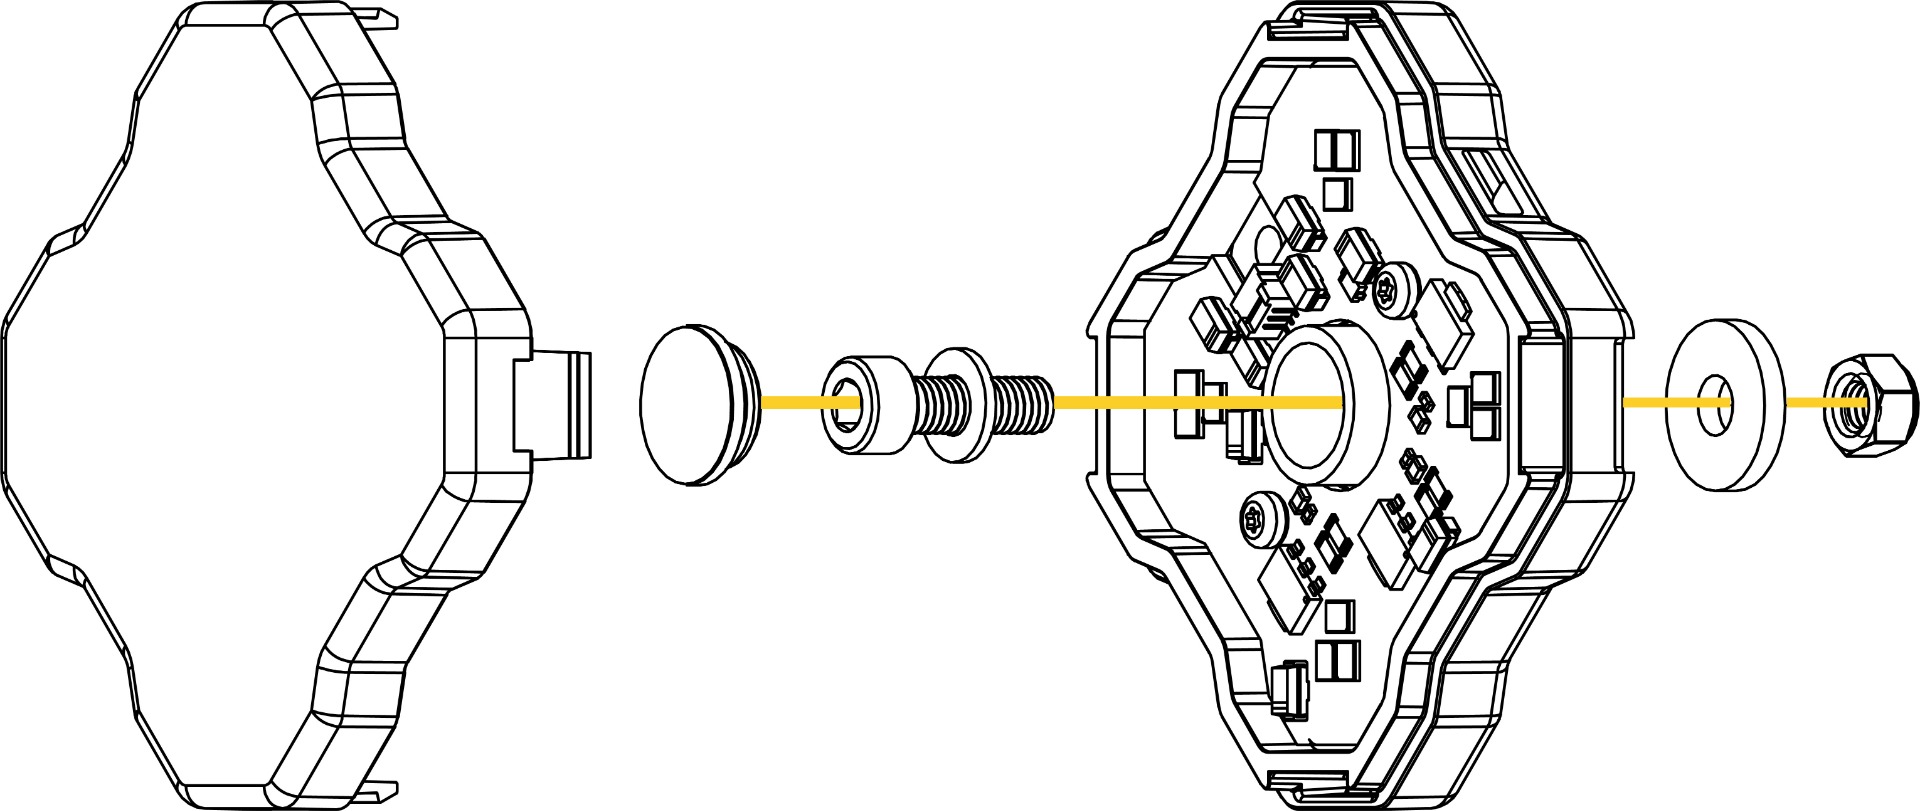
Use the included nut, bolt, and washers to mount the light. Place the attached magnet mount on the front skid plate.
Step 3 — Drill Mount
Drill a hole using the center mounting option to align with the factory mounting hole.
Step 4 — Remove the outer lens from the Rock Light, then remove the center rubber dust seal.
Step 5 — Use the included nut, bolt, and washers to mount the light through the drilled hole.
Step 6 — Use a 5/32" Allen and 8mm wrench to secure the Rock Light to the mounting hole.
Step 7 — Zip Tie Mount (Optional)
Use zip ties to mount the Rock Light to any available attachment point using the integrated tabs on each side of the light.
Step 8 — Reinstall the rubber dust seal and clip the lens back into position.
Wiring Instructions
Step 1 — Connect an M8 Splitter to the rear hitch Rock Light.
Step 2 — Connect the M8 Splitter to the middle Rock Light. Attach the 3M Extension to the splitter and route it to the rear hitch Rock Light. Secure excess wire with zip ties.
Step 3 — Connect a 1M M8 Extension Wire to the M8 splitter and route the wiring behind the fender liner. Reinstall plastic clips to secure the wire.
Step 4 — Connect the 5M Extension Wire to the middle left Rock Light and route it into the engine bay. Remove plastic clips with a trim tool and secure the wire alongside factory lines.
Step 5 — Connect the 5M Extension Wire to the rear Rock Light and route it to the center Rock Light with an M8 splitter attached. Secure all wiring with zip ties away from hot or moving parts.
Step 6 — Connect the positive and negative leads to the battery. Secure all connections and test the Rock Lights for functionality. The install is complete.
Questions About the Install?
If you run into any issues during the installation, contact Ess K Customs — as an authorized Diode Dynamics dealer, we're here to help.
Shop Tacoma Rock Lights at Ess K Customs
Looking for rock lights for your Tacoma? As an authorized Diode Dynamics dealer, Ess K Customs carries genuine products with full manufacturer warranty.
Browse Tacoma Rock Lights at Ess K Customs →
This install guide applies to Diode Dynamics SKUs: DD7742, DD7743