
The Elite Series LED Add-on Fog Light Kit for the 2022-2024 Ford Maverick mounts two SAE-compliant LED fog lamps in the factory bumper with a custom-designed bezel that maintains an OEM appearance. Since the Maverick doesn't come with factory fog lights, this kit fills the gap with dedicated low-mounted fog lighting for improved visibility in rain, fog, dust, and snow. Here's the full walkthrough.
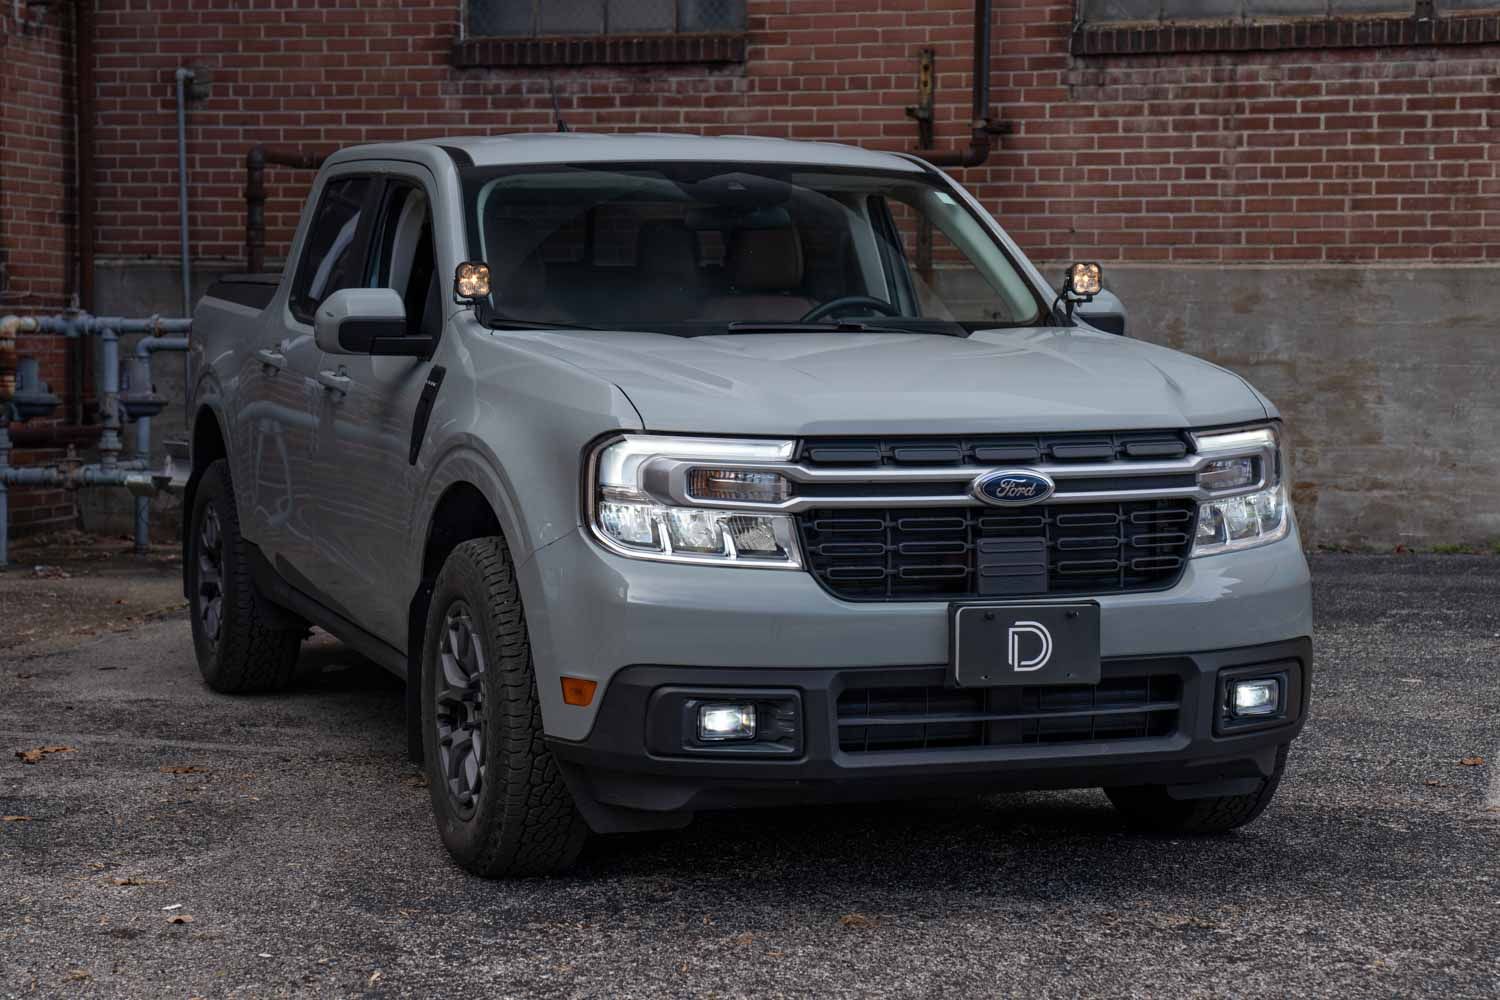
Table of Contents
- Installation Video
- Tools Required
- Mounting Instructions
- Wiring Instructions
- Aiming Instructions
- Questions About the Install?
- Shop Maverick Lighting at Ess K Customs
Note: This add-on fog light kit may not be compatible with certain flat tow plates or baseplate-style towing brackets. If your Maverick is equipped for flat towing behind an RV, verify clearance before installation.
Installation Video
Tools Required
- 7mm, 8mm, 10mm, 13mm sockets
- 13mm wrench
- 3/8" drill bit
- T20, T30 Torx bits
- Pry/trim tool
- Silver Sharpie
- Dremel or similar cutting device
- Razor blade
- #2 screwdriver (at least 8" long)
- Masking tape
Mounting Instructions
Step 1 — Remove the Front Bumper
Open the hood and remove the four 10mm bolts and two push clips from the front of the engine bay. Remove five pop clips from each front fender. Use a 7mm socket to remove three bolts and one pop clip from each splash guard. Remove eight T30 Torx bolts from under the middle of the bumper. Remove three 10mm bolts from behind each fender liner in the wheel well. Disconnect the factory connector behind the passenger-side fender liner by depressing the clip. Pull the trim molding away from the headlight assembly on both sides. Depress the two clips on either side of the radiator shroud and pull the bumper away from the vehicle.
Step 2 — Relocate the Speaker (Hybrid Models Only)
If you do not have a Hybrid model, skip this step. Remove the one 8mm bolt holding the speaker assembly, disconnect the harness, and remove the speaker. Use a T20 Torx to remove the three bolts from the speaker bracket. Install the included relocation bracket to the speaker with the lip facing away. Reconnect the harness and secure the speaker to the new location with the included 13mm hardware.
Step 3 — Modify the Bumper
Lay the bumper face down on a soft surface. Set the support ring on the back of the bumper and trace the outline along the inside edge. Cut along the outside edge of your trace with a Dremel and deburr with a razor blade. Tape down the included cutting template aligned to the correct side and drill a 3/8" hole where indicated for aiming adjustment access.
Step 4 — Assemble and Mount the Fog Lights
Insert the snap-in nut into the fog housing, then place the corresponding fog lamp into the housing (both are labeled). Insert the adjustment spring and thread the adjustment screw through the centering cone into the snap-in nut. Place the support ring on the back of the bumper, hold the fog bezel against the front of the opening, align all four mounting holes, and secure with the included hardware. Do not overtighten.
Wiring Instructions
Step 5 — Route the Main Harness
Route the fog light harness relay down behind the driver-side headlight and crash bar, and mount it to the support bar in front of the wheel. Route both DT leads and the blue backlight tap wire down to the relay. Route the long DT lead and backlight tap wire along the top of the lower active shutters to the passenger side.
Step 6 — Tap the Backlight Wire
Locate the 12-pin Molex connector on the passenger side. Tap pin 10 (brown wire with yellow stripe) using the included T-tap and connect the blue backlight activation wire.
Step 7 — Connect the Switch Harness
Unplug the passenger-side headlight connector and tap pin 3 (blue wire with green stripe) using the included T-tap. Connect the white main beam activation wire. Route the toggle switch down through the firewall grommet into the cab and mount wherever you prefer. Ground the black wire to a suitable location.
Step 8 — Connect Battery and Final Wiring
Connect the white spade connectors from the switch harness to the main fog harness. Bundle the orange deactivation lead and tuck it away (not used in this installation). Connect the positive lead to the battery positive terminal and the negative lead to a chassis ground behind the driver-side headlight. Zip-tie all loose wiring away from hot or moving parts.
Step 9 — Test and Reinstall
Bring the bumper to the truck and set it on a soft surface. Plug the DT connectors into the fog lights. Hang the bumper using the top push tabs and plug in the 12-pin connector on the passenger side. Test for functionality — backlights should come on with parking lights, and the main beam should activate with low beams and the toggle switch on. Reinstall the bumper by reversing the removal steps.
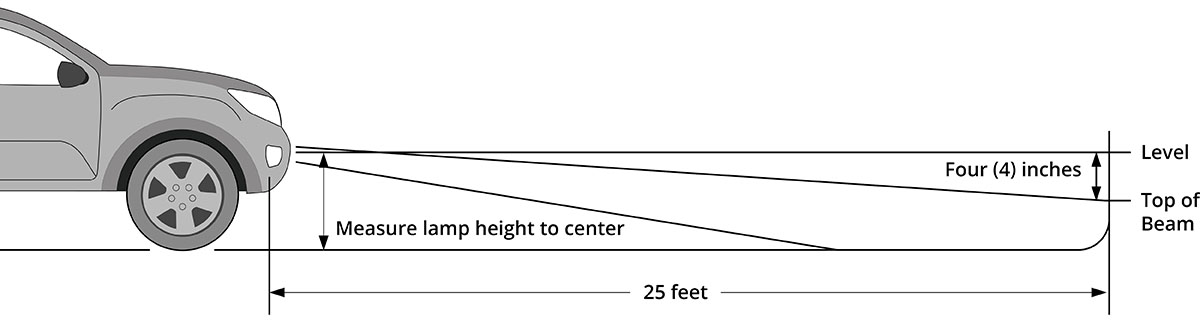
Aiming Instructions
Step 1. Park your vehicle 25 feet from a wall or garage door on a level surface.
Step 2. Measure from the ground to the center of your fog lamp — this is your mounting height.
Step 3. Mark the mounting height on the wall with tape.
Step 4. Add another piece of tape four inches below the mounting height — this is your fog cut-off line.
Step 5. Using the integrated adjustment screw through the 3/8" hole with an extended Phillips screwdriver, aim each fog light so the top of the beam pattern is on the cut-off line. Rotate counterclockwise to raise, clockwise to lower. The install is complete.
Questions About the Install?
If you run into any issues during the installation, contact Ess K Customs — as an authorized Diode Dynamics dealer, we're here to help.
Shop Maverick Lighting at Ess K Customs
Looking for lighting upgrades for your 2022-2024 Ford Maverick? As an authorized Diode Dynamics dealer, Ess K Customs carries genuine products with full manufacturer warranty.
Browse Maverick Fog Light Kits at Ess K Customs →
This install guide applies to Diode Dynamics SKUs: DD7768, DD7769