
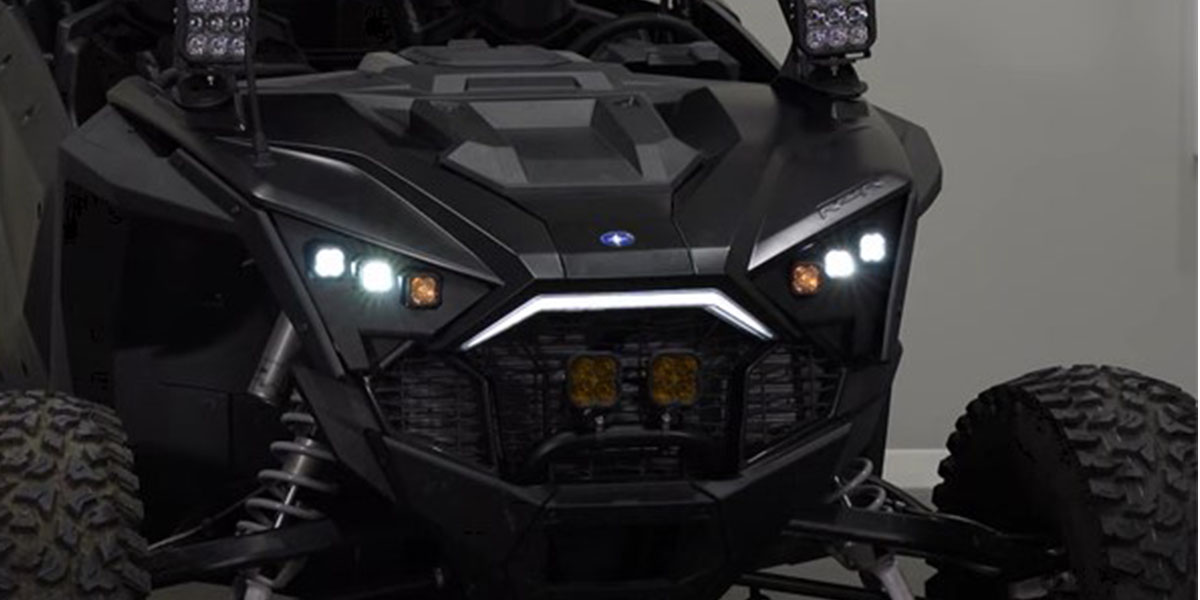
The SSC1 LED Headlight Kit for the 2020-2023 Polaris RZR Pro replaces the factory headlights with six high-performance SSC1 LED pods — three per side. The kit delivers three off-road beam patterns (wide, spot, and SAE fog) for optimal nighttime visibility, plus amber backlights that function as DRL accent lighting. Bolt-on, plug-and-play installation. Here's the full walkthrough.

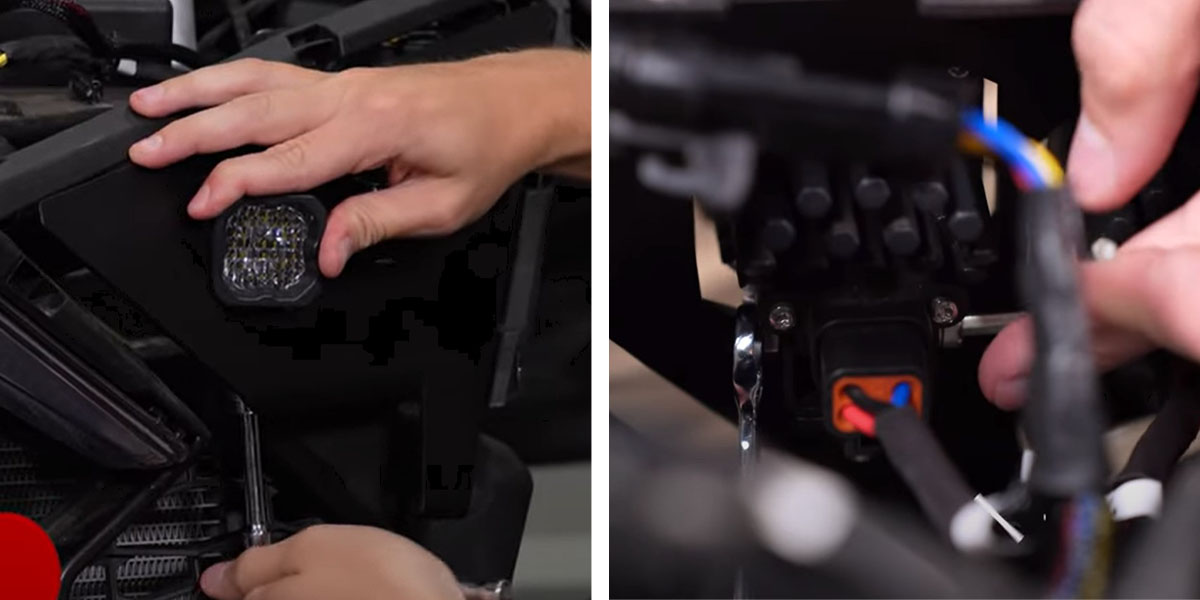
Table of Contents
- Installation Video
- Tools Required
- Panel and Headlight Removal
- Headlight Assembly and Mounting
- Questions About the Install?
- Shop RZR Lighting at Ess K Customs
Installation Video
Tools Required
- 1/4" ratchet wrench with driver
- T25 and T40 Torx bits
- 8mm socket
- 13mm socket with extension
- 3/8" box wrench
- 4mm and 5/32" Allen keys
- Plastic trim removal tool
Panel and Headlight Removal
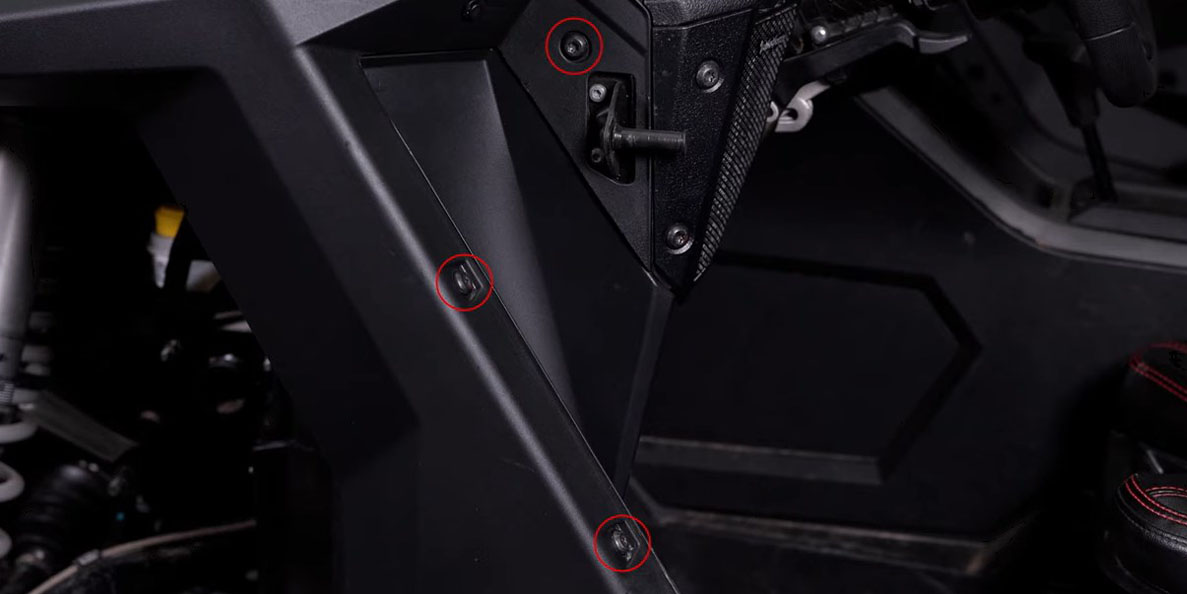
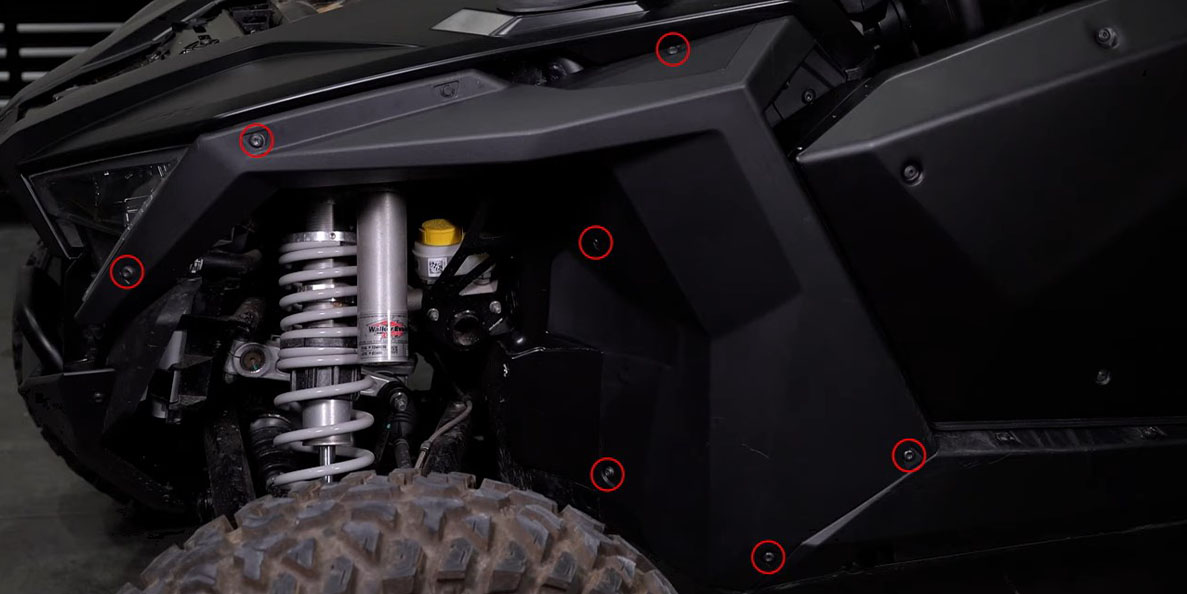
Step 1 — Remove Exterior Panels
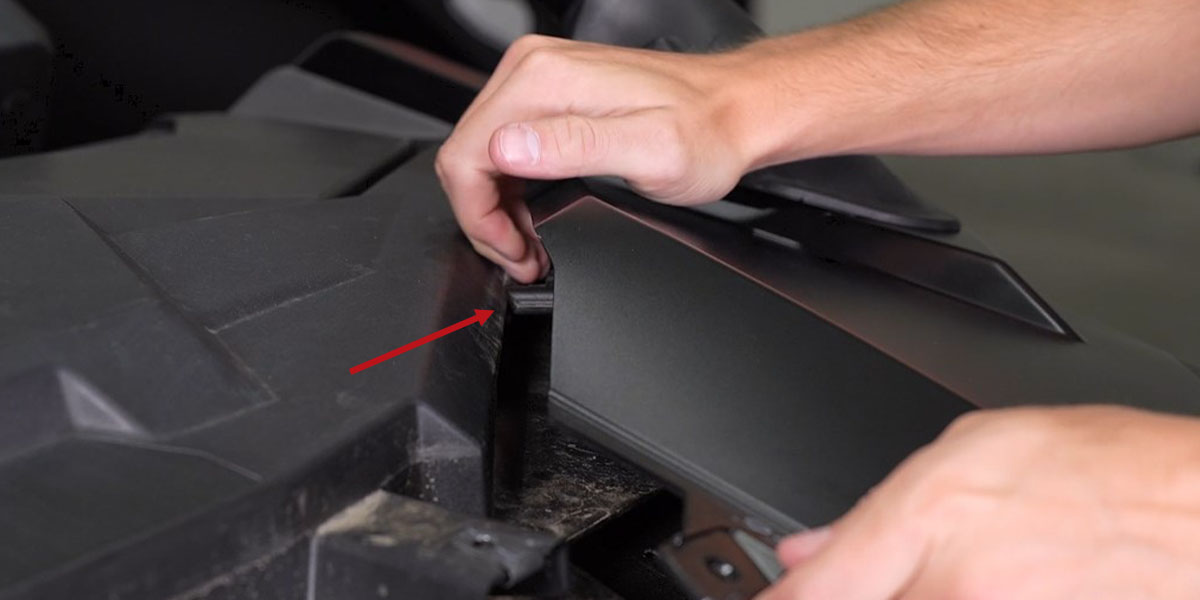
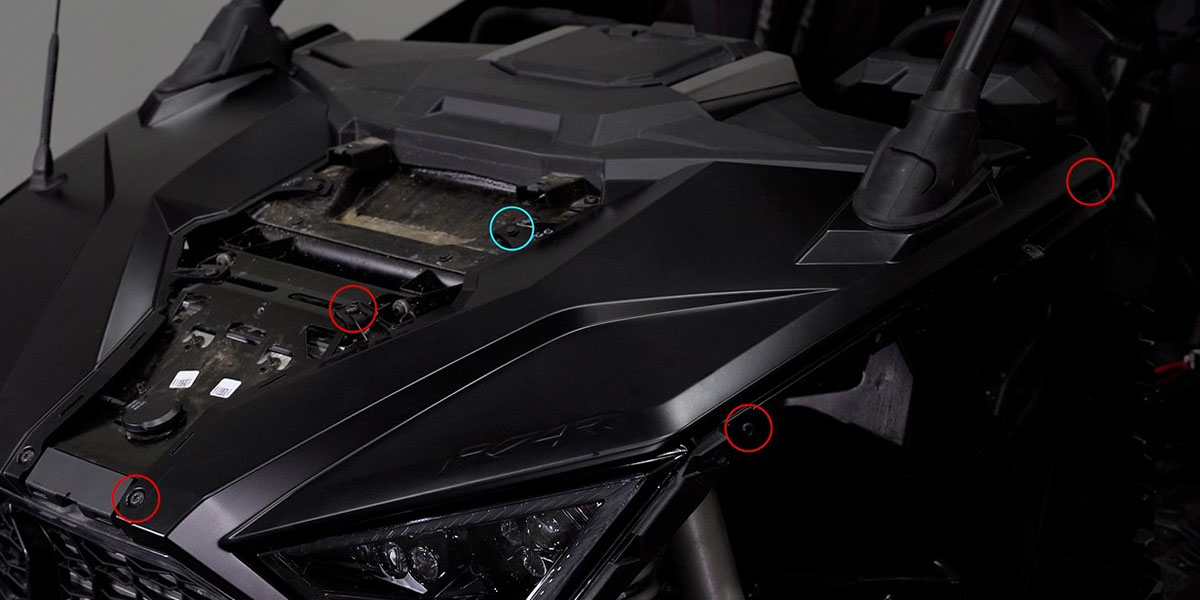
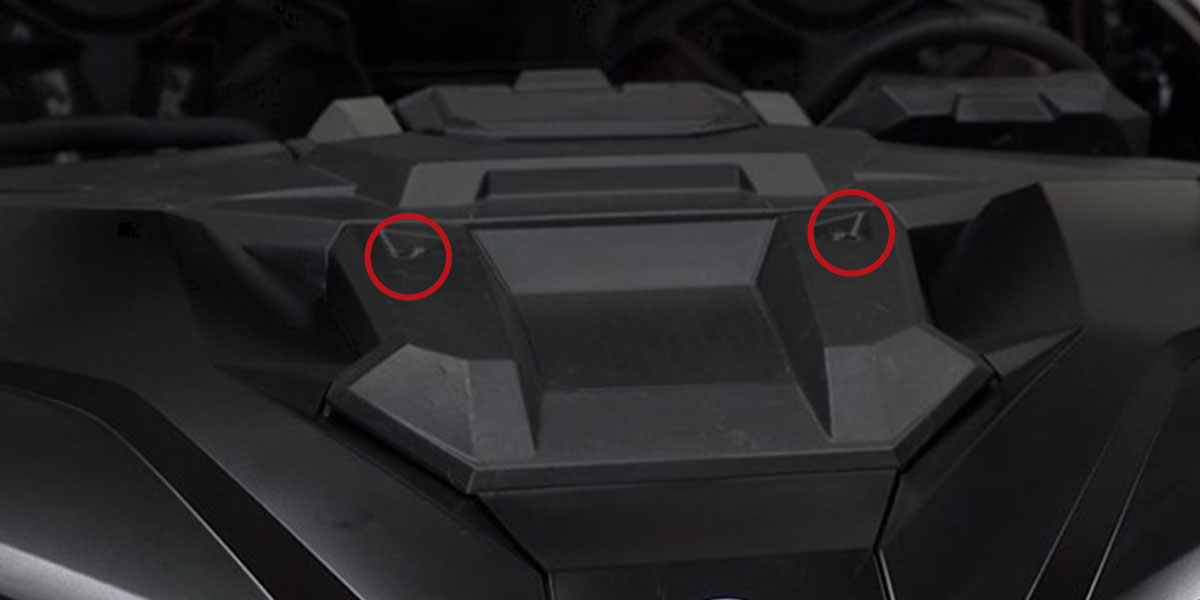
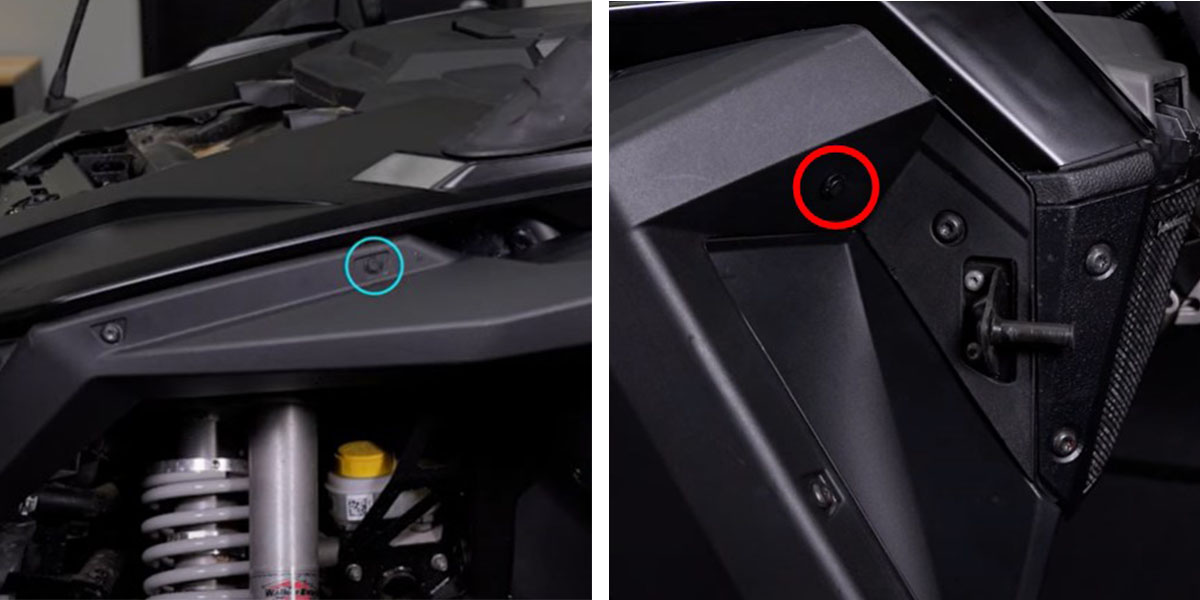
Using a T40 Torx driver, remove the two bolts on the upper hood panel and lift it up toward the windshield. Remove the T40 bolt on the lower hood panel and slide it down toward the bumper. On the driver's side, use a plastic trim removal tool to remove the outer and inner fender clips. Remove the seven outer T40 bolts and three inner T40 bolts from the driver-side fender. Loosen the two speaker panel bolts. Pull the fender away from the vehicle, working it around the door latch. Remove the four T40 bolts and remaining clip on the driver-side hood panel, then pull it away from the vehicle.

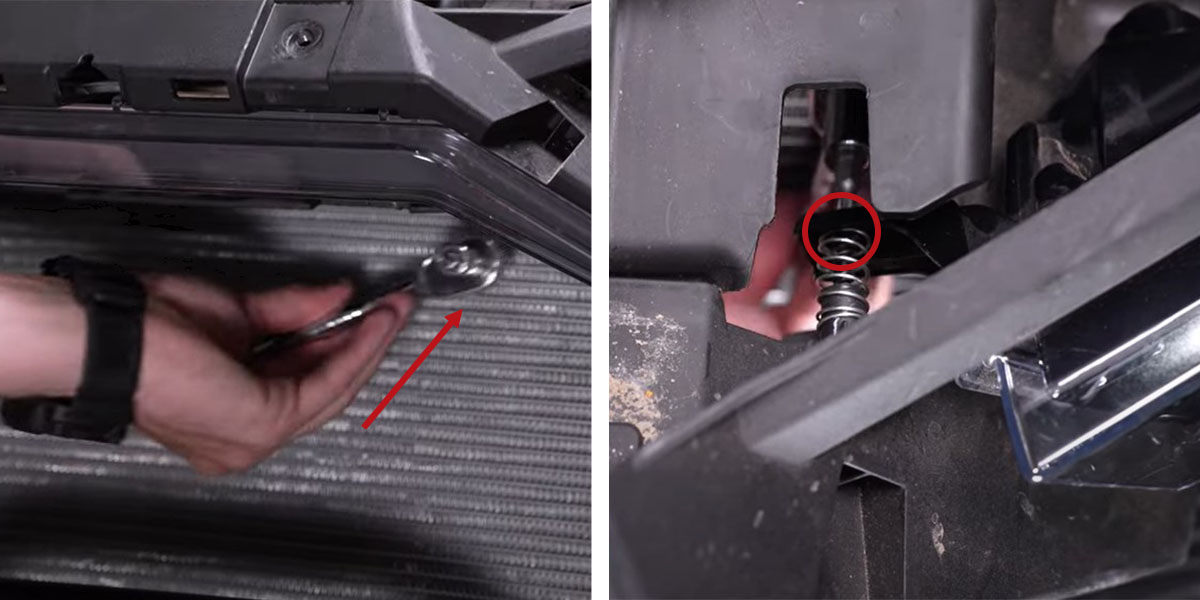
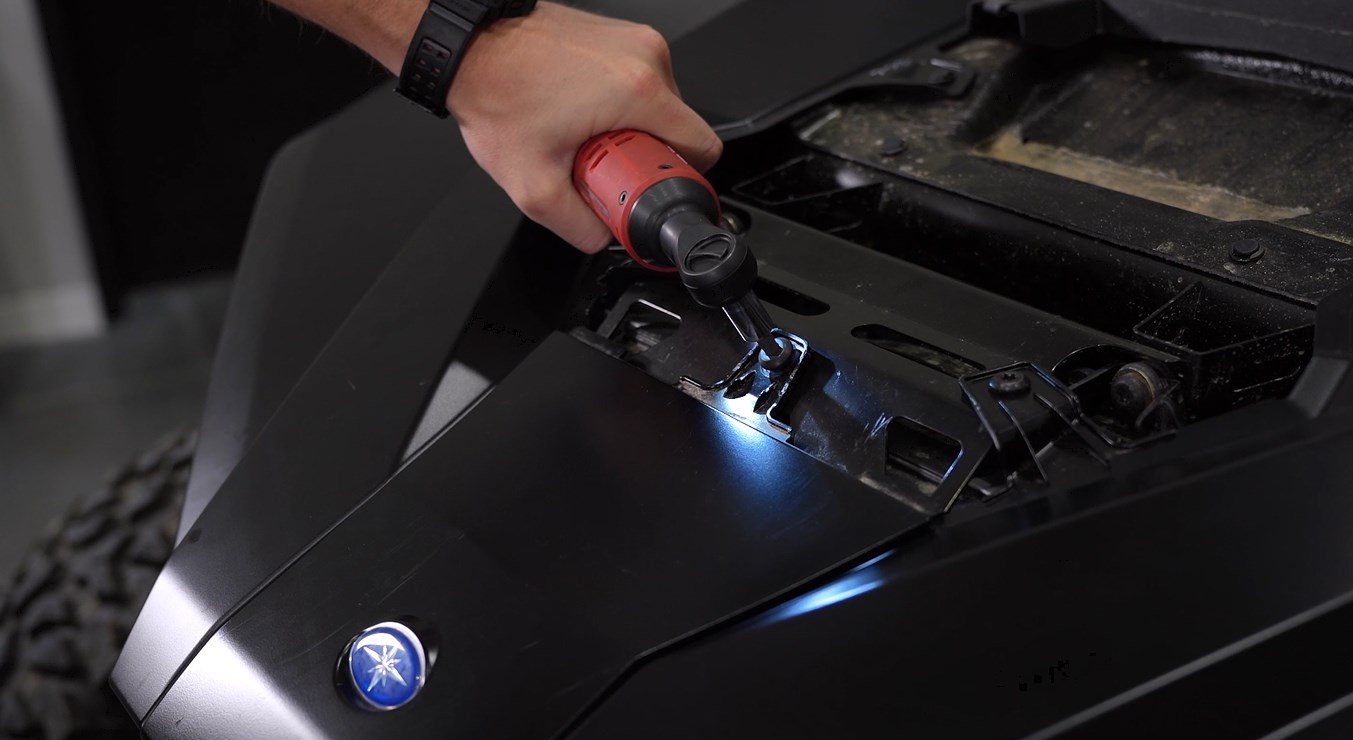
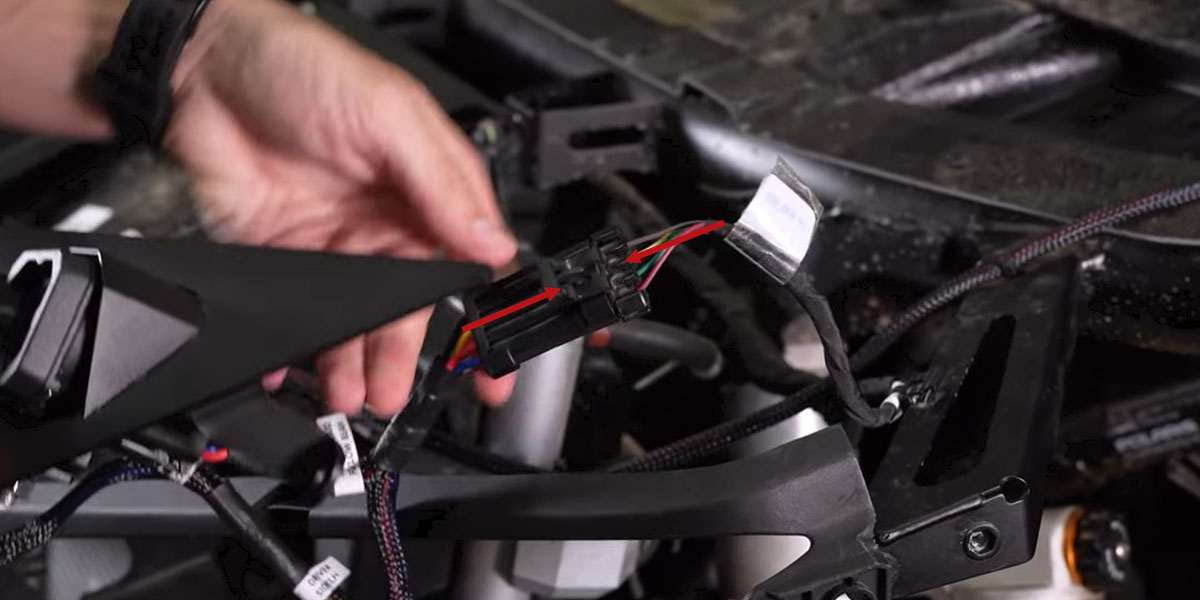
Step 2 — Remove Factory Headlight
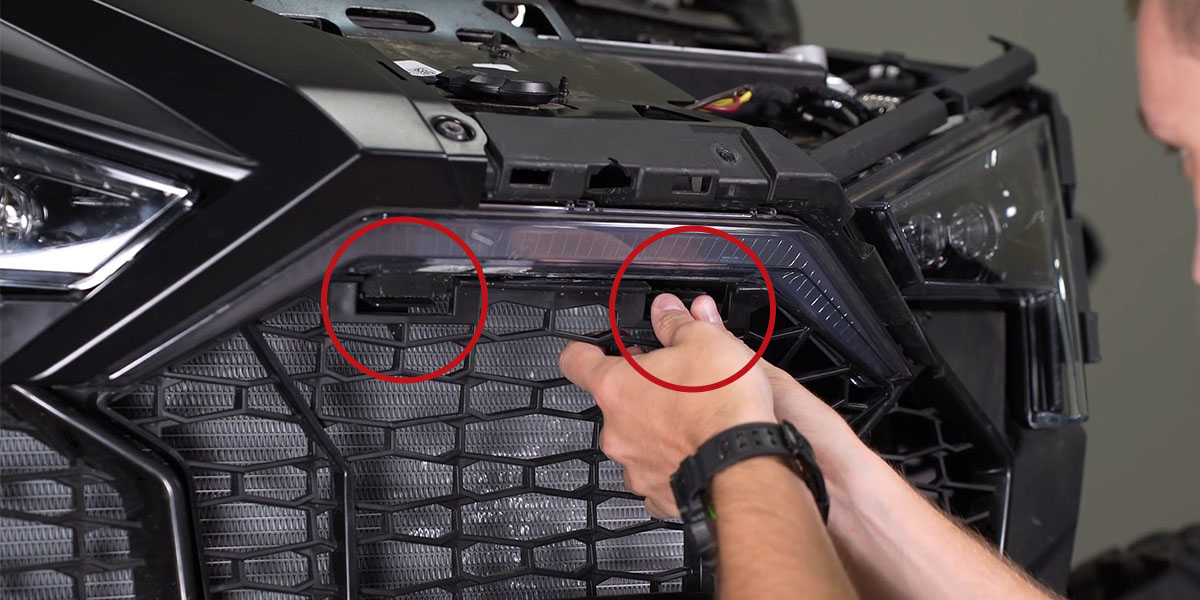
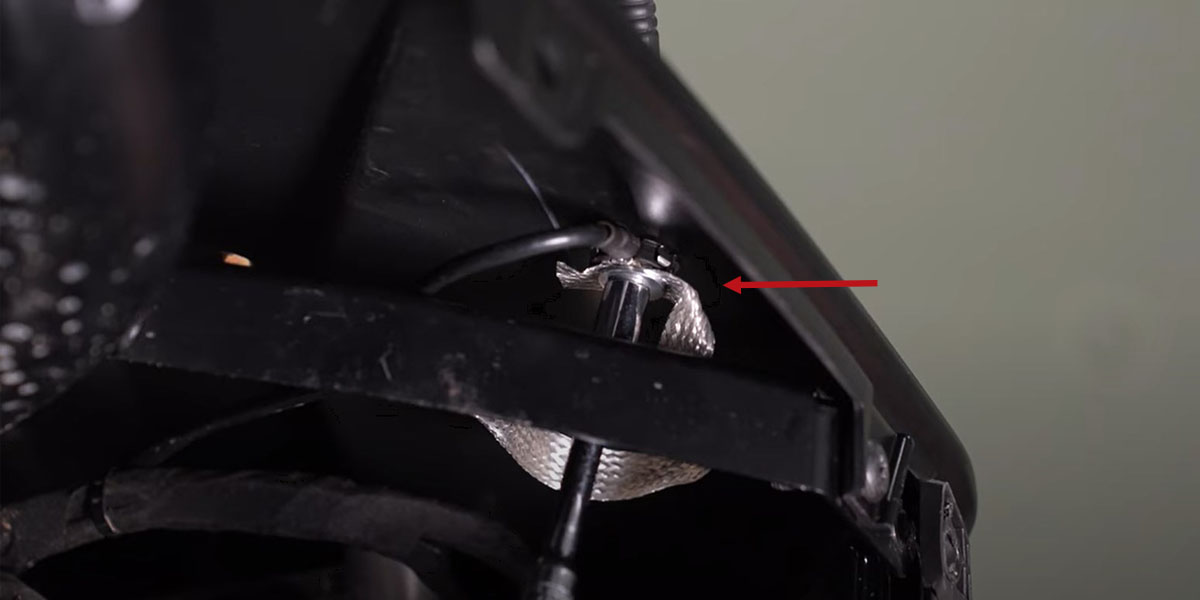
Disconnect the factory wiring harness from the headlight by lifting the retention tab and pulling the connector away. Using a T25 Torx bit, remove the top two screws holding the factory headlight. Squeeze the two plastic tabs at the top of the grille to remove it and access the final screw behind the headlight. Reach through the grille gap and remove the last T25 screw with a socket. Carefully remove the factory headlight and set it aside.
Headlight Assembly and Mounting
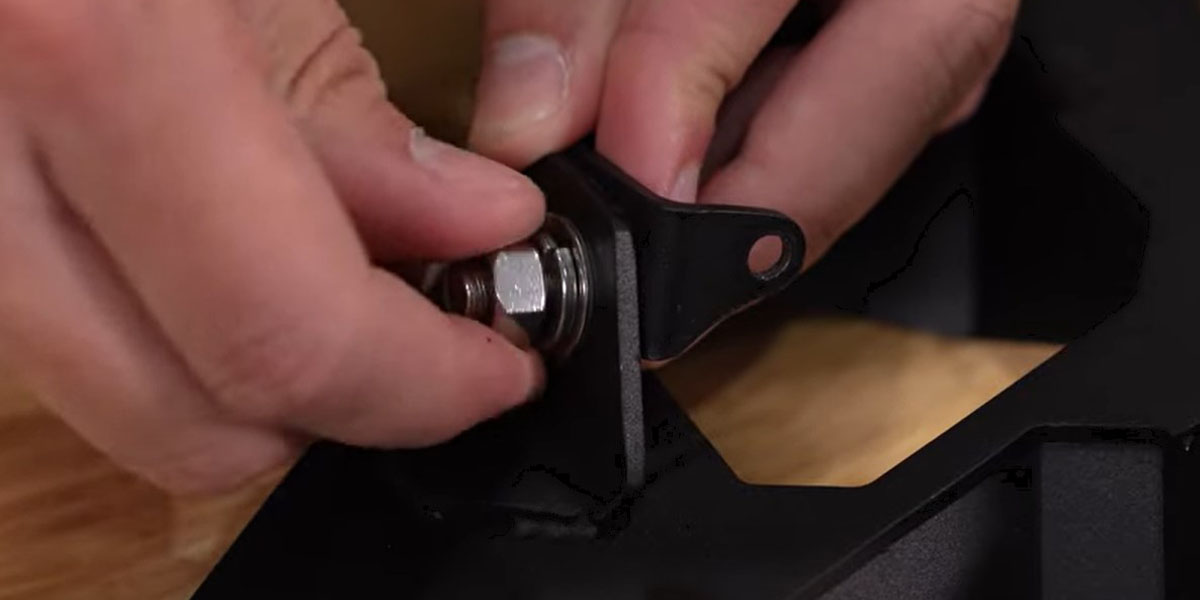
Step 3 — Assemble SSC1 Headlight Bracket
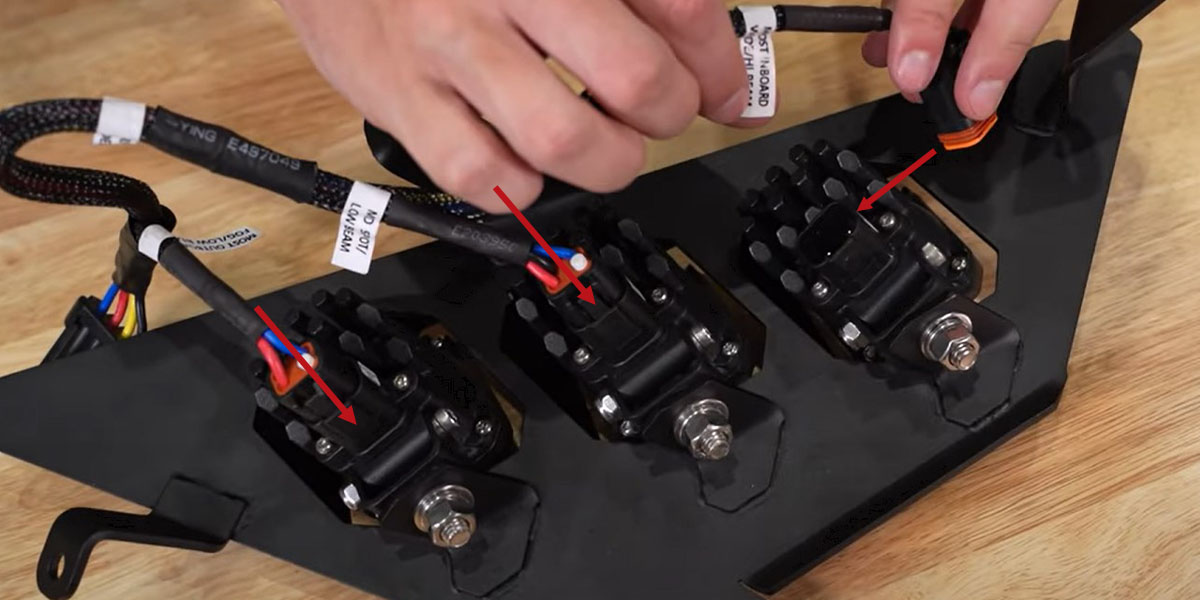
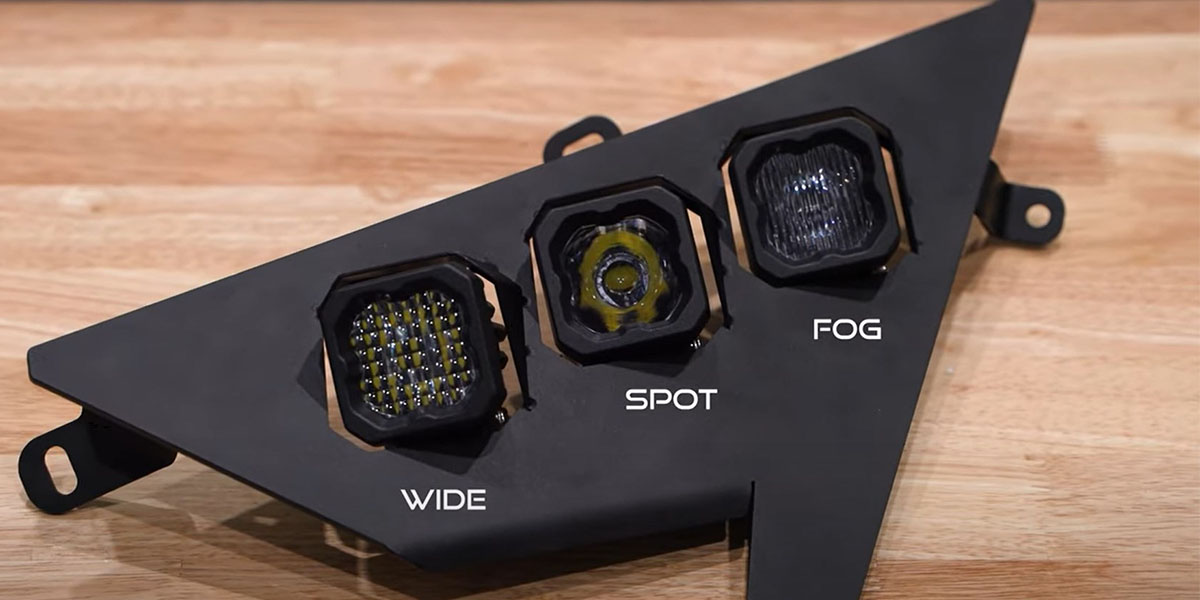
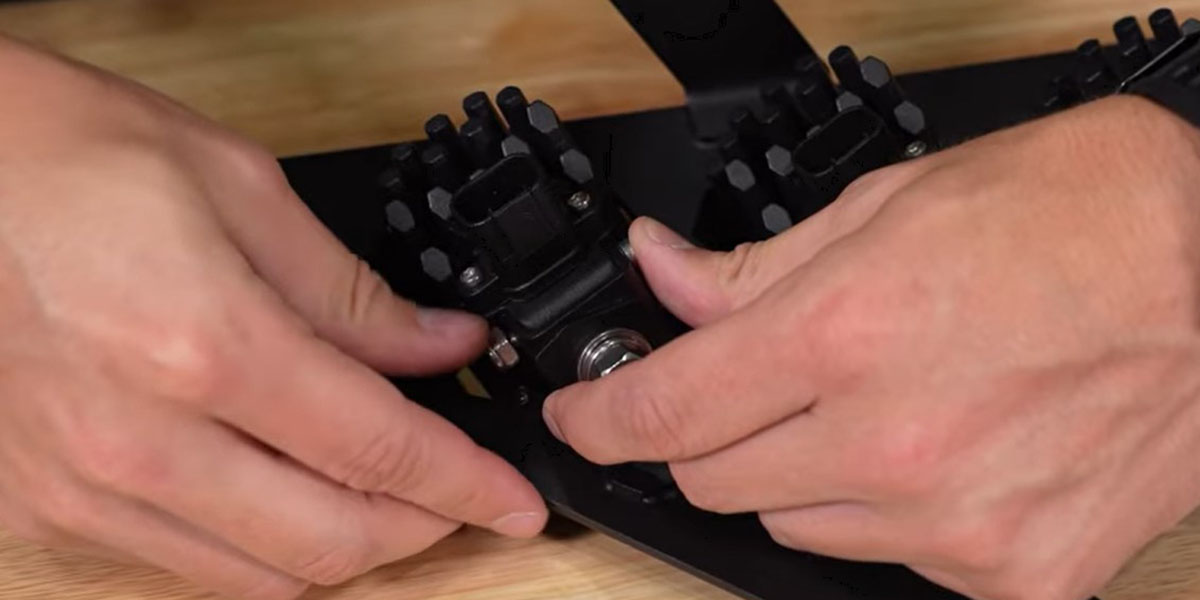
Bolt each universal SSC1 bracket to the headlight bracket using the provided bolts, washers, lock washers, and nuts. Mount the SSC1 LED pods to the brackets using a 3/8mm wrench and 5/32" Allen key — hand-tighten only to allow for adjustment later. Pod placement from inside to outside: wide pod (innermost), spot pod (center), and fog pod (outermost). Plug the labeled DT harness connectors into the appropriate SSC1 pods.
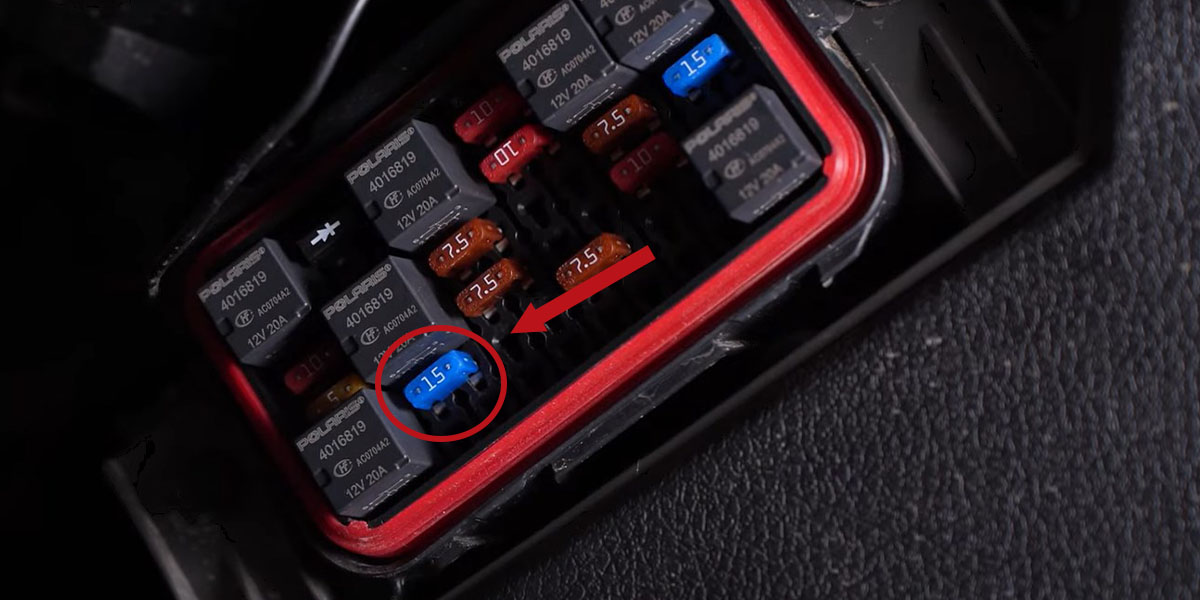
Step 4 — Install and Wire Headlight Assembly
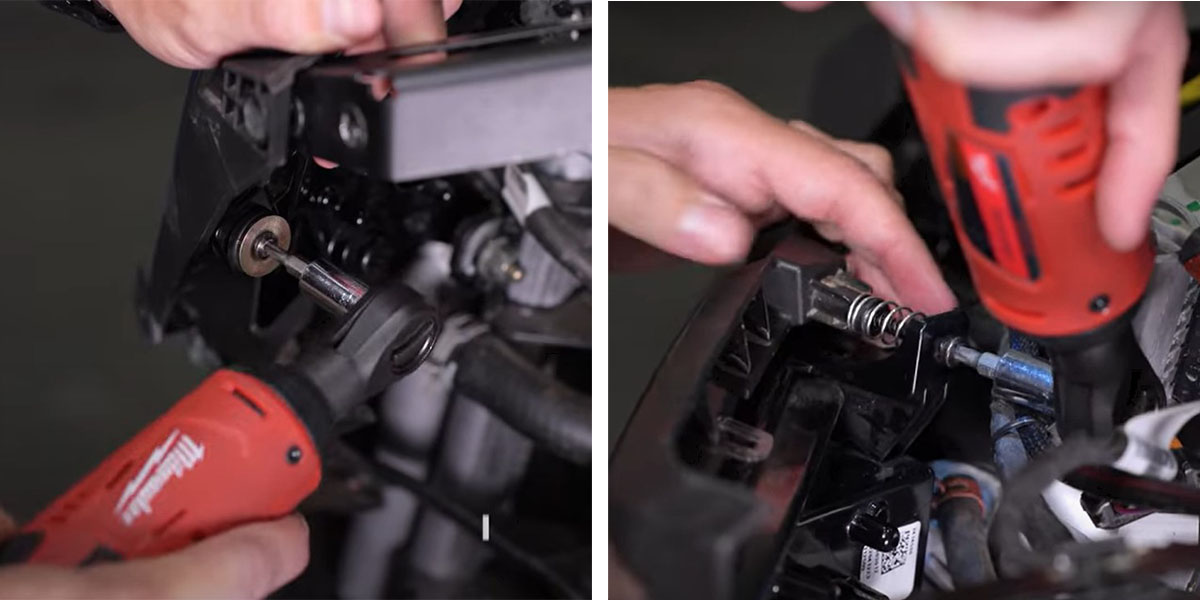
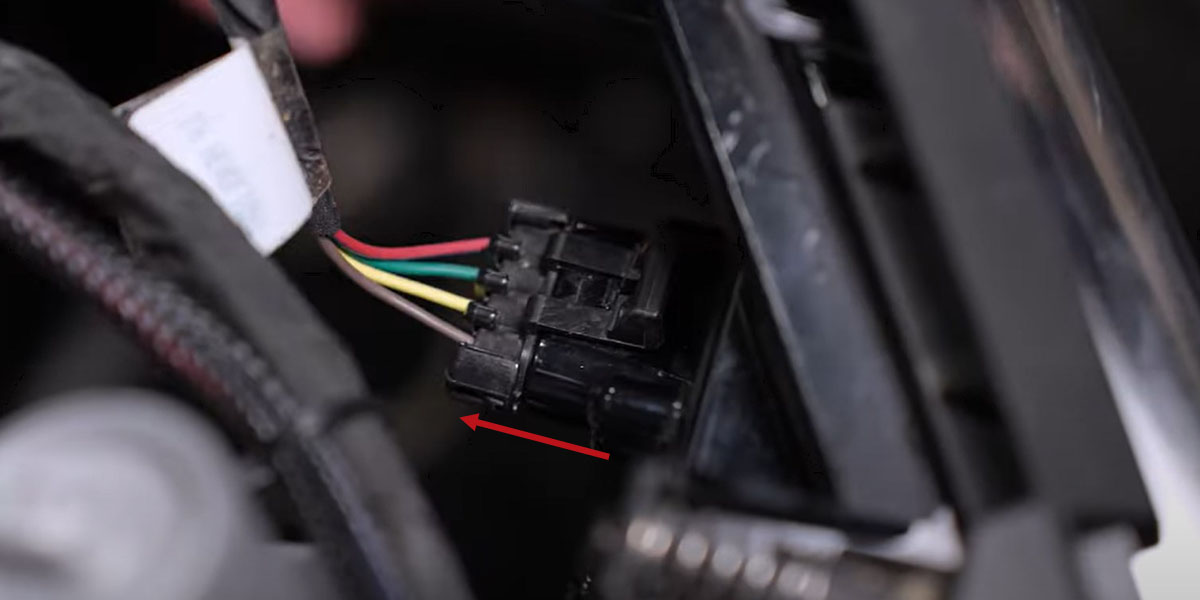
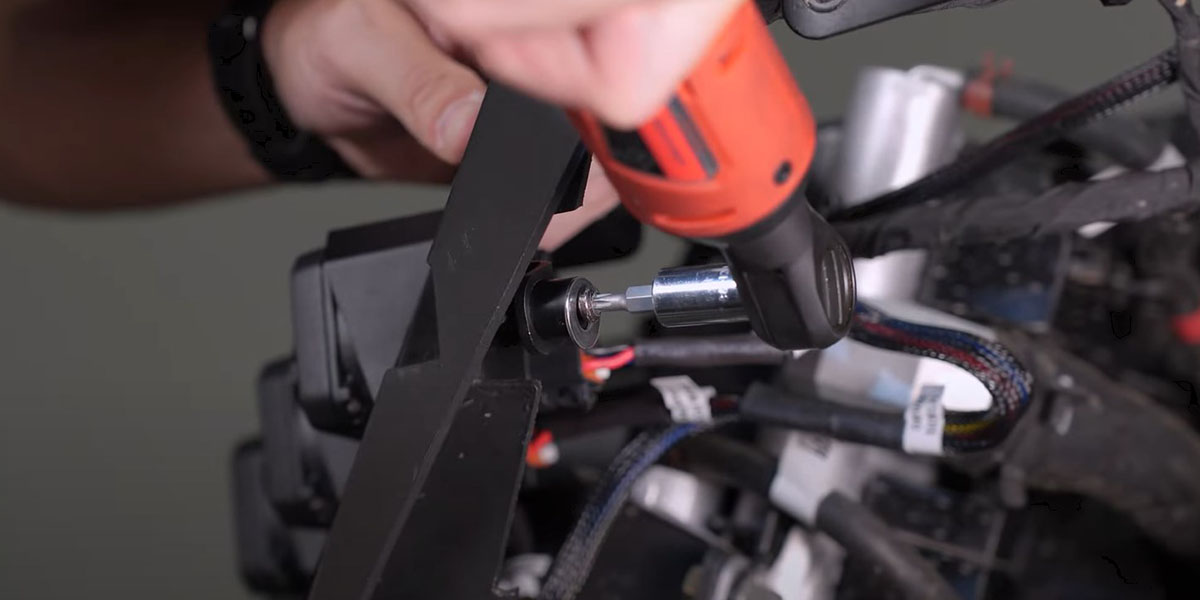
Locate the fuse box under the dashboard on the driver's side. Replace the 7.5A fuse labeled "lights" with the supplied 15A fuse. Connect the factory headlight harness (disconnected in Step 2) to the SSC1 DT harness. Mount the SSC1 headlight assembly into position using the factory T25 bolts and included washers and spacers.

Step 5 — Aim, Install Passenger Side, and Reassemble
Test function and aim each pod. For horizontal adjustment, rotate the pods left/right and tighten with a 13mm socket and extension from below. For vertical adjustment, tilt up/down and tighten with a 3/8mm wrench and 5/32" Allen key. Repeat all steps for the passenger side — note that the antenna needs to be removed with an 8mm socket and there's an additional push clip on the passenger-side hood panel. Reassemble the RZR by reversing the removal steps. Zip-tie any loose wiring away from hot or moving parts.

Questions About the Install?
If you run into any issues during the installation, contact Ess K Customs — as an authorized Diode Dynamics dealer, we're here to help.
Shop RZR Lighting at Ess K Customs
Looking for lighting upgrades for your 2020-2023 Polaris RZR Pro? As an authorized Diode Dynamics dealer, Ess K Customs carries genuine products with full manufacturer warranty.
Browse RZR Pro SSC1 LED Headlight Kits at Ess K Customs →
This install guide applies to Diode Dynamics SKUs: DD7672P, DD7645, DD7644