
The Switchback LED Boards for the 2015-2017 Ford F-150 are a direct replacement for the factory LED boards in your headlights. Designed from OEM data, these boards convert the factory amber DRL into a bright white parking light with an amber switchback turn signal. Double the number of LEDs over stock means a massive increase in brightness — visible even in direct sunlight. Here's the full walkthrough.
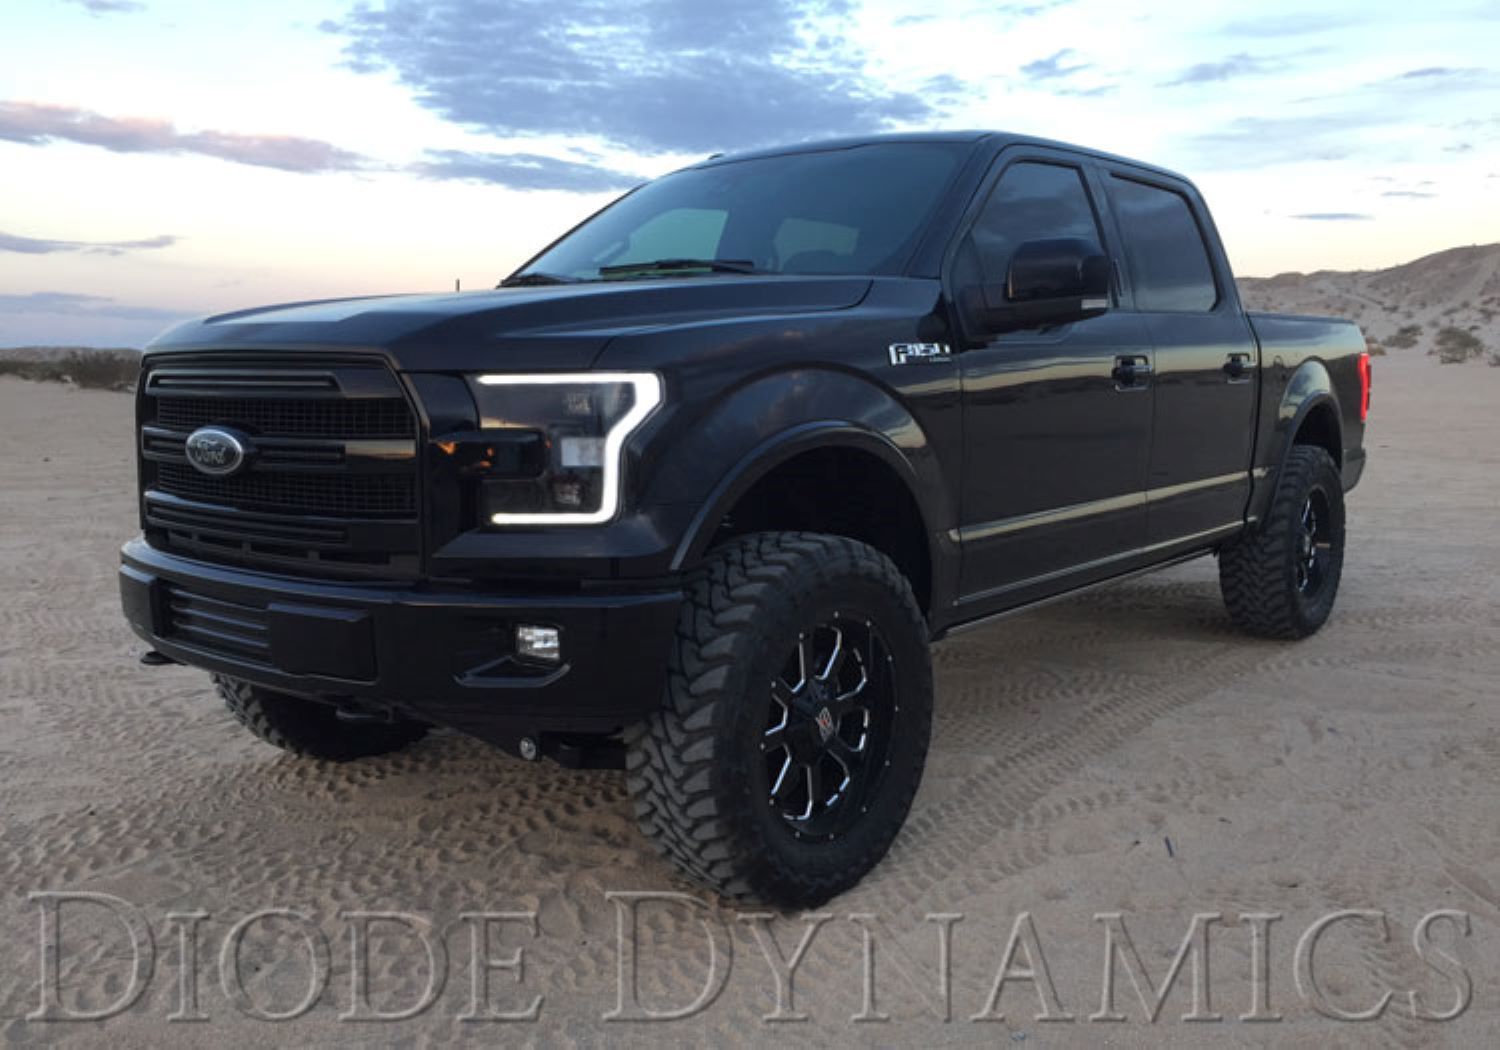
Table of Contents
- Installation Instructions
- Wiring Instructions
- Questions About the Install?
- Shop F-150 Lighting at Ess K Customs
Important: Headlights must be opened before proceeding with installation. Professional installation is strongly recommended.
Installation Instructions
Step 1 — Remove the Factory LED Board
After opening the headlights, remove the white reflector with the light pipe by removing the screws holding it in place. Remove the factory LED board with the aluminum heatsink by unscrewing the retaining screw and pulling it away from the plastic tab on the light pipe. Cutting the tab is recommended for easier installation and won't affect performance.
Step 2 — Separate the Heatsink
Remove the factory LED panel from the heatsink by unscrewing the two screws on the white plastic piece. Set the plastic piece aside. The LED panel will be stuck to the aluminum due to adhesive — pry up with force on the end to separate them. Unclip the factory LED panels directly from the driver board near the turn signal.
Step 3 — Install the New LED Boards
Place the new Diode Dynamics LED boards into position. Use the original tape to hold them in place, then refasten the screws with the white plastic piece. Reattach the module to the end of the light pipe and screw it into place.
Wiring Instructions
Step 4 — Connect the Switchback Driver
Connect the board connector to the Switchback driver output, then connect the Switchback driver input to the pigtail. Tap the bare wires to the wiring harness per the included wiring diagram. The black wire must be grounded before any function will work.
Important: Do NOT plug the LED board directly into the pigtail without the driver. The LEDs must be connected to the driver first to control power.
Step 5 — Mount and Reinstall
Mount the driver outside the headlight for serviceability, in a location away from the engine block to avoid excessive heat buildup. Tuck all wires. Test thoroughly, reseal the headlight, and reinstall onto the vehicle. The install is complete.
Questions About the Install?
If you run into any issues during the installation, contact Ess K Customs — as an authorized Diode Dynamics dealer, we're here to help.
Shop F-150 Lighting at Ess K Customs
Looking for lighting upgrades for your 2015-2017 Ford F-150? As an authorized Diode Dynamics dealer, Ess K Customs carries genuine products with full manufacturer warranty.
Browse F-150 Switchback LED Boards at Ess K Customs →
This install guide applies to Diode Dynamics SKU: DD2005