
The Stage Series LED Scene Light Kit adds outward-facing rock lights to your Kuat IBEX bed rack for powerful area lighting around your truck. Whether you're setting up camp, working in the dark, or lighting up a trailside recovery, these lights bolt directly onto the IBEX rack with no drilling or modification. Here's the full walkthrough.
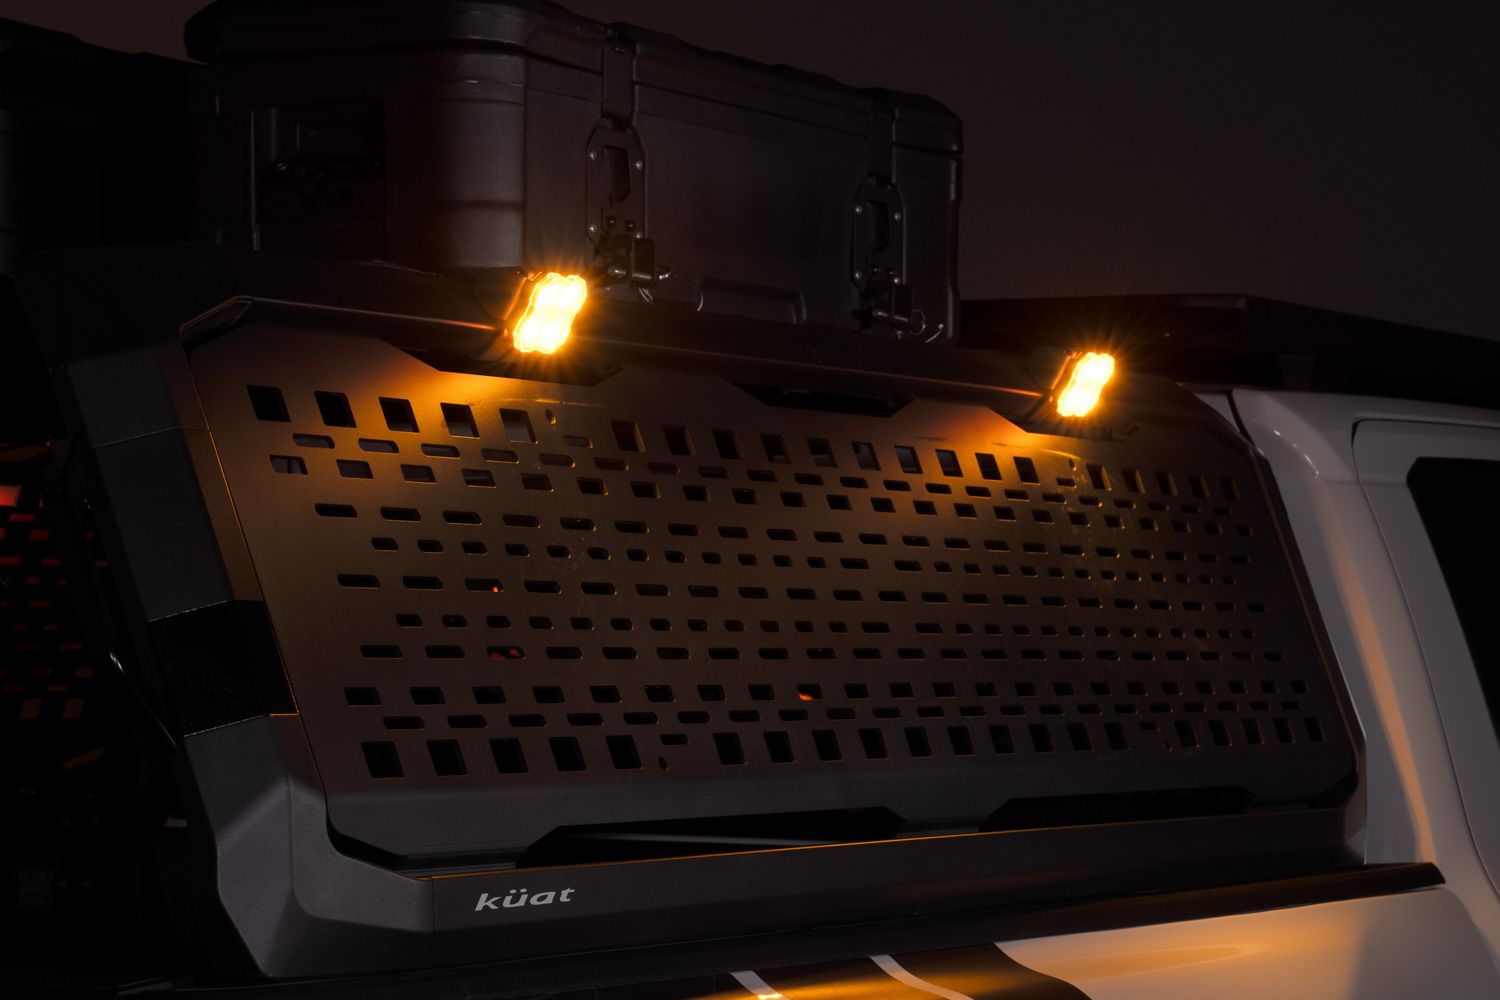
Table of Contents
- Installation Video
- Tools Required
- Installation Instructions
- Questions About the Install?
- Shop IBEX Lighting at Ess K Customs
Installation Video
Tools Required
- 5/16" wrench
- 4mm Allen key
- 6mm Allen key
- Phillips screwdriver (if using D-Switch)
- Scissors (for cutting wire retaining strips)
Installation Instructions
Step 1 — Remove the installed lens from each Stage Series Rock Light, then remove the center grommet. Mount the light onto the bracket using the included bolt and washer. Route the wiring harness through the bracket opening. On the back side, secure with the large washer and nut using a 5/16" wrench and 4mm Allen key. Reinsert the rubber grommet.
Step 2 — Choose either the included clear or amber lens for each rock light. These can be swapped later if you change your preference. Snap the lens back onto the light housing.
Step 3 — Insert two T-nuts into the T-slot under the top rail of the IBEX bed rack. Align the bracket over the T-nuts and secure with the provided bolts using a 6mm Allen key. Position two lights per side — one near the front and one near the rear — for the best coverage.
Step 4 — Open the hood to access the battery. If using the included switch, disconnect your battery and attach the ground and power wires directly to the terminals. Route the switch through the firewall and into the cabin, avoiding hot or moving components.
Step 5 (Optional — D-Switch Wiring) — If using the optional D-Switch 8-Channel Panel, remove the hub cover and strip the orange and white wires on the included switch harness. Connect the ground wire to the panel's ground terminal. Insert the orange wire (high power) and white wire (low power) into their respective terminals. Reinstall the hub cover.
Step 6 — Plug in one of the 5-meter extensions and route it from the engine bay to the bed rack. Route the wiring through the fender, along the running boards, and up the cab — keeping it away from exhaust and moving parts. Use the included splitter to connect your rock light extensions.
Step 7 — Cut the included wire retaining strip into 1-inch sections. Connect the extensions to each rock light, routing through any open channels in the rack. Insert wire retainers along the path to keep everything secure and tidy. Repeat for the remaining lights.
Step 8 — Connect all extensions to the splitter and repeat the wiring process for the opposite side. Zip tie loose wiring away from hot or moving parts. Test both low and high power modes to confirm everything is working. The install is complete.
Questions About the Install?
If you run into any issues during the installation, contact Ess K Customs — as an authorized Diode Dynamics dealer, we're here to help.
Shop IBEX Lighting at Ess K Customs
Looking for lighting kits for your Kuat IBEX rack? As an authorized Diode Dynamics dealer, Ess K Customs carries genuine products with full manufacturer warranty.
Shop the IBEX Scene Light Kit at Ess K Customs →
This install guide applies to Diode Dynamics SKU: DD8443