
The 4-Pin HitchMount LED Pod Reverse Kit lets you install an SSC1 or C1R LED Pod directly in your 2-inch or 2.5-inch trailer hitch receiver — adding a high-power reverse light, running light, and optional 4th brake light using the new 4-Pin Trailer Harness. Estimated install time is about 10 minutes. Here's the full walkthrough.
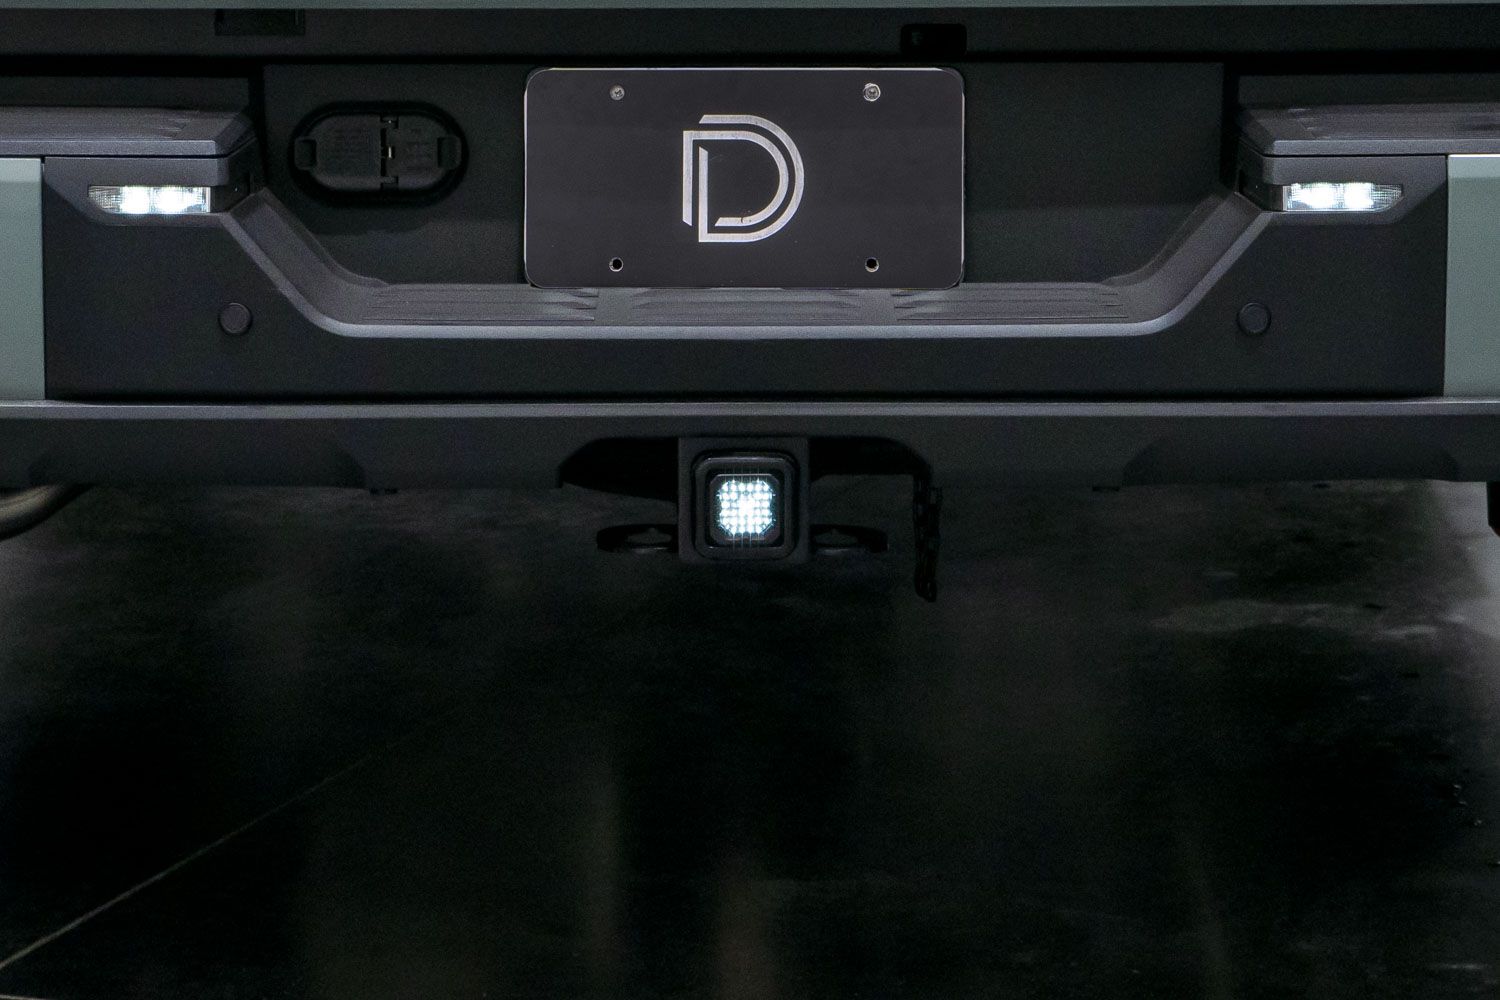
Table of Contents
- Tools Required
- Installation Video
- Installation Instructions
- Using a Hitch Pin (Optional)
- Questions About the Install?
- Shop HitchMount LED Pod Kits at Ess K Customs
Tools Required
- Basic hand tools
- T-tap connector (included)
NOTE: All HitchMount LED Pod kits now include a custom-molded adapter sleeve for use with 2.5-inch receivers. This component is not required for vehicles with a standard 2-inch hitch receiver and can be set aside during installation.
Installation Video
Installation Instructions
Step 1 — Locate the vehicle's factory 4-pin trailer connector and plug in the 4-pin HitchMount harness until it is fully seated and secure.
Step 2 — Route the harness around the rear bumper as needed. Feed the 4-pin DT connector through the back of the hitch opening to the front, connect it to the female DT connector on the back of the HitchMount pod, and snap the pod securely into the hitch receiver.
Step 3 — Route the 4-foot extension wire to the back of the taillight. Connect the extension wire to the vehicle's reverse light wire using the included T-tap. This allows the HitchMount LED pod to activate automatically when the vehicle is placed in reverse.
Step 4 (Optional) — If equipped with a SafetyStrobe feature, locate the purple wire loop on the inline driver. Cutting this loop will disable the strobe function. Note that the strobe timer only counts down when the parking lights are on, since the harness does not have constant power.
Using a Hitch Pin (Optional)
The HitchMount stays secure using its integrated clip, but if you'd like to add a locking hitch pin (not included), follow the steps below. This modification does not affect warranty coverage.
Step 1 — Using a suitable cutting tool, carefully remove the circular sections from each side tab on the HitchMount sleeve. This creates a clear path for the hitch pin to pass through.
Step 2 — Connect the HitchMount pod to the harness and push it fully into the hitch receiver until properly seated.
Step 3 — Slide the hitch pin through the receiver and HitchMount sleeve, then lock it in place. Make sure the pin fits snugly to prevent movement or rattling. The install is complete.
Questions About the Install?
If you run into any issues during the installation, contact Ess K Customs — as an authorized Diode Dynamics dealer, we're here to help.
Shop HitchMount LED Pod Kits at Ess K Customs
Ready to add a HitchMount reverse light to your truck? As an authorized Diode Dynamics dealer, Ess K Customs carries genuine products with full manufacturer warranty.
Shop HitchMount LED Pod Reverse Kit →
This install guide applies to Diode Dynamics SKUs: DD4213, DD4215, DD8762, DD8765