
The Add-On Fog Light Kit for the 2024+ Ford Mustang EcoBoost adds a pair of SAE-compliant LED fog lamps to your factory bumper with custom bezels for a clean, OEM-like look. Available with Elite Series or SS3 fog lamps. Here's the full walkthrough.
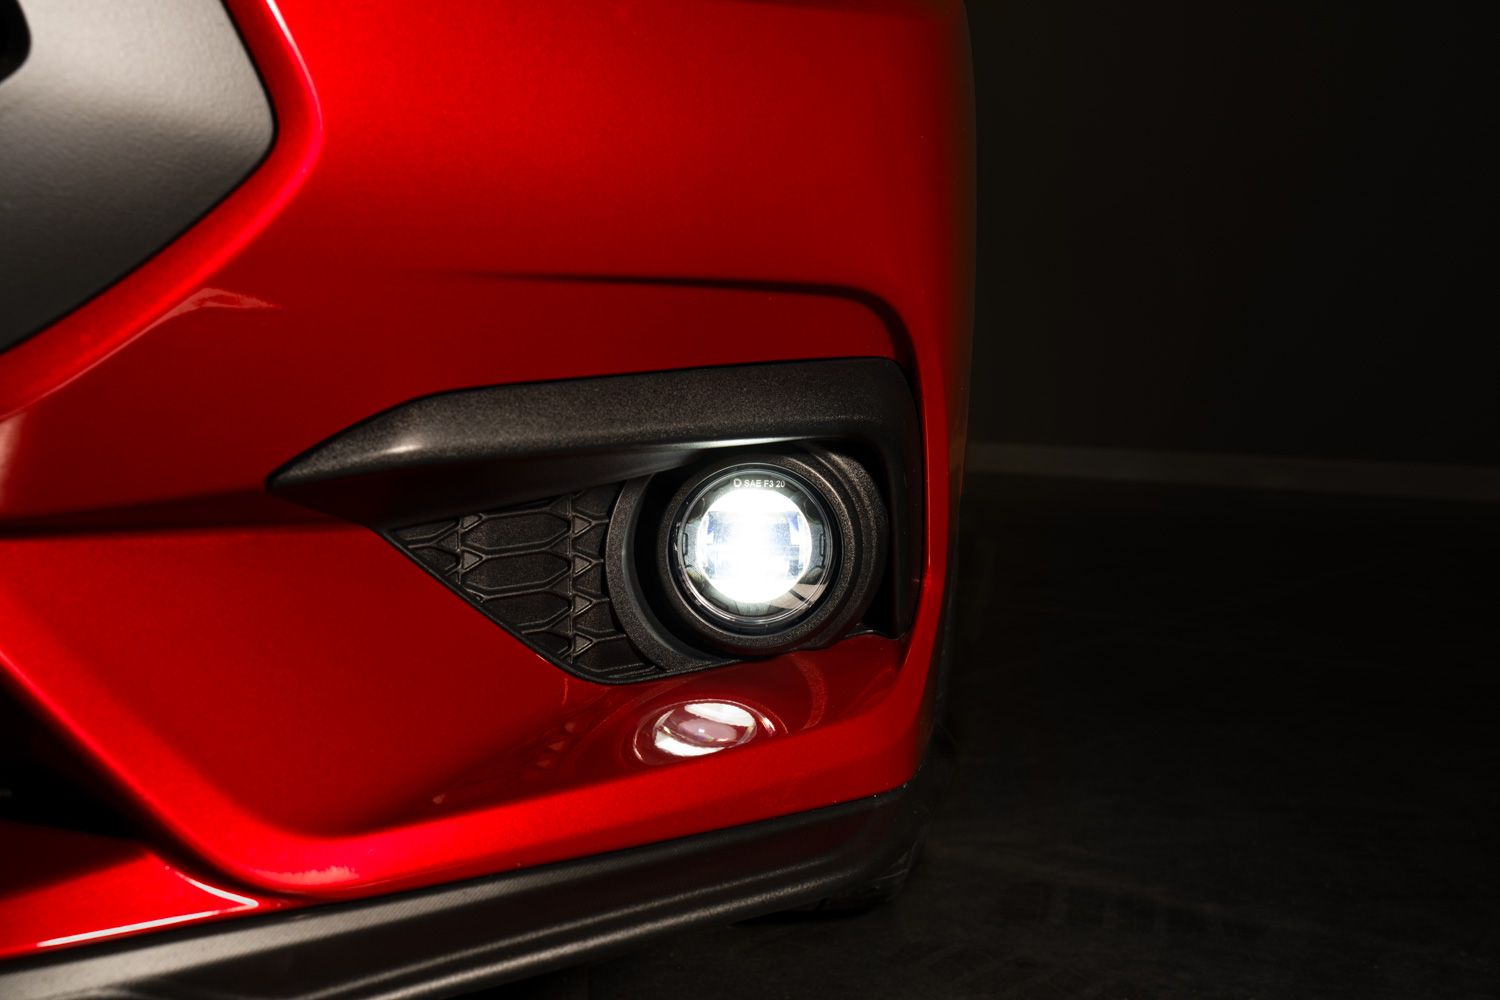
Table of Contents
- Installation Video
- Tools Required
- What's Included
- Installation Instructions
- Questions About the Install?
- Shop Mustang Lighting at Ess K Customs
Installation Video
Tools Required
- 7mm socket
- 8mm socket
- 10mm socket
- Phillips head screwdriver
- Trim removal tool
- Flathead screwdriver
What's Included
- Two Elite Series or SS3 Type A fog lamps
- Two vehicle-specific fog lamp bezels
- One add-on fog harness
- Four zip ties
- Hardware kit
Installation Instructions
Step 1 — Prepare the Underside of the Vehicle
Using a 7mm socket, remove 24 screws securing the shield underneath the vehicle. Use a trim removal tool to remove the three push pins. Slide the shield toward the rear of the vehicle to release it.
Step 2 — Remove the Side Corner Grilles
Behind the grille, release the 10 retaining clips securing each side corner grille by applying outward pressure on each clip while pulling the grille rearward. Repeat for both sides.
Step 3 — Assemble the Fog Light Bezels
For SS3 pods: Place the supplied locking nuts into the back of the pod with the nylon ring facing inward. Slide the Type A mounting bracket over the pod and secure with a 5/32-inch Allen screw and washer. Secure the pod to the bezel with the four included screws and a Phillips head screwdriver. For Elite Series lamps: Secure directly to the bezel with the included screws. Repeat for both assemblies.
Step 4 — Install the Fog Light Bezels
Place the assembled bezels into the OE position on the bumper. Press firmly to seat all retaining clips. Repeat for the second bezel.
Step 5 — Connect the Wiring Harness
In the engine bay, use a 10mm socket to loosen the fuse bus positive connection and attach the positive lead from the fog light harness. Use an 8mm socket to attach the negative lead to the ground stud on top of the strut tower. Behind the passenger-side headlight, disconnect the OE harness and connect the fog light harness in-line. Unplug the passenger-side side marker and connect the fog light harness in-line. Attach the shorter DT output lead to the passenger-side fog lamp and route the longer DT lead across the radiator subframe to the driver-side lamp.
Step 6 — Test Functionality
Test the fog lights — the amber backlight should activate with parking lights, and the main beam should turn on with the low beams. If adjustments are needed, use a Phillips head screwdriver to aim the fog lights.
Step 7 — Secure Wiring and Reassemble
Secure the solid-state relay and any loose wiring with zip ties. Ensure all components are routed away from hot or moving parts. Reinstall the shield and side corner grilles by reversing the removal steps.
Step 8 — Aim the Fog Lights
Follow Diode Dynamics' fog light aiming instructions for optimized output. The install is complete.
Questions About the Install?
If you run into any issues during the installation, contact Ess K Customs — as an authorized Diode Dynamics dealer, we're here to help.
Shop Mustang Lighting at Ess K Customs
Looking for lighting upgrades for your 2024+ Ford Mustang? As an authorized Diode Dynamics dealer, Ess K Customs carries genuine products with full manufacturer warranty.
Browse 2024+ Mustang Lighting at Ess K Customs →
This install guide applies to Diode Dynamics SKUs: DD7959, DD7960, DD7961, DD7962, DD7963, DD7964, DD7965, DD7966