
The Stage Series A-Pillar Pod Kit for the 2017-2025 Can-Am Maverick X3 mounts SS5 LED pods to your roll cage A-pillars for a massive boost in off-road visibility. This bolt-on kit features stainless steel brackets with no permanent modifications required. Here's the full walkthrough.
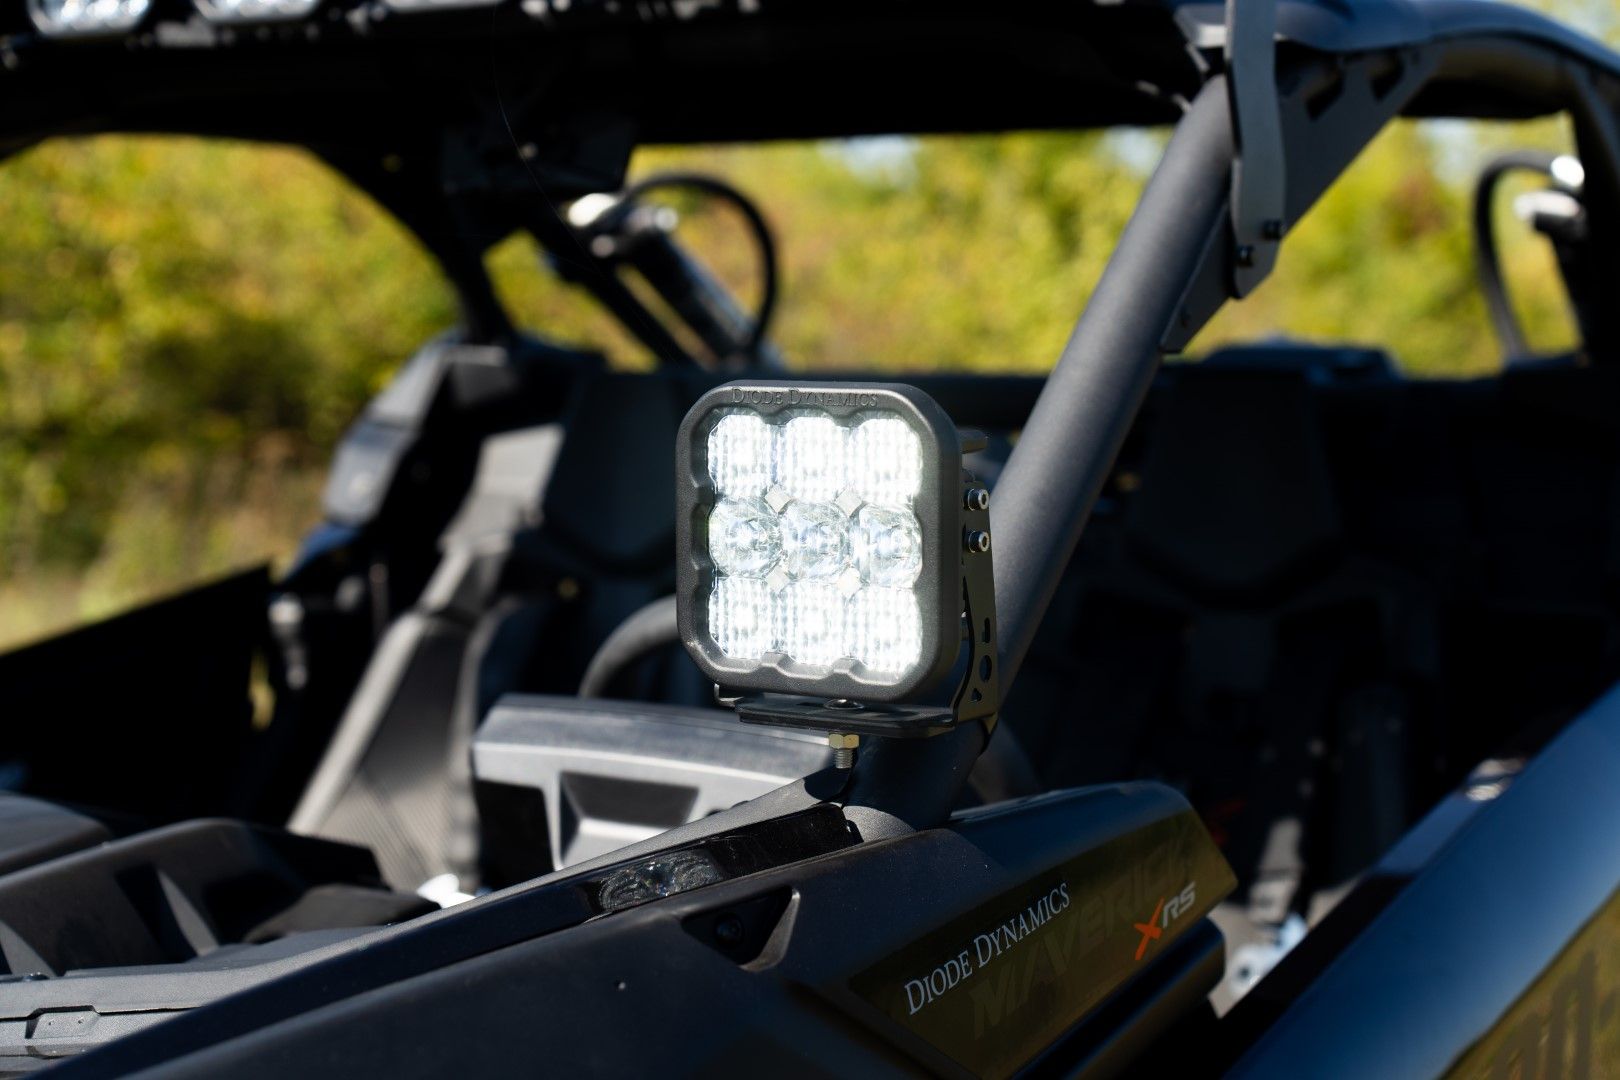
Table of Contents
- Installation Video
- Tools Required
- Installation Instructions
- Questions About the Install?
- Shop Can-Am Maverick X3 Lighting at Ess K Customs
Installation Video
Tools Required
- 5mm Allen key
- 2.5mm Allen key
- 10mm wrench and socket
- 13mm wrench and ratchet
- 18mm ratchet
- T30 Torx bit
- Trim removal tool
- Wire fishing tape
- Zip ties
Installation Instructions
Step 1 — Install the Roller Mounts
Slide the roller mount over the roll cage. Install the block on the ring by pinching both sides onto the block, then run the included bolt and washer through. Place the washer and locking nut on the end, align the block at the center of the roller, and tighten with a 5mm Allen key and 10mm wrench. Attach the ditch light bracket to the block using the included 13mm bolts and washers. Use a level to ensure proper alignment. Repeat for the driver's side.
Step 2 — Assemble the SS5 Pods
Thread the set screws into both sides of the bottom hole on each SS5 pod using a 2.5mm Allen key. Position the universal bracket under the pod and secure it with the included bolts, leaving them hand-tight for adjustment. Place the pod onto the ditch light platform and attach it with the carriage bolt, washer, lock washer, and nut. Tighten with a 13mm wrench. Repeat for the driver's side.
Step 3 — Prepare the Vehicle Interior
Disconnect the passenger seat belt harness by pulling the loop end through. Adjust the seat forward and use an 18mm ratchet to remove the two gold locking nuts behind the seat. Move the seat all the way back and remove the two front mounting bolts with a 13mm wrench and ratchet. Lift the seat out and set it aside. Remove the access panels along the passenger-side console by pulling them away from the retention tabs to access the battery.
Step 4 — Connect the Wiring Harness
Use a 10mm socket to disconnect the positive lead from the battery and secure it away from the terminal. Peel back the rubber cover on the bus bar and loosen the positive and negative connections with a 10mm ratchet. Attach the positive and negative leads from the harness to the bus bar and tighten securely. Route the toggle switch and DT connectors to their desired locations, avoiding the drive shaft and any moving parts.
Step 5 — Route and Connect the DT Harness
On the driver's side, remove two push clips and seven T30 Torx screws. Lift the panel slightly and use wire fishing tape to route the DT connector to the driver's side floorboard, then pull it to the top of the dash. Route the wiring behind the dash and plug the DT connector into the pod. On the passenger side, remove two push clips and four T30 Torx screws, lift the gas tank access panel, remove the final mounting screw, and route the DT connector to the A-pillar pod.
Step 6 — Test and Finalize
Reconnect the positive battery lead and test the pods. Verify the toggle switch operates correctly and the pods illuminate as expected. Adjust pod aim to your desired position and tighten with a 5mm Allen key. Secure any loose wiring with zip ties and reassemble the vehicle. The install is complete.
Questions About the Install?
If you run into any issues during the installation, contact Ess K Customs — as an authorized Diode Dynamics dealer, we're here to help.
Shop Can-Am Maverick X3 Lighting at Ess K Customs
Looking for lighting upgrades for your Can-Am Maverick X3? As an authorized Diode Dynamics dealer, Ess K Customs carries genuine products with full manufacturer warranty.
Browse Can-Am Maverick X3 Lighting at Ess K Customs →
This install guide applies to Diode Dynamics SKUs: DD7863P, DD7864, DD7865, DD7866, DD7867, DD7868, DD7869, DD7870, DD7871