
The SS5 CrossLink Roof Kit for the 2019-2024 Honda Talon is the ultimate roof-mounted lighting upgrade. Featuring modular SS5 LED pods with CrossLink connectivity and eight selectable backlight colors, this kit delivers aggressive styling with serious off-road performance. Plug-and-play installation with durable stainless steel brackets. Here's the full walkthrough.
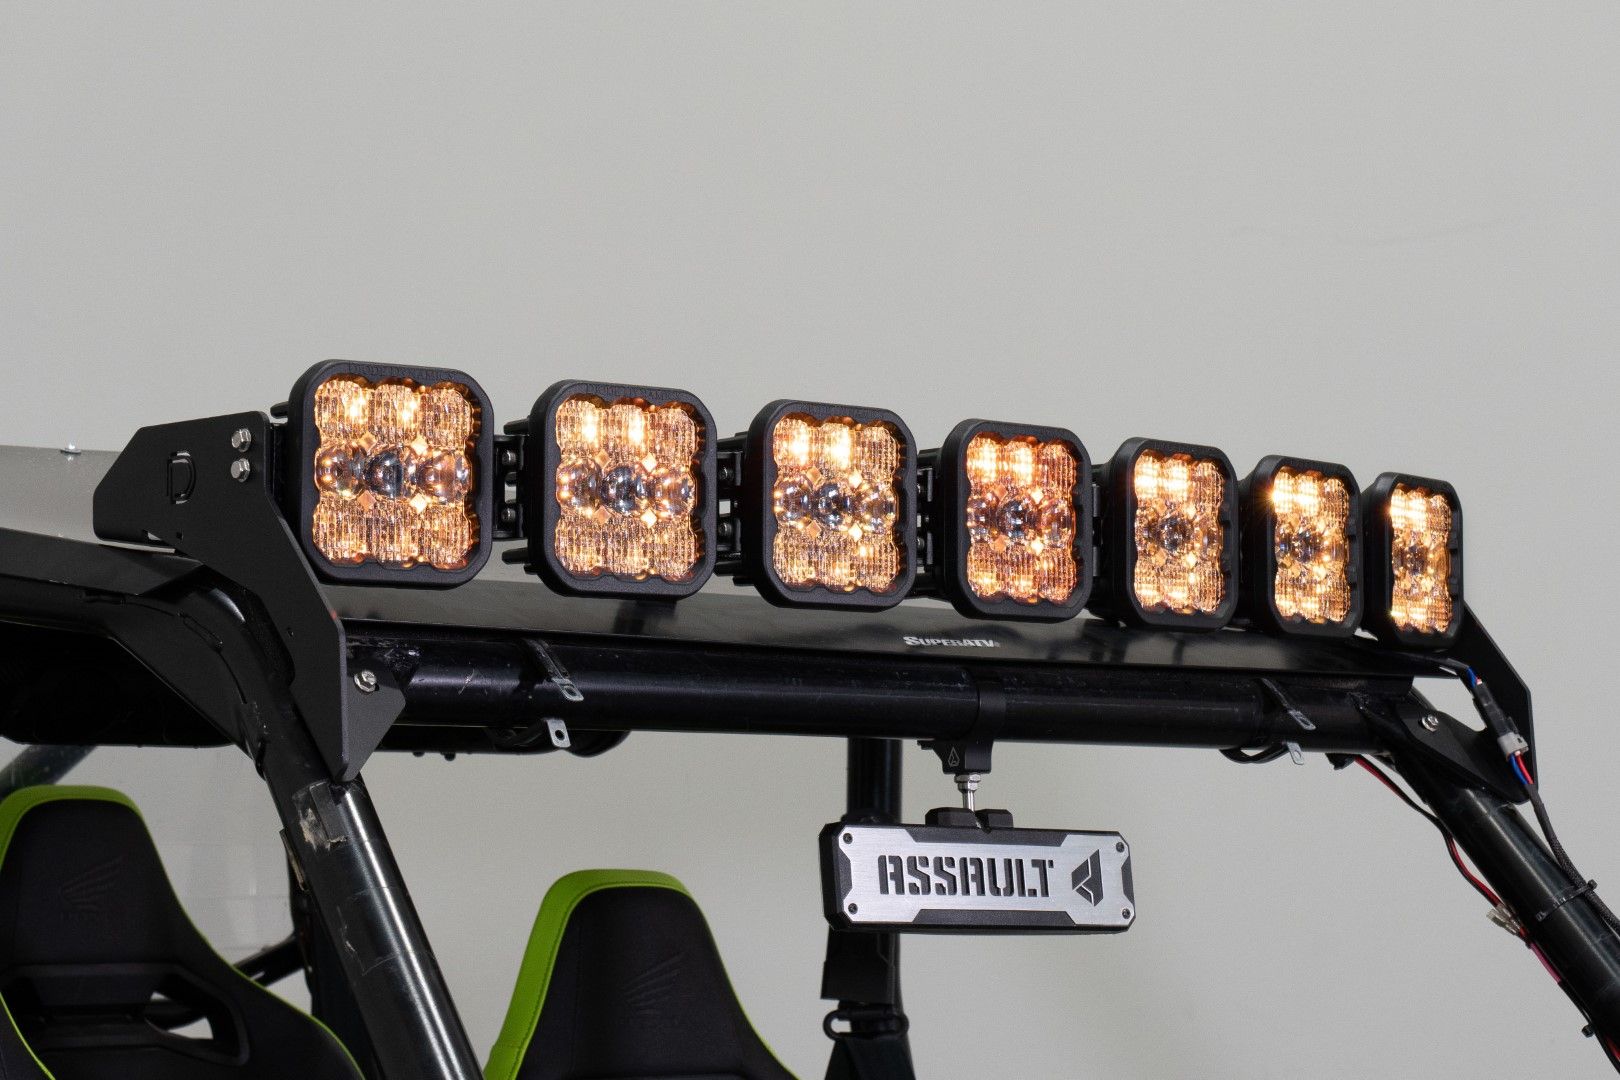
Table of Contents
- Installation Video
- Tools Required
- Installation Instructions
- Questions About the Install?
- Shop Honda Talon Lighting at Ess K Customs
Installation Video
Tools Required
- 5mm Allen wrench
- 10mm socket and wrench
- 13mm and 14mm wrenches
- Phillips head screwdriver
- Trim removal tool or flathead screwdriver
- Zip ties
Installation Instructions
Step 1 — Remove Front Roof Bolt
Using a 5mm Allen wrench, remove the front Allen bolt from the roof. Save the washer for reuse.
Step 2 — Install Roof Bracket
Place the washer back on the roof, followed by the CrossLink windshield bracket. Secure with the included 5mm Allen bolt but don't fully tighten yet.
Step 3 — Secure Lower Bracket
Align the lower bracket with the roll cage and secure using the included nut and bolt. If you have an aftermarket windshield covering this area, remove or adjust it. Tighten with a 10mm socket and wrench, then fully secure the top Allen bolt. Repeat for the other side.
Step 4 — Assemble Light Bar
Align the SS5 CrossLink Light Bar with the first notch of the hardware. Secure both support link mounts to the underside using a 10mm socket.
Step 5 — Mount the Light Bar
With assistance, lift the light bar into place and align the top two mounting points with the through holes of the bracket. Secure with the included 10mm bolts on both sides.
Step 6 — Adjust Support Mounts
Press the support link mounts against the roof and tighten using 13mm and 14mm wrenches. Repeat for the other side.
Step 7 — Wire the Harness
Connect the eight-pod harness to each pod, ensuring the male end is on the driver's side. Secure loose wiring with zip ties.
Step 8 — Connect to Power
Remove the battery cover by releasing three metal clips. Loosen the battery terminals with a Phillips screwdriver and connect the positive and negative leads. Secure the fuse and relay, then replace the battery cover.
Step 9 — Install the Switch
Remove the three trim clips with a flathead screwdriver. Route the switch and DT connector through, then replace the clips. Position the switch along the driver-side roll bar and secure with zip ties. Plug the DT connector into the CrossLink harness. Test the system, secure all loose wiring, and reassemble. The install is complete.
Questions About the Install?
If you run into any issues during the installation, contact Ess K Customs — as an authorized Diode Dynamics dealer, we're here to help.
Shop Honda Talon Lighting at Ess K Customs
Looking for lighting upgrades for your Honda Talon? As an authorized Diode Dynamics dealer, Ess K Customs carries genuine products with full manufacturer warranty.
Browse Honda Talon Lighting at Ess K Customs →
This install guide applies to Diode Dynamics SKUs: DD7916P, DD7917, DD7918, DD7919, DD7920