
The Stand-Off D-Switch Hub Mounting Kit provides a secure and versatile way to mount your D-Switch Hub in nearly any vehicle or custom application. This is a quick install that only requires basic hand tools and a drill. Here's the full walkthrough.
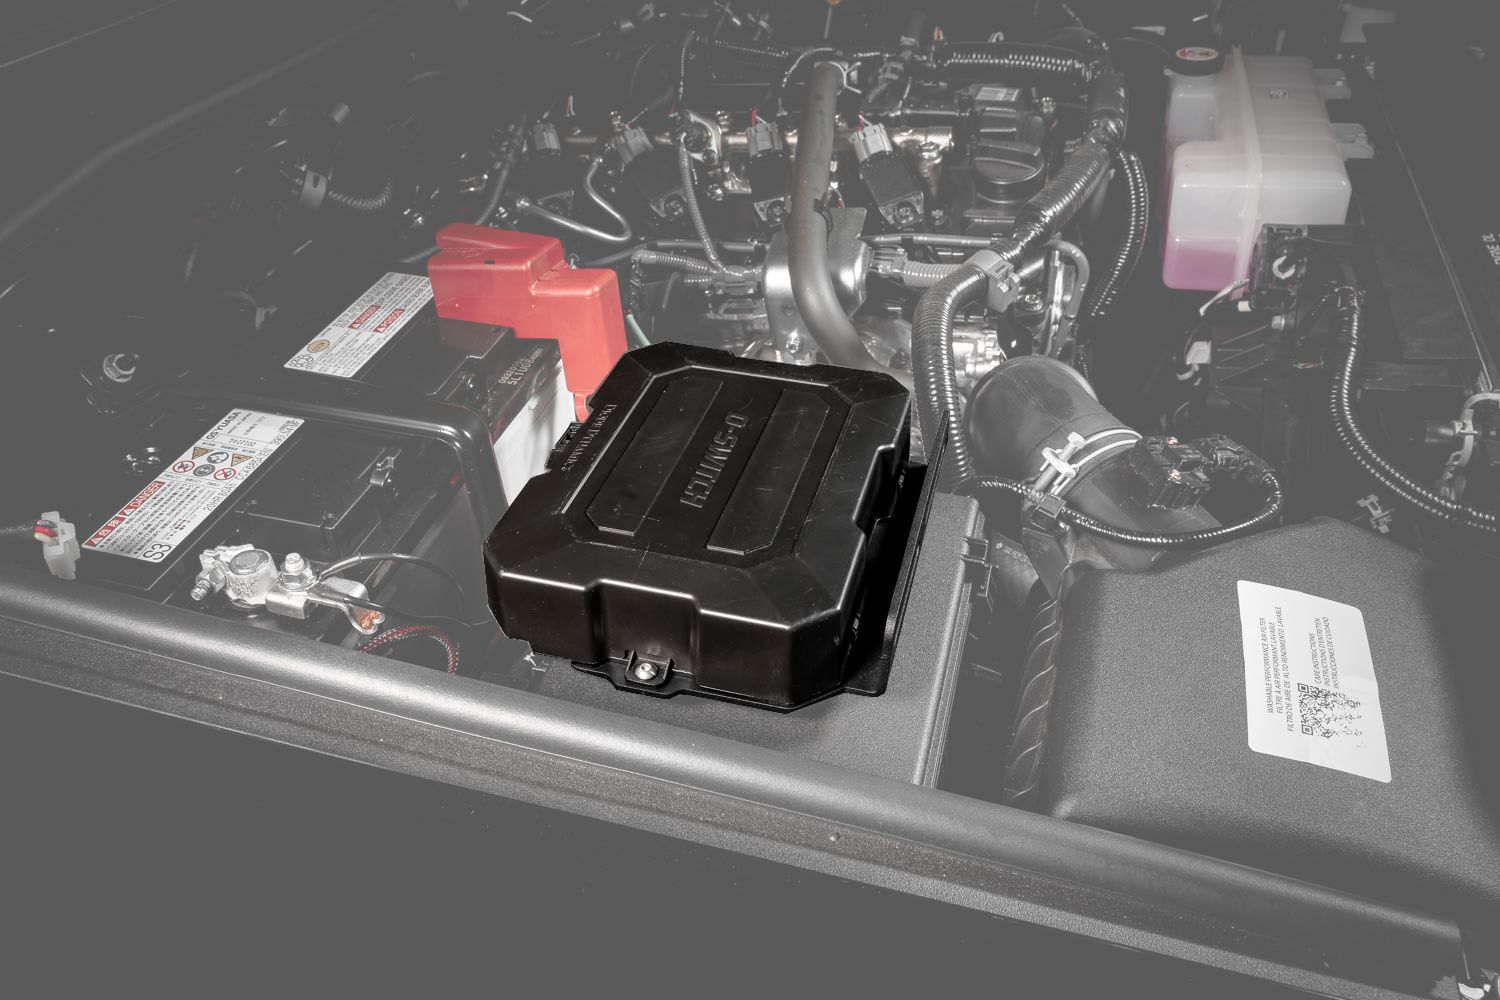
Table of Contents
- Tools Required
- Installation Instructions
- Questions About the Install?
- Shop D-Switch at Ess K Customs
Tools Required
- 8mm socket
- T25 Torx driver
- 7/32" drill bit
- Sharpie or marking tool
Installation Instructions
Step 1 — Hold the mounting bracket to the surface where you plan to install it and determine which four holes will be used. Mark the mounting surface with a Sharpie using the bracket as a template.
Step 2 — Use a 7/32" drill bit to drill the marked holes on your chosen mounting surface.
Step 3 — Insert the screws through the preselected holes on the mounting bracket and into the surface, with the spacers positioned between the bracket and the surface. Tighten the nuts using a T25 Torx driver and 8mm socket.
Step 4 — Secure the D-Switch Hub to the designated holes on the bracket using the included fasteners from the D-Switch kit.
Step 5 (Optional) — The outer flange on the bracket allows for side mounting if preferred. Hold the bracket to your chosen side surface, mark with a Sharpie, and secure using appropriate hardware (up to M8 fasteners, not included). The install is complete.
Questions About the Install?
If you run into any issues during the installation, contact Ess K Customs — as an authorized Diode Dynamics dealer, we're here to help.
Shop D-Switch at Ess K Customs
Looking to add the D-Switch system to your build? As an authorized Diode Dynamics dealer, Ess K Customs carries genuine products with full manufacturer warranty.
Shop Diode Dynamics D-Switch 8-Channel Switch Panel →
This install guide applies to Diode Dynamics SKUs: DD8576, DD8840