
The SS3 LED Headlight Kit for the 2022-2024 Honda Talon replaces your factory headlights with Diode Dynamics SS3 LED pods for dramatically increased light output and an aggressive, custom look. This is a direct-fit kit with no permanent modifications. Here's the full walkthrough.
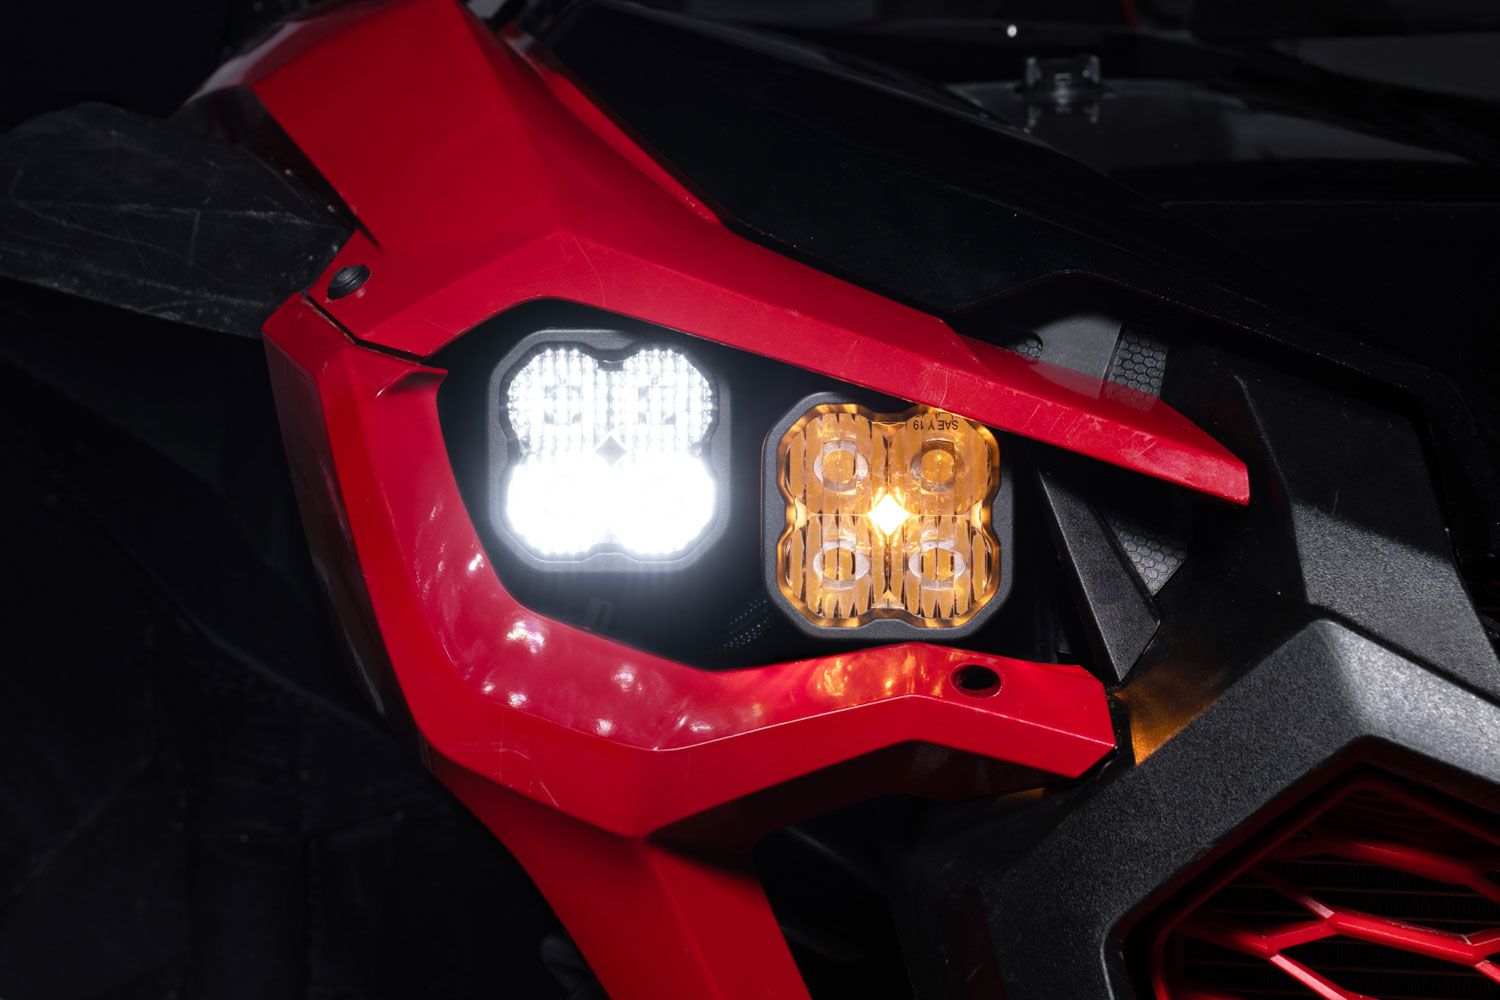
Table of Contents
- Installation Video
- Tools Required
- Installation Instructions
- Questions About the Install?
- Shop Honda Talon Lighting at Ess K Customs
Installation Video
Tools Required
- Flathead screwdriver
- Trim removal tool
- 10mm socket and wrench
- 5mm Allen wrench
- Phillips head screwdriver
- 13mm wrench
- Zip ties
Installation Instructions
Step 1 — Remove the Hood and Front Components
Twist the hood latches and firmly pull up on the corners to remove the hood. Disconnect the headlight harness by pressing the locking clip and pulling the connector away.
Step 2 — Remove the Bumper and Factory Headlights
Optionally remove the front cowl for additional working room (four plastic clips, four 10mm bolts, five 5mm Allen bolts). Use a 10mm socket to remove the four bolts securing the headlights. Detach the outer plastic clip and 5mm bolt from the headlight shroud, then remove two additional plastic clips. Use a 10mm wrench on the side bumper bolt. Remove two plastic clips from the skid plate, then lift up on the fenders and pull the bumper forward to remove it.
Step 3 — Remove the Factory Headlight Assembly
Remove the headlight cap and unplug the factory bulb. Use a Phillips screwdriver to remove the screw and spring from each headlight — these will not be reused. Pull the headlight plastic and bucket apart to release the headlight pin, then fully remove the factory headlights.
Step 4 — Assemble the SS3 LED Headlights
Attach the included bracket to each SS3 LED pod using the supplied hardware. Secure the pod to the bracket with the carriage bolt, washers, lock washers, and nuts using a 13mm wrench. Position the Combo Beam (low beam) pod on the outside and the Driving Beam (high beam) pod on the inside.
Step 5 — Install the SS3 Headlights
Plug the wiring harness into each SS3 pod, connecting the low beam to the Combo Beam and the high beam to the Driving Beam. Route the backlight wire out of the dust cap opening. Position the SS3 assembly inside the factory housing. Lift up on the fender, insert the pods and bracket into place, and loosely install the provided Allen screws and nuts. Once aligned, tighten the bolts with a 5mm Allen wrench.
Step 6 — Wire the Backlight Feature
Reconnect the factory headlight harness and locate the OEM accessory power connector. Unplug it and add the Stage Series backlight harness in-line. Route the harness along the factory wiring and plug it in-line with each headlight.
Step 7 — Fuse Installation
Inside the vehicle, pull down on the fuse box cover between the two seats. Depress the side clips and lift the lid off. Remove the red 10-amp light fuse and replace it with the provided 15-amp fuse.
Step 8 — Test and Final Assembly
Turn on the lights to test low beams, high beams, and backlights. Secure all wiring with zip ties and reassemble the bumper, grille, and interior components in reverse order. The install is complete.
Questions About the Install?
If you run into any issues during the installation, contact Ess K Customs — as an authorized Diode Dynamics dealer, we're here to help.
Shop Honda Talon Lighting at Ess K Customs
Looking for lighting upgrades for your Honda Talon? As an authorized Diode Dynamics dealer, Ess K Customs carries genuine products with full manufacturer warranty.
Browse Honda Talon Lighting at Ess K Customs →
This install guide applies to Diode Dynamics SKUs: DD7896, DD7897