
The Stage Series A-Pillar LED Pod Kit for the 2014-2018 Polaris RZR XP mounts two SS3 or SS5 LED pods to the A-pillars of your UTV for a powerful increase in light output during nighttime rides and dusty conditions. The SS5 pods feature eight selectable backlight colors you can toggle when the main beams aren't in use. Here's the full walkthrough.
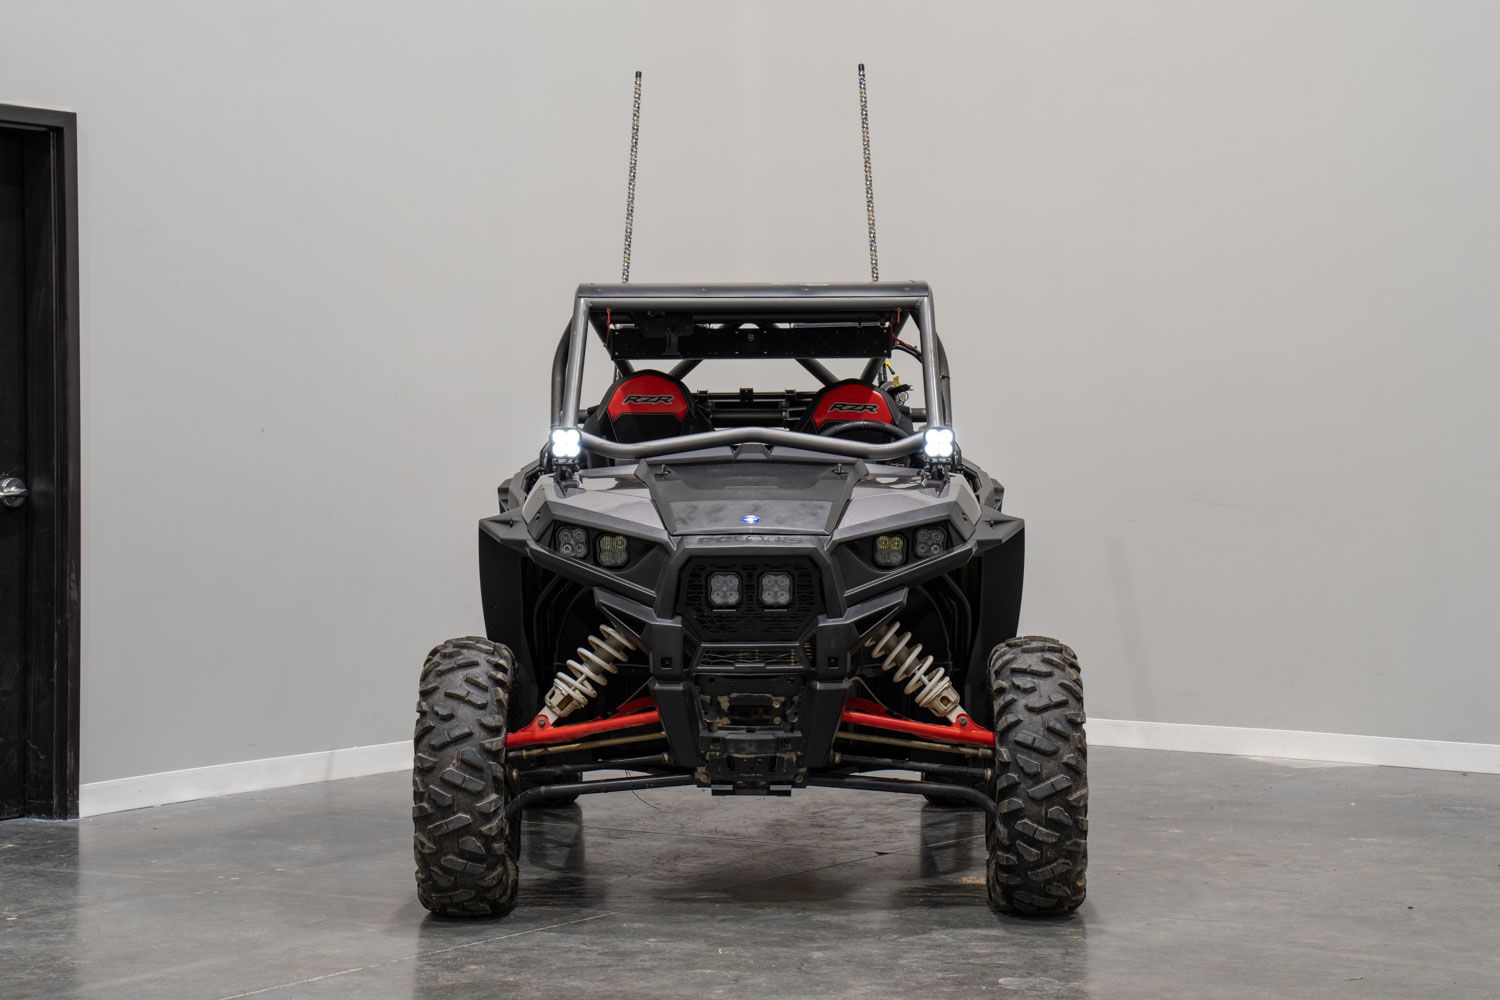
Table of Contents
- Installation Video
- Tools Required
- Mounting Instructions
- Wiring Instructions
- Questions About the Install?
- Shop RZR Lighting at Ess K Customs
Installation Video
Tools Required
- Ratchet
- 10mm socket
- 18mm socket
- 13mm wrench
- 18mm wrench
- 5/32" Allen key
Mounting Instructions
Step 1 — Remove the A-Pillar Cage Bolts
Remove the two 18mm bolts on the driver side of the vehicle using an 18mm socket.
Step 2 — Install the Spacer and Bracket
Drop in one included spacer on the inside of the frame. Place the included bracket over the cage and secure it using the two factory 18mm bolts you just removed. Repeat on the passenger side.
Step 3 — Assemble and Mount the LED Pods
Assemble your SS3 or SS5 LED pods per the included assembly guide. Place the pod on the A-pillar bracket and secure it by dropping the carriage bolt through the u-bracket and A-pillar bracket, then feed on the washer, lock washer, and fasten the nut with a 13mm wrench. Tilt the pod up/down to adjust aim and secure with the 5/32" Allen bolts on each side. Repeat on the passenger side.
Wiring Instructions
Step 4 — Access the Battery
Reach between the driver's seat and lift the release lever on the backside. Pull the seat forward, up, and out of the vehicle.
Step 5 — Connect the Wiring Harness
Use a 10mm socket to loosen the negative and positive battery terminals. Slide the wiring harness terminals in place and re-secure. Mount the relay harness to a location of your choice or store it under the seat.
Step 6 — Route and Connect DT Connectors
Route the two 4-pin DT connectors to each LED pod and plug them in. Mount the toggle switch to your preferred location — you can connect to an aftermarket switch bank or drill and mount the toggle to the dash.
Step 7 — Test and Aim
Test the backlight feature first, then test the main beam. Make final aiming adjustments — rotate the pods left/right and tighten with a 13mm wrench, tilt up/down and secure with a 5/32" Allen key. The install is complete.
Questions About the Install?
If you run into any issues during the installation, contact Ess K Customs — as an authorized Diode Dynamics dealer, we're here to help.
Shop RZR Lighting at Ess K Customs
Looking for lighting upgrades for your Polaris RZR XP? As an authorized Diode Dynamics dealer, Ess K Customs carries genuine products with full manufacturer warranty.
Browse RZR Lighting at Ess K Customs →
This install guide applies to Diode Dynamics SKUs: DD7845P, DD7846, DD7847, DD7848, DD7849, DD7850, DD7851, DD7852, DD7853