
The Premium Switchback LED Halos for the 2016–2018 Chevrolet Camaro add a bold, functional accent inside the headlight. These halos operate as a bright white running light and switch to amber when the turn signal activates — giving your Camaro a clean OEM-style upgrade with added visibility. Because this install requires opening the headlights, professional installation is strongly recommended.
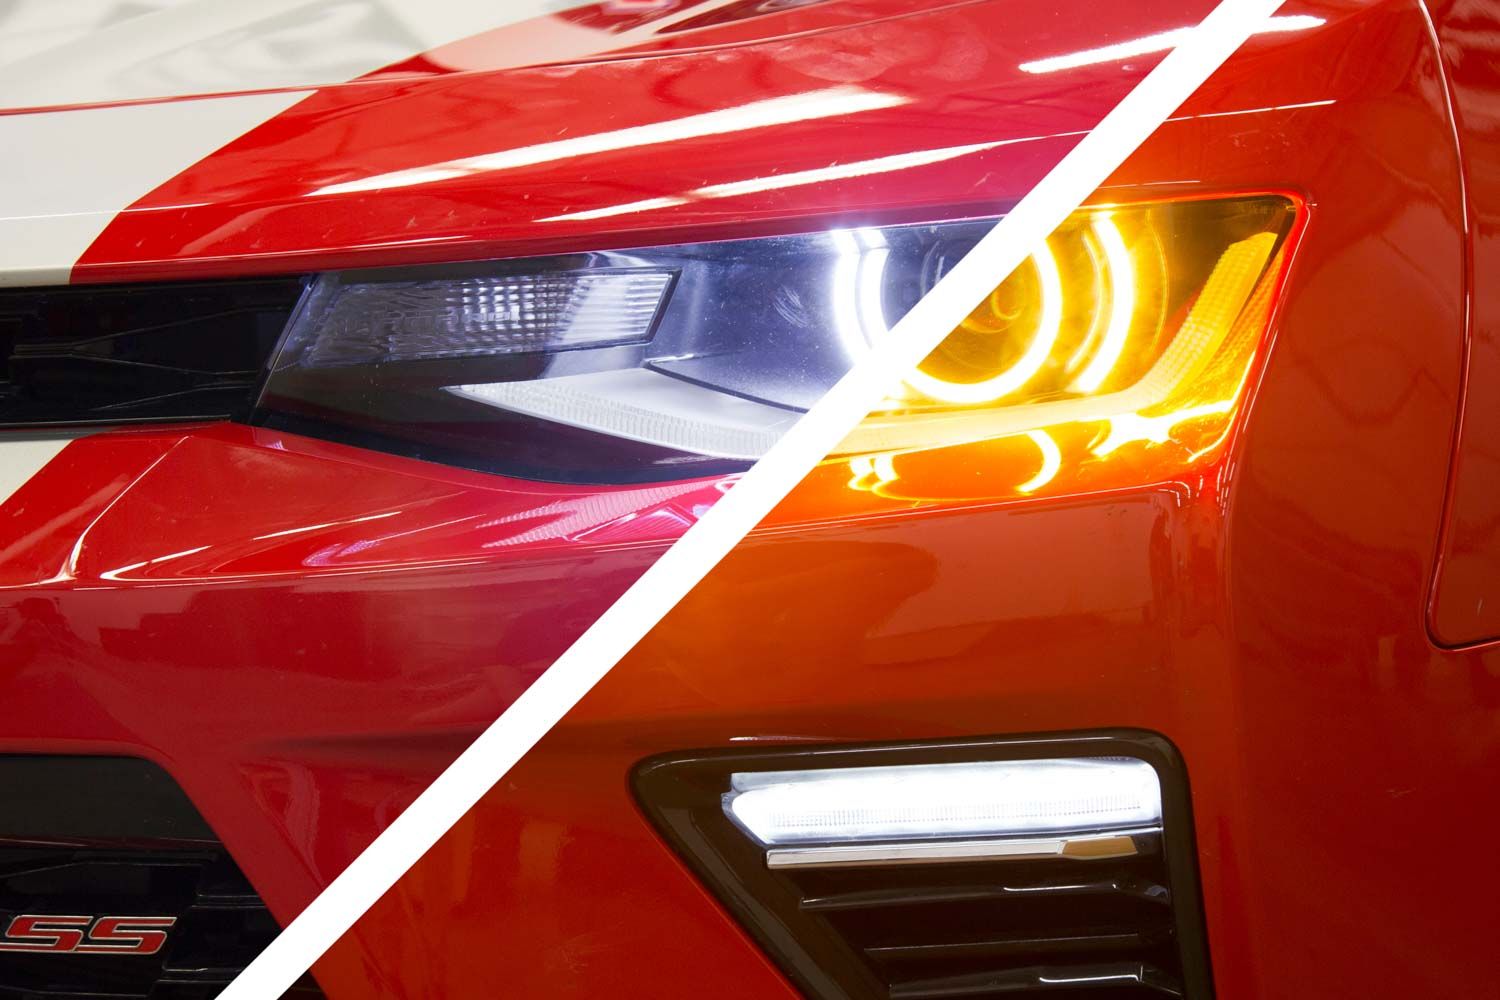
Table of Contents
- Tools Required
- Installation Instructions
- Questions About the Install?
- Shop Camaro Lighting at Ess K Customs
Tools Required
- Beading wire or epoxy (for mounting halos)
- Basic hand tools for headlight removal
- Heat gun or oven (for opening headlights)
- Wire taps or soldering tools
Time Required: Approximately 2–4 hours.
Important: Headlights must be opened before proceeding. This involves heating and carefully separating the lens from the housing — the process is permanent, so professional installation is strongly recommended.
Installation Instructions
Step 1 — Remove the headlights from the vehicle. Open the headlight housings by heating and carefully separating the lens from the housing.
Step 2 — Mount the LED halos to the projector bezel using beading wire or epoxy. Make sure the halos are securely mounted and evenly positioned.
Step 3 — Route the halo wiring to the rear of the headlight housing. Seal any holes you create during this process to maintain a proper seal when the headlight is reassembled.
Step 4 — Connect the halo connectors to the driver, then connect the driver to the pigtail. Do not connect the LED halos directly to the pigtail without the driver — the driver is required to regulate power.
Step 5 — Tap the bare wires on the pigtail to the appropriate factory wires to control halo operation:
- Red wire (White DRL): Parking/DRL signal
- White wire (Low Power): Low beam signal
- Black wire: Ground
- Yellow wire (Amber): Turn signal
These connections control when the halos illuminate in white or amber.
Step 6 — Mount the driver outside of the headlight housing for serviceability, in a location away from the engine block to avoid excessive heat buildup. Secure and tidy all wiring.
Step 7 — Test the system thoroughly to confirm proper operation of both the white running light and amber turn signal functions. Once verified, reseal the headlight housings and reinstall them on the vehicle. The install is complete.
Questions About the Install?
If you run into any issues during the installation, contact Ess K Customs — as an authorized Diode Dynamics dealer, we're here to help.
Shop Camaro Lighting at Ess K Customs
Looking to upgrade your Camaro's lighting? As an authorized Diode Dynamics dealer, Ess K Customs carries genuine products with full manufacturer warranty.
Shop LED Sidemarkers for 2016-2024 Chevrolet Camaro →
This install guide applies to Diode Dynamics SKU: DD2218