
LED fog lamps deliver better output, a sharper beam pattern, and a modern appearance compared to factory halogen units. Diode Dynamics offers LED fog lamps — including Elite Series and Stage Series SS3 kits — for many popular vehicles. This guide covers the general installation and aiming process for LED fog lights.
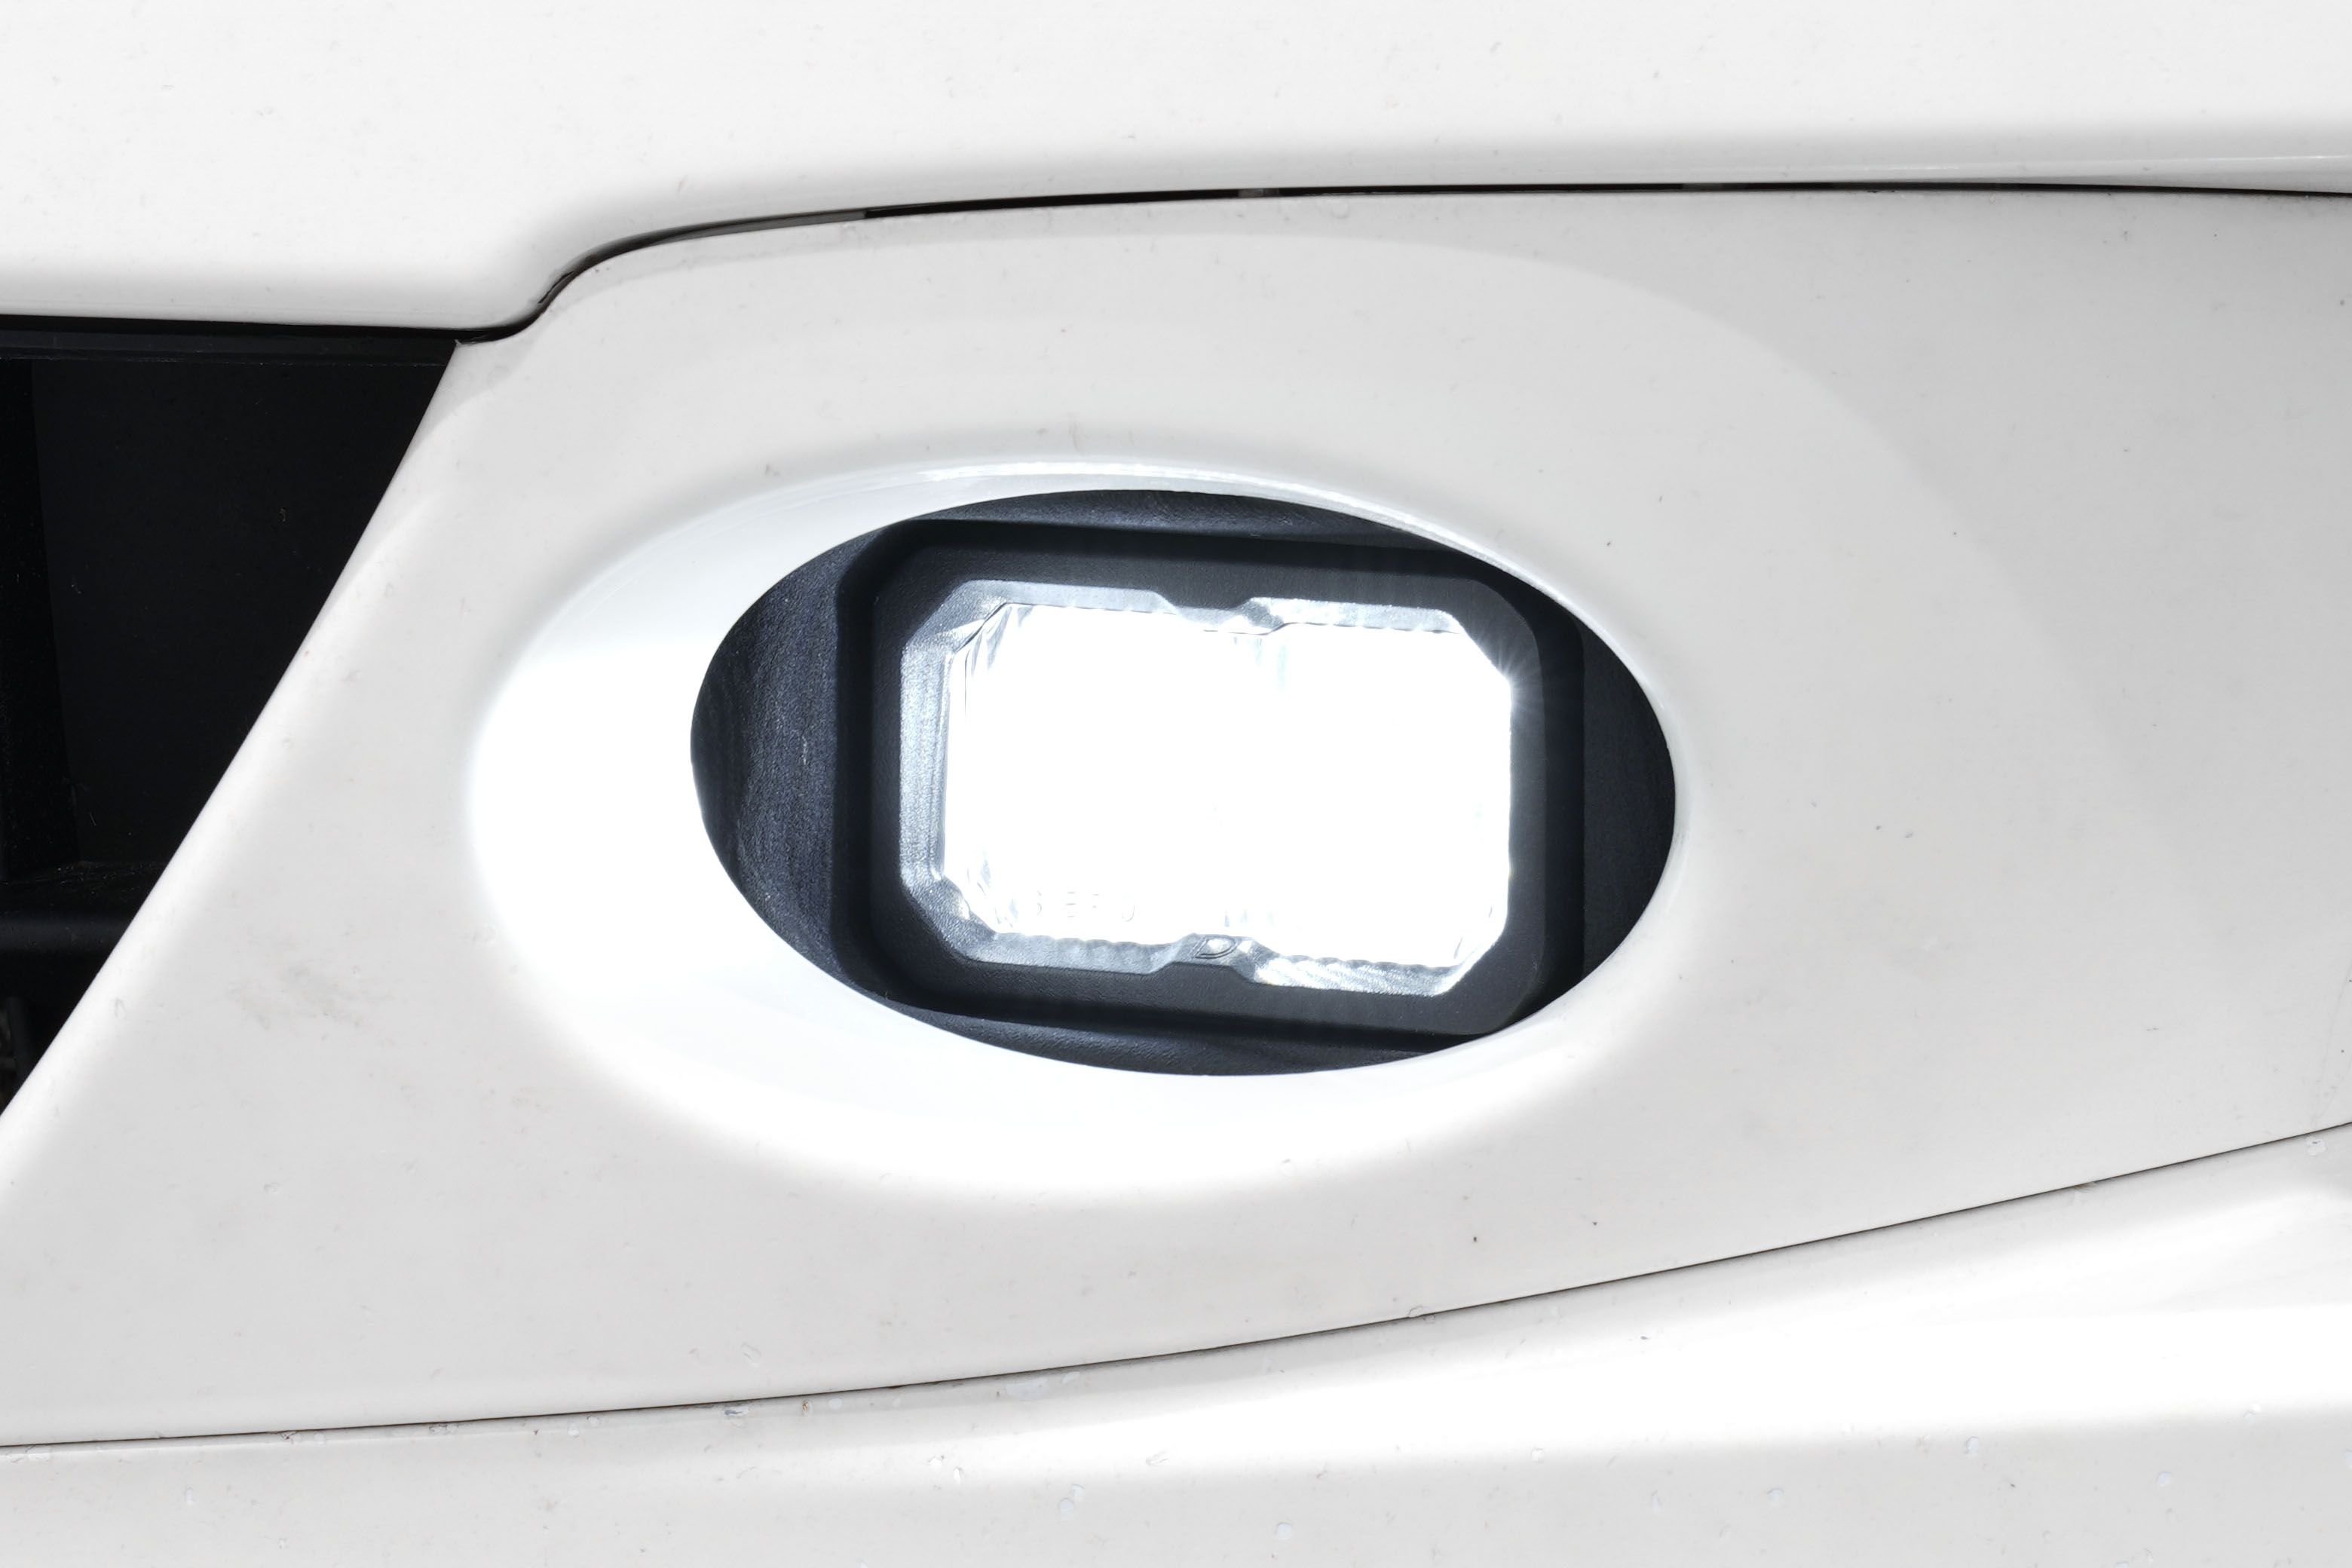
Table of Contents
- Installation Instructions
- Aiming Instructions
- Questions About the Install?
- Shop LED Fog Lights at Ess K Customs
Installation Instructions
Step 1 — Access the Factory Fog Light
Access your factory fog lights by reaching down near the headlight or by pulling back the wheel well liner.
Step 2 — Remove the Factory Fog Light
Disconnect the fog light connector from the vehicle wiring harness and remove the factory fog light housing. The factory hardware will be reused.
Step 3 — Install the LED Fog Light
Install your new LED fog lights using the factory hardware. If your vehicle has side-specific lights, the correct side is indicated on the back of the lamp. The tabs and holes on the bracket should align with the factory mounting points. Reuse the factory hardware and tighten securely.
Step 4 — Connect the Wiring
Use the included wire adapters to connect the lamp to the vehicle wiring harness. Test the function. If the light doesn't turn on, try flipping the connector 180 degrees.
Step 5 — Connect Backlight Power (Optional)
Connect the backlight power wire to a fused 12V source (such as a parking light or side marker) to activate the backlight feature. T-Taps are included for this purpose. Check local laws for on-road use of the backlight feature. The power source must be fused — do not connect directly to the battery.
Step 6 — Install the Opposite Side
Repeat the steps on the other side of the vehicle.
Aiming Instructions
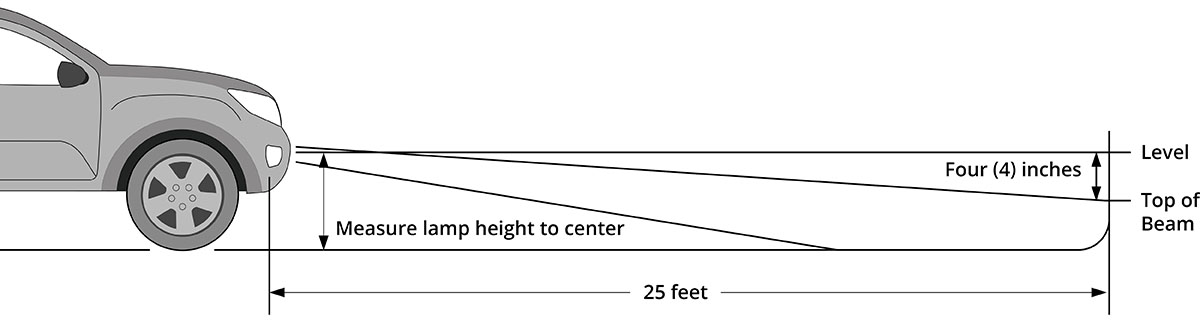
Step 7 — Position Your Vehicle
Park on a level surface, 25 feet away from a wall or garage door.
Step 8 — Measure Mounting Height
Measure the distance from the ground to the center of your fog lamp. This is your mounting height.
Step 9 — Mark Mounting Height
Mark the mounting height on the wall using tape.
Step 10 — Mark the Cutoff Line
Add another piece of tape four inches below the mounting height mark. This is your fog light cutoff line.
Step 11 — Aim the Fog Lights
Using the integrated adjustment screw, aim the fog lights on each side so the top of the beam pattern lines up with the cutoff mark. The install and aiming are complete.
Questions About the Install?
If you run into any issues during the installation, contact Ess K Customs — as an authorized Diode Dynamics dealer, we're here to help.
Shop LED Fog Lights at Ess K Customs
Ready to upgrade your factory fog lights? As an authorized Diode Dynamics dealer, Ess K Customs carries a full range of Elite Series and SS3 LED fog light kits with full manufacturer warranty.