
The Elite Series Combination Fog Lamps for the 2018–2023 Ford Mustang deliver OEM-style fitment with modern functionality — bright white parking lights and DRLs, sequential amber turn signals, and a startup sequence when the vehicle is unlocked. Custom-designed housings drop right into the factory fog lamp locations. Here's the complete install walkthrough.
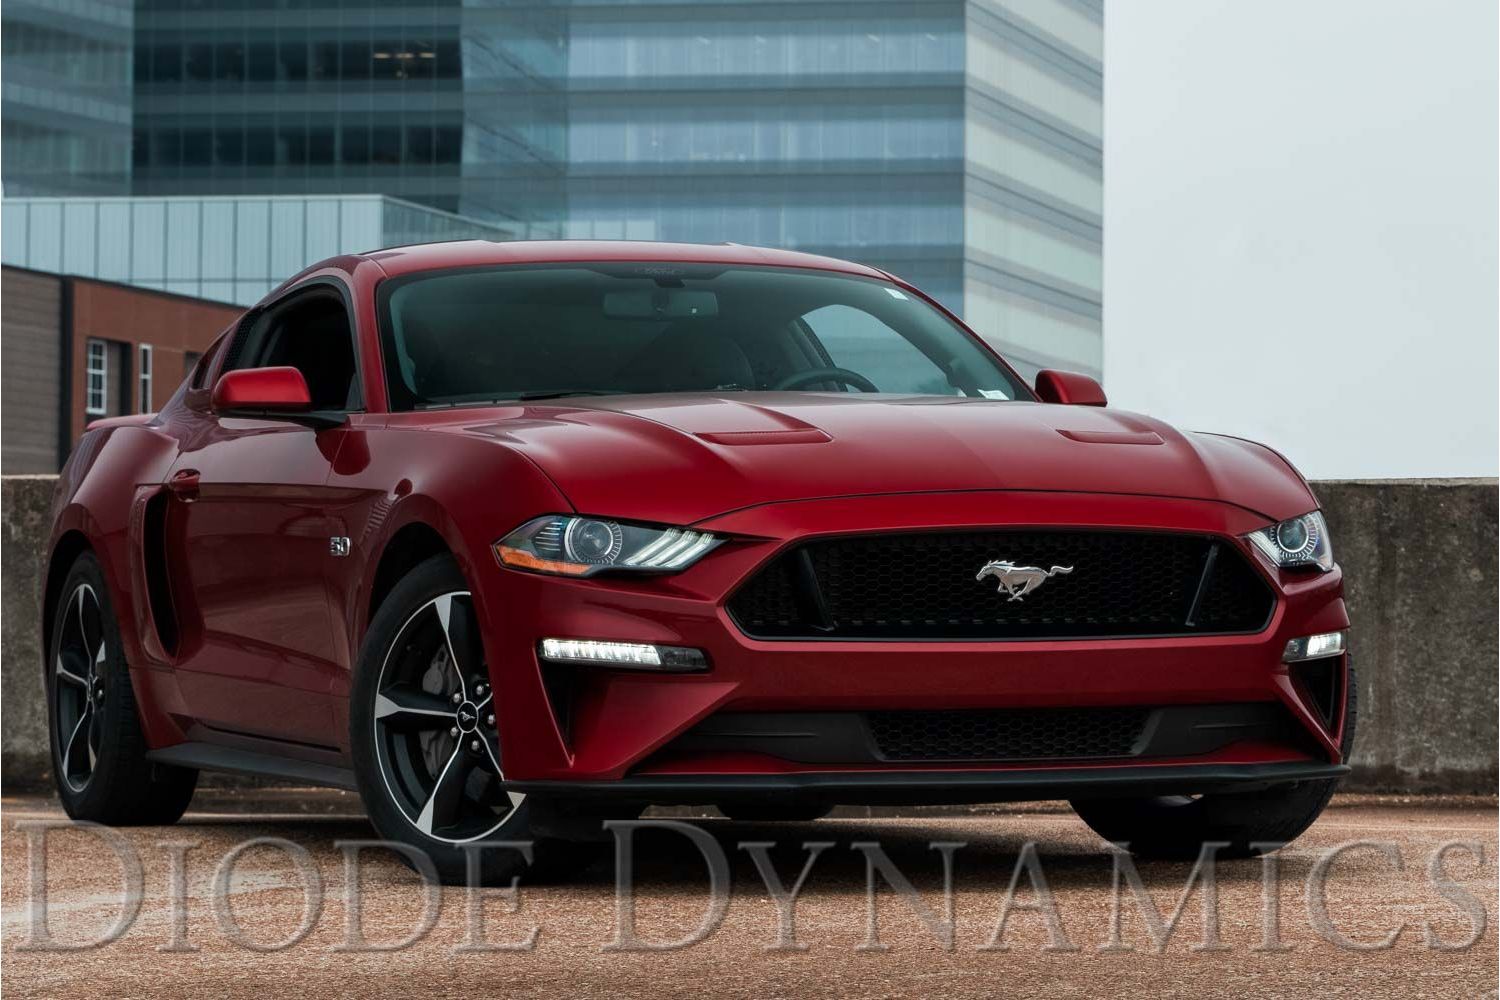
Table of Contents
- Tools Required
- Installation Instructions
- Aiming Instructions
- Questions About the Install?
- Shop Mustang Fog Lamps at Ess K Customs
Tools Required
- Plastic trim removal tool
- 7mm socket
- 8mm socket
- 7/32" socket
- 10mm socket
- Small screwdriver (included in kit)
Time Required: Approximately 2–3 hours.
Installation Instructions
Step 1 — Using a plastic trim removal tool, remove the eight push rivets securing the upper valance. Gently pry the valance off and set it aside.
Step 2 — On both sides of the vehicle, remove the three push rivets securing the inner fender liner.
Step 3 — Using a 7mm socket, remove the fifteen screws securing the bumper cover to the lower splash guard.
Step 4 — Using an 8mm and 7/32" socket, remove the eight bolts securing the bumper cover to the core support.
Step 5 — Peel back the inner fender and remove the two 10mm nuts securing the bumper cover to the fender on each side. A push pin between the nuts will stay in place — pull the bumper down and forward to release it.
Step 6 — Lift and rotate the bumper cover slightly upward to fully remove it. Disconnect the factory fog lamp connectors and set the bumper cover aside.
Step 7 — Unplug the factory headlight connector and install the included DRL harness inline. Plug the harness back into the headlight. Repeat on both sides of the vehicle.
Step 8 — Locate the extra wire on the DRL harness with braided loom. Remove the white retaining clip from the fog lamp connector, then remove the sealing plug from pin 6. Insert the new terminal into position 6, ensuring proper orientation, and reinstall the retaining clip. Repeat for the other side.
Step 9 — Using a 7mm socket, remove the three screws securing each factory fog lamp to the bumper cover. The factory screws will be reused.
Step 10 — Install the new Elite Series Combination Fog Lamps into the factory locations. Left and right sides are labeled on the housing. Secure using the factory 7mm screws.
Step 11 — Using the integrated switch inside the main connector on the back of the fog lamp housing, select your preferred turn signal mode:
- STAT: Static (non-sequential)
- EU: Sequential — faster speed
- US: Sequential — slower speed (matches tail lights)
Use the included screwdriver to set the switch. The factory connector will seal the housing once installed.
Step 12 — Reconnect the fog lamp connectors, place the bumper cover back onto the locators, and reinstall all fasteners by reversing Steps 1–5.
Aiming Instructions
Step 13 — Park the vehicle on a level surface 25 feet from a wall. Measure the height from the ground to the center of the fog lamp and mark that height on the wall. Place a second mark four inches below. Using the 8mm adjustment bolt on the back of the fog lamp, rotate clockwise to aim downward or counterclockwise to aim upward. The top of the beam should align with the lower mark.
Questions About the Install?
If you run into any issues during the installation, contact Ess K Customs — as an authorized Diode Dynamics dealer, we're here to help.
Shop Mustang Fog Lamps at Ess K Customs
Ready to upgrade your Mustang's fog lamps? As an authorized Diode Dynamics dealer, Ess K Customs carries genuine products with full manufacturer warranty.
Shop Elite Series Combination Fog Lamps for 2018-2023 Ford Mustang →
This install guide applies to Diode Dynamics SKUs: DD5132, DD5133