
The Diode Dynamics Kuat IBEX Bed Rack with SS10 Chase Light Kit adds a powerful, integrated rear-facing lighting solution to the Kuat IBEX bed rack. The SS10 provides enhanced visibility with brake, reverse, and chase light functions — all in a clean, rack-mounted package. Here's the full install walkthrough.
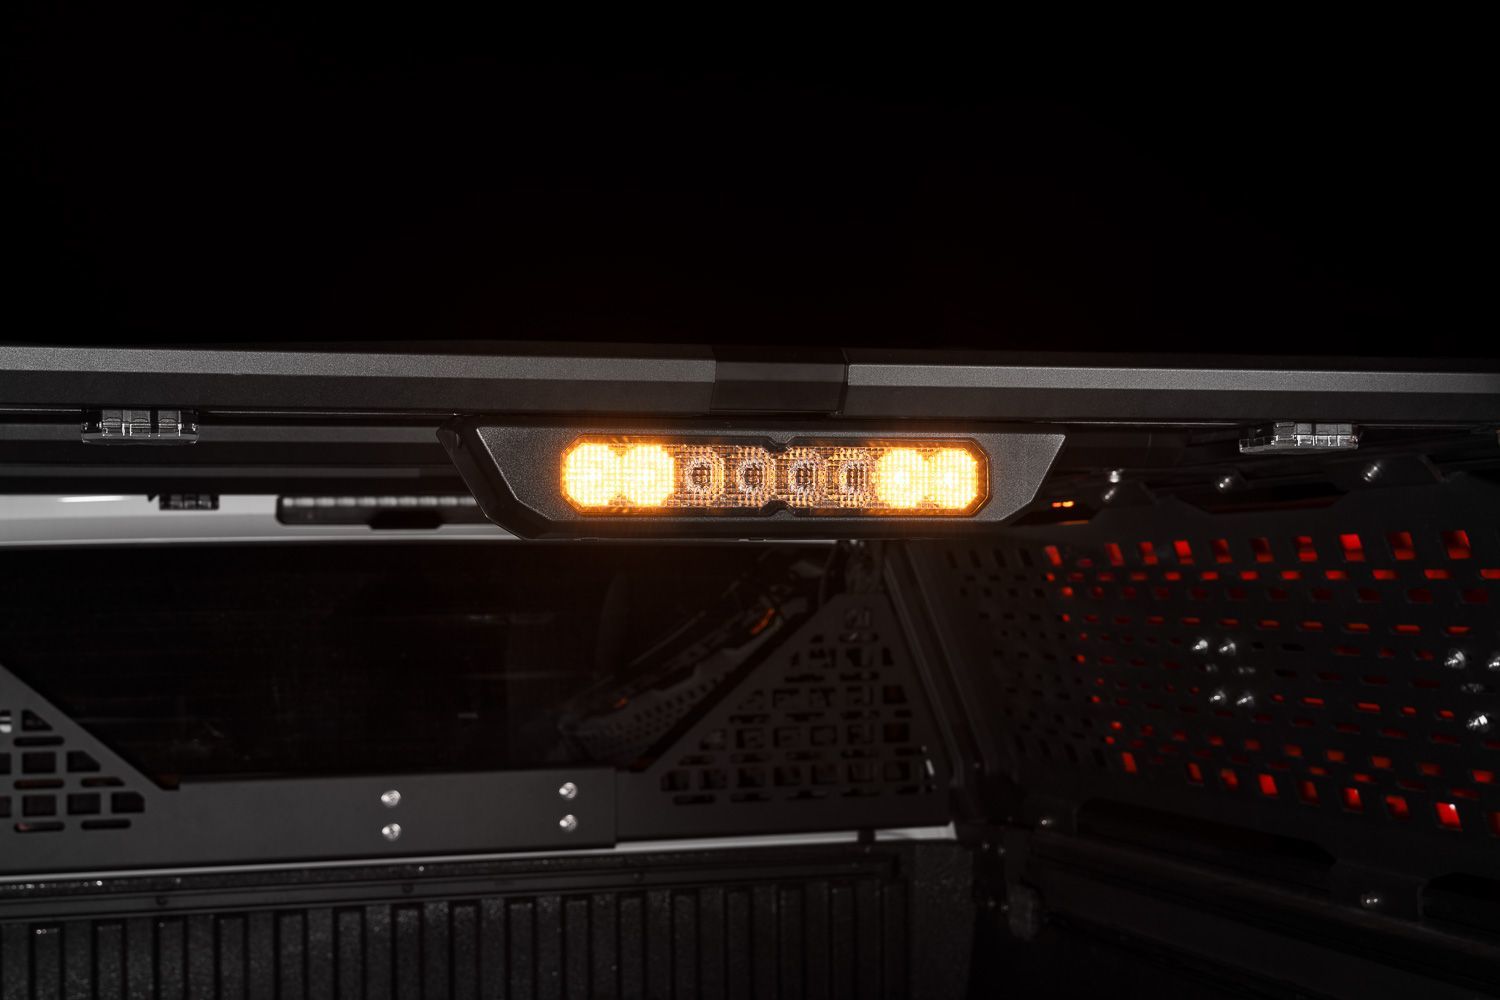
Table of Contents
- Kuat IBEX Bed Rack Installation
- SS10 Chase Light Installation
- Wiring and Setup
- Chase Light Programming
- Questions About the Install?
- Shop Stage Series Lighting at Ess K Customs
Kuat IBEX Bed Rack Installation
Before installing the lighting components, the Kuat IBEX bed rack must be fully assembled and mounted to your vehicle. Follow Kuat's official installation guide for the IBEX bed rack:
This product is offered as a complete lighting bundle that includes the SS10 Chase Light Kit covered here, plus a dedicated bed lighting kit. For the bed light installation, see: Stage Series LED Bed Light Kit for Kuat IBEX Bed Rack.
SS10 Chase Light Installation
Tools Required: 6mm Allen key
Step 1 — Angle and insert two T-slot nuts into the underside channel of the rearmost IBEX crossbar. Slide them into position where the chase light will be mounted.
Step 2 — Install a mounting bolt on each side of the plastic chase light housing. Make sure the internal forked mounting pieces are fully engaged before positioning the assembly onto the crossbar.
Step 3 — Center the chase light assembly on the crossbar, then tighten the mounting bolts evenly using a 6mm Allen key. Tighten to approximately 35 in-lbs. For best results, squeeze the housing pieces together while tightening.
Wiring and Setup
Step 4 — The kit includes a 3-meter extension harness, wire management strips, and a 4-wire pigtail. Lay these components out and determine the best routing path for your vehicle.
Step 5 — Use the 3-meter extension to route the wiring down into the truck bed cavity or tail light pocket, depending on your preferred connection point.
Step 6 — Cut the wire management strip into smaller sections as needed and wedge them into the T-slot channel to hold the wiring securely along the crossbar.
Step 7 — Connect the wiring as follows:
- Red wire: Brake light signal
- Black wire: Ground
- Blue wire: Reverse light signal
- Yellow wire: Switched power source for chase light operation
Wiring connectors such as T-taps or crimps are not included.
Chase Light Programming
Step 8 — To change a lighting pattern, apply 12V power to the desired function. Locate the Diode Dynamics logo on the housing and quickly tap the optic below the logo using the included magnet tool. Each tap cycles to the next available pattern.
Step 9 — To reset all functions to default, apply 12V power to all inputs simultaneously and hold the magnet tool to the optic for five seconds. The light will flash to confirm the reset. The install is complete.
Questions About the Install?
If you run into any issues during the installation, contact Ess K Customs — as an authorized Diode Dynamics dealer, we're here to help.
Shop Stage Series Lighting at Ess K Customs
Looking for Stage Series lighting for your truck build? As an authorized Diode Dynamics dealer, Ess K Customs carries genuine products with full manufacturer warranty.
Browse Stage Series LED Light Bars at Ess K Customs →
This install guide applies to Diode Dynamics SKUs: DD8724, DD8725, DD8726, DD8727, DD8728, DD8729, DD8730