
Installing LED boards, halos, or demon eyes in your headlights? You'll need to reseal them properly when you're done. Automotive-grade butyl headlamp sealant is specifically designed for headlight assemblies — providing a weather-tight seal that protects against moisture for years. Here's how to use it.
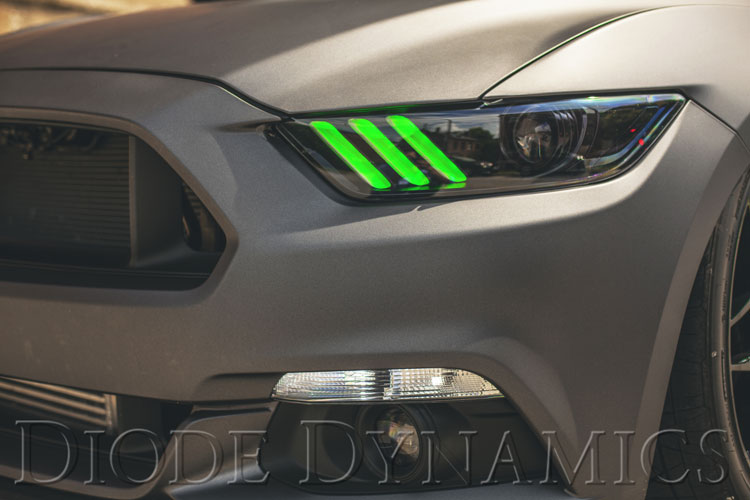
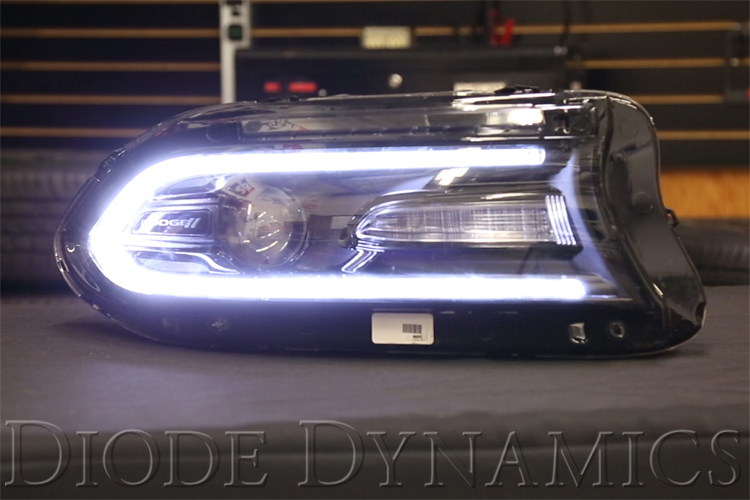
Table of Contents
- Step 1: Remove Old Sealant
- Step 2: Apply Butyl Sealant
- Step 3: Reheat Before Sealing
- Step 4: Apply Pressure and Reheat
- Step 5: Install Breather Patches (Optional)
- Shop Headlight Sealant at Ess K Customs
Important: Opening headlight housings requires heat ("baking") and experience. If you're not already familiar with this process, professional installation is strongly recommended.
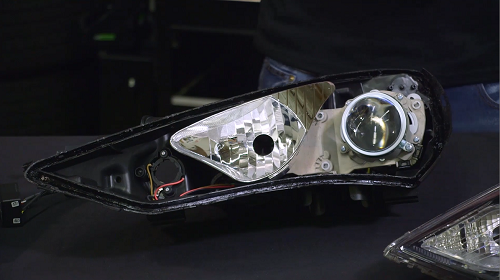
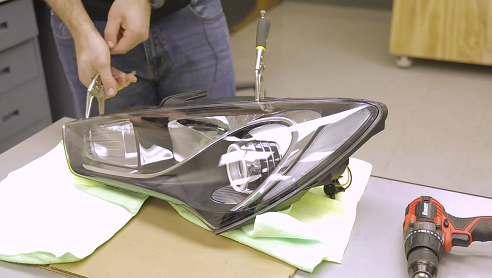
Step 1: Remove Old Sealant
After opening your headlights and installing modifications, thoroughly remove all old sealant from both the lens and housing. Clean out the channel completely to ensure a weather-tight seal. Remove sealant by hand — scraping with metal or plastic tools may damage the housing.
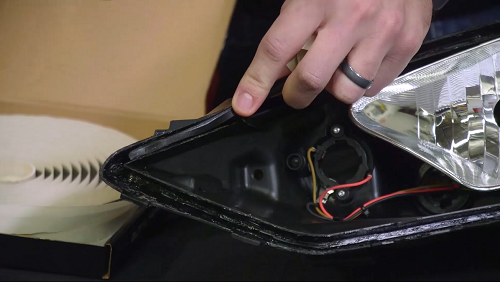
Step 2: Apply Butyl Sealant
Insert the butyl sealant into the channel on the headlight housing, pressing firmly as you work around the perimeter. At 7mm thick, the butyl tucks neatly into the channel. It can be molded and stretched as needed — it stretches easily when warm. Each roll is over 20 feet long, enough for two large headlights. Trim any excess when finished.
Step 3: Reheat Before Sealing
Reheat the headlight housing to make the butyl soft and tacky. If using an oven, bake at 275°F for 10-15 minutes. Once heated, firmly press the lens and housing together. Reinstall any bolts or screws. If your headlight was originally sealed with permaseal, adding a few small screws helps ensure the housing stays together.
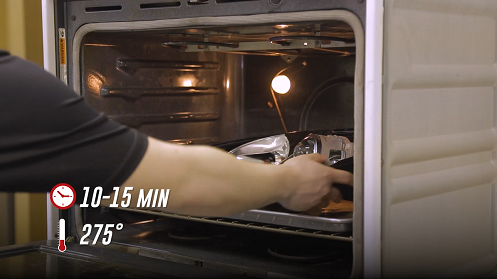
Warning: Use extreme caution — headlights will be extremely hot after heating.
Step 4: Apply Pressure and Reheat
Use clamps or locking pliers to press the housing together at as many points as possible. You may need five or more clamps per headlight. Once clamped, place back in the oven at 275°F for about 5 minutes to allow the butyl to fully seal. Remove and allow to cool completely to room temperature before reinstalling.
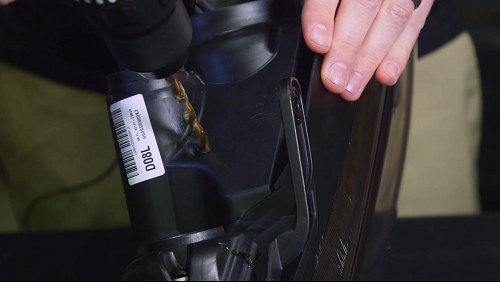
Step 5: Install Breather Patches (Optional)
For additional protection against moisture buildup, 20mm breather patches allow airflow while keeping condensation and water out. Drill a small hole in the back of the headlight and apply the breather patch material over the hole. Use caution when drilling to avoid damaging internal wiring or components.
Shop Headlight Sealant at Ess K Customs
Working on a headlight retrofit or custom build? As an authorized Diode Dynamics dealer, Ess K Customs carries butyl headlamp sealant, breather patches, LED boards, halos, demon eyes, and all the accessories you need — with full manufacturer warranty.
Browse Headlight Sealant and Retrofit Products at Ess K Customs →