
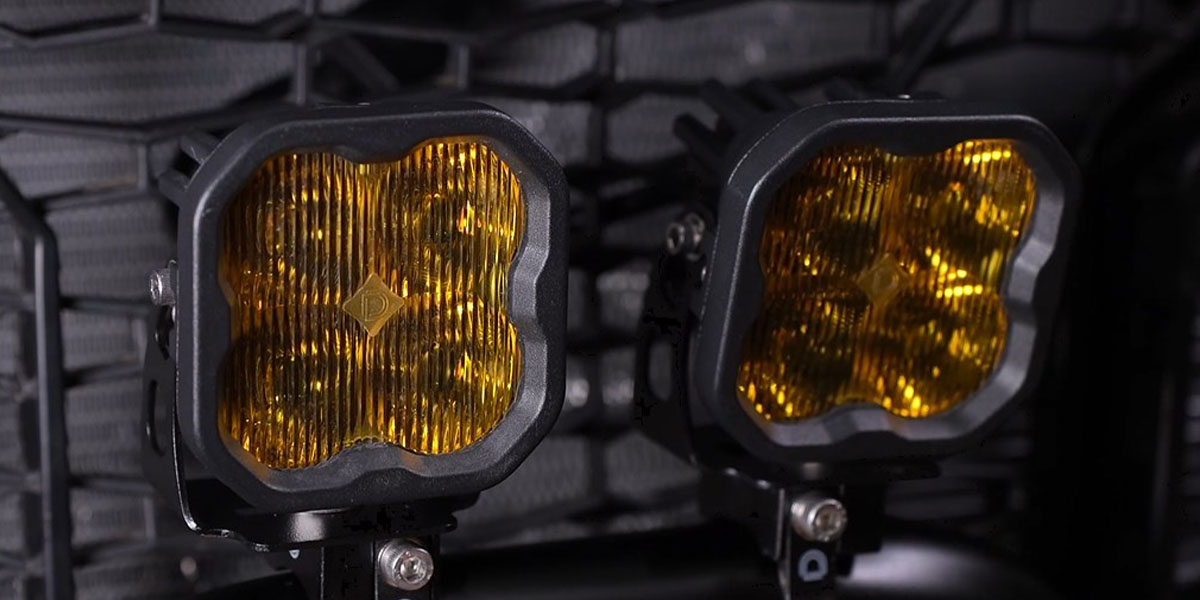
The SS3 Bumper LED Pod Light Kit for the 2020+ Polaris RZR Pro mounts two SS3 LED pods to the factory roll bar in the lower bumper area — no cutting or drilling required. The low mounting position is ideal for cutting through dust and fog. Here's the full installation walkthrough.

Table of Contents
- Installation Video
- Tools Required
- Disassembly Instructions
- Wiring and Switch Instructions
- Pod Mounting and Aiming
- Reassembly
- Questions About the Install?
- Shop RZR Lighting at Ess K Customs
Installation Video
Tools Required
- 3/8" drive ratchet
- 10mm socket and wrench
- 5/32" and 3/16" Allen keys
- T40 Torx driver
- Drill with 1/8" and stepping drill bits
- Flush-cut pliers
- Plastic trim removal tool
- Bubble level
Disassembly Instructions
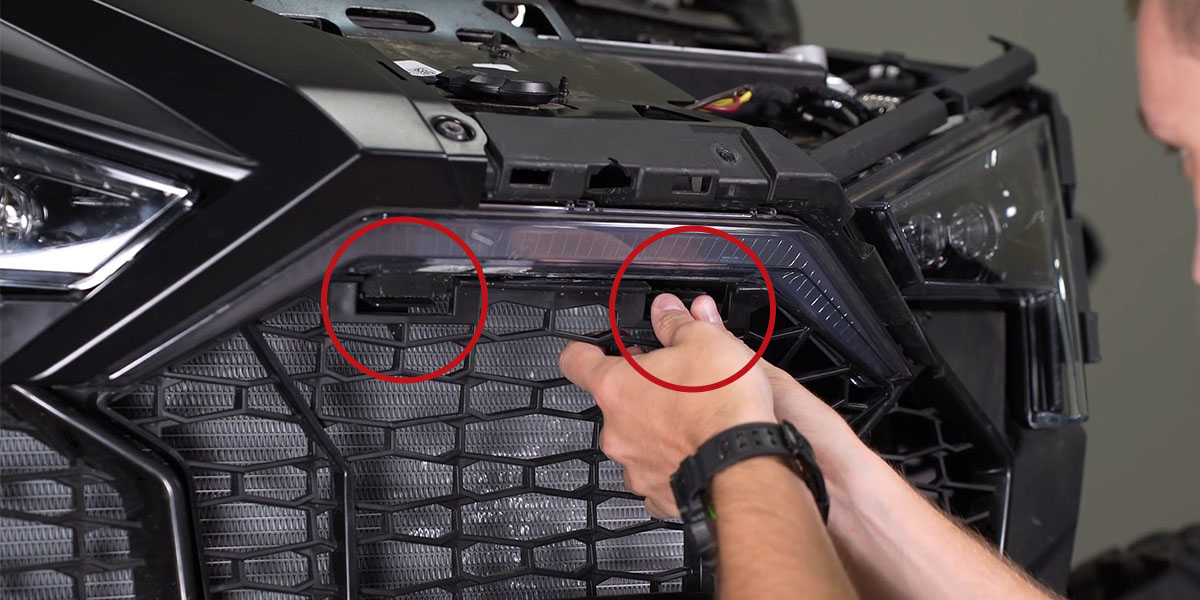
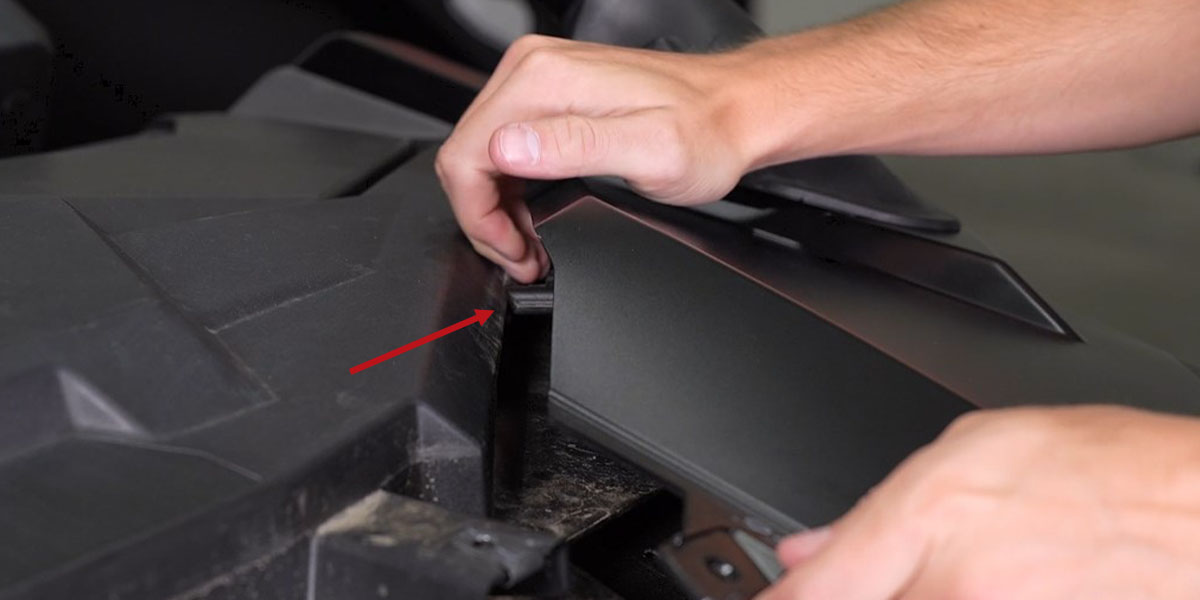
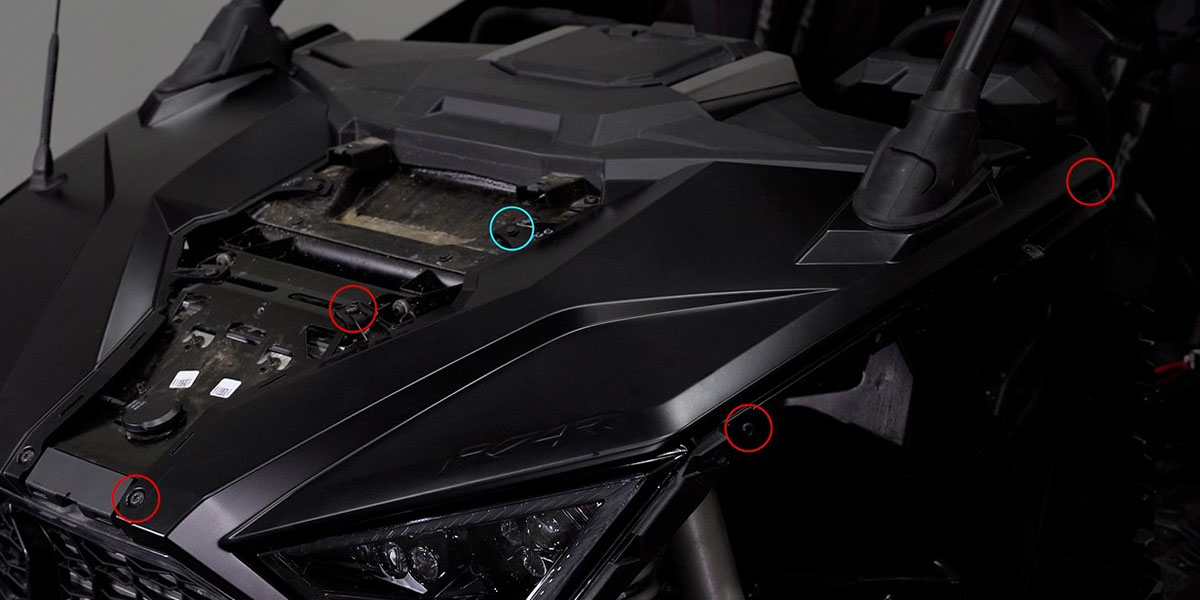
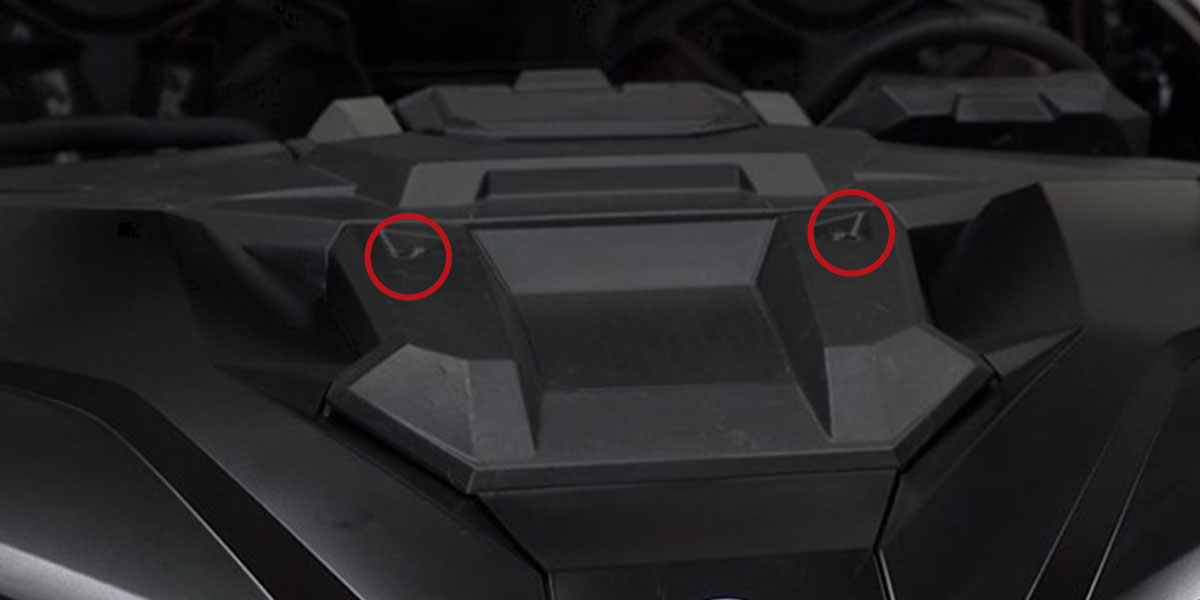
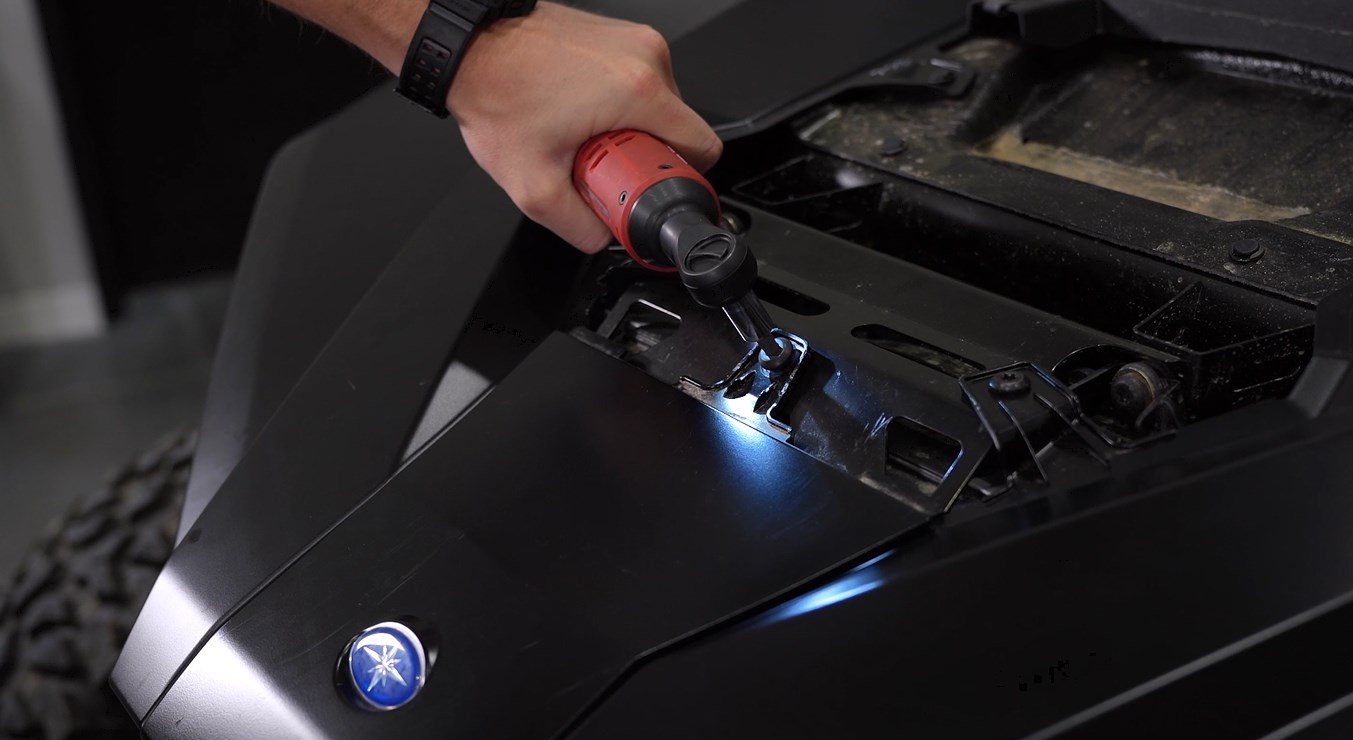
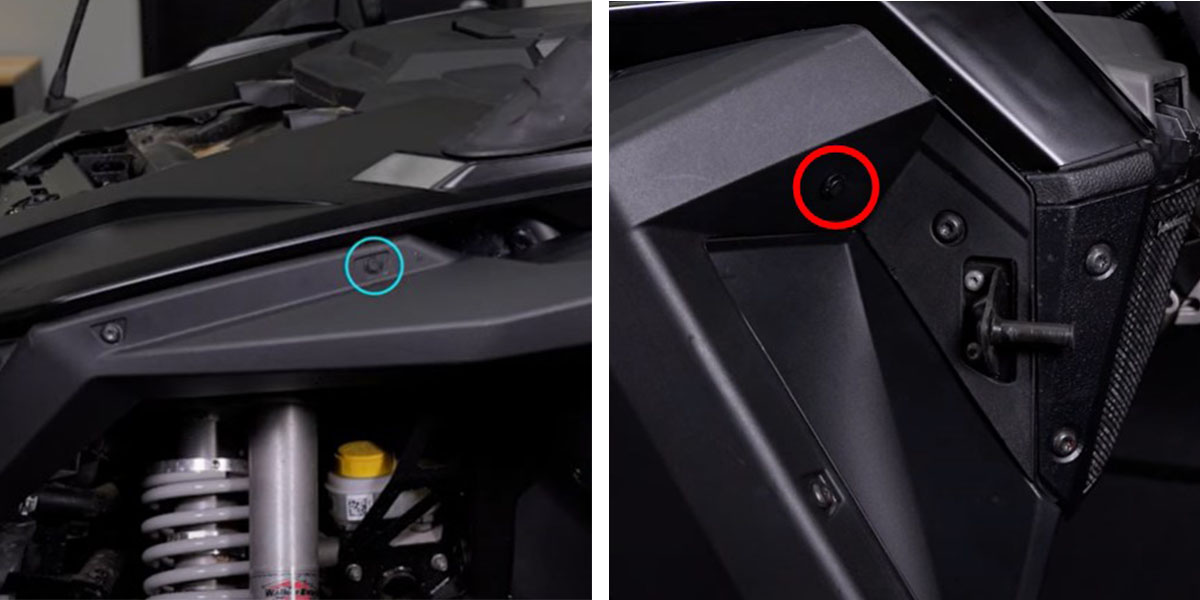
Step 1 — Remove Exterior Panels
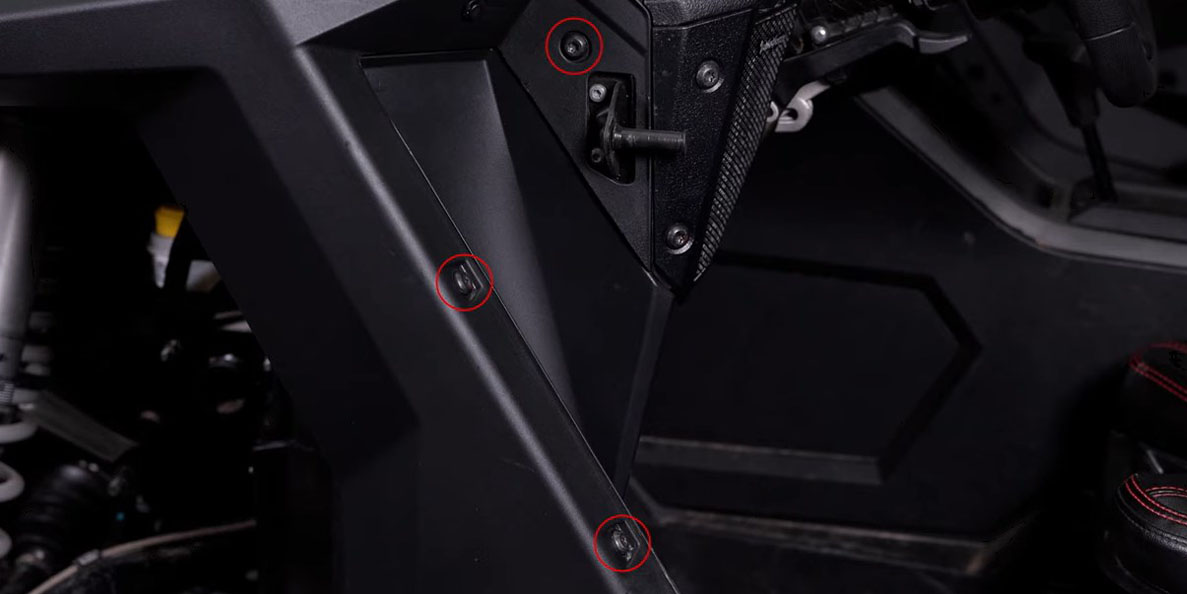
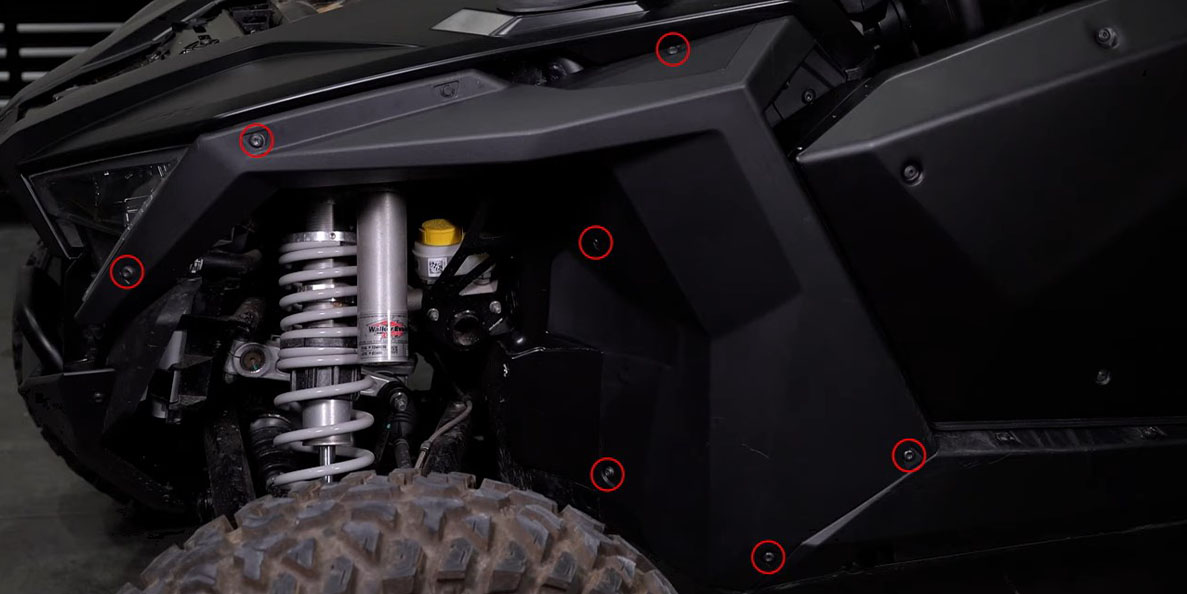
Using a T40 Torx driver, remove the two bolts on the upper hood panel and lift it away. Remove the T40 bolt on the lower hood panel and slide it down toward the bumper to remove. On the driver's side, use a plastic trim removal tool to remove the outer and inner fender clips. Remove the seven outer T40 bolts and three inner T40 bolts from the driver-side fender. Loosen (do not remove) the two driver-side speaker panel bolts. Pull the fender away from the vehicle, working it around the door latch. Remove the four T40 bolts and remaining clip on the driver-side hood panel and pull it away. Squeeze the two plastic tabs at the top of the grille and remove it.
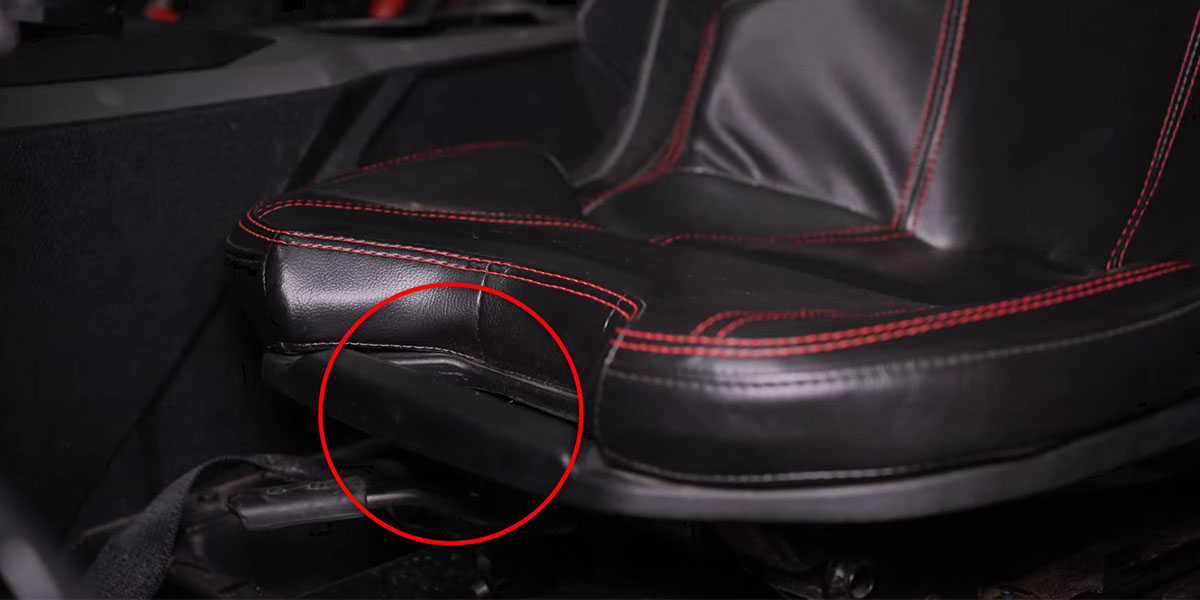

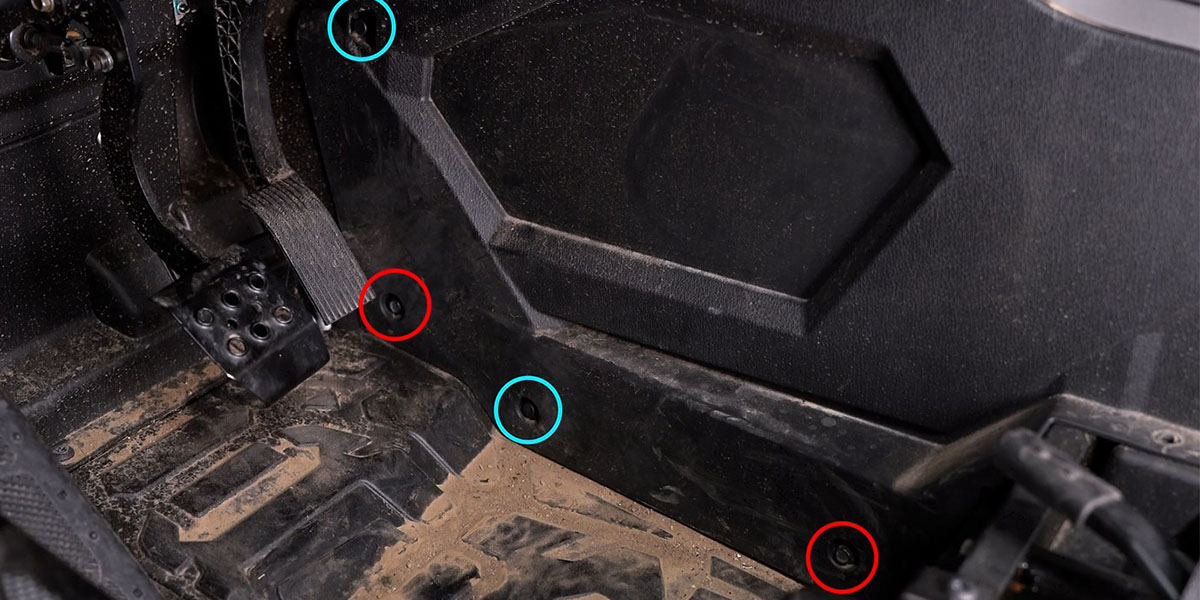
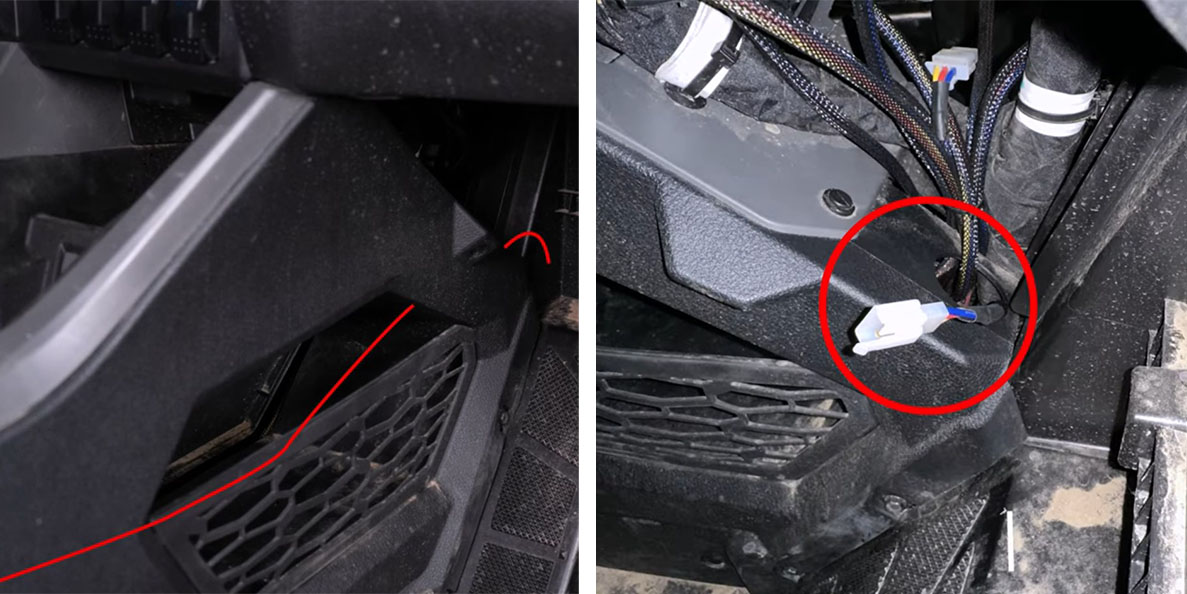
Step 2 — Remove Driver Seat and Center Console
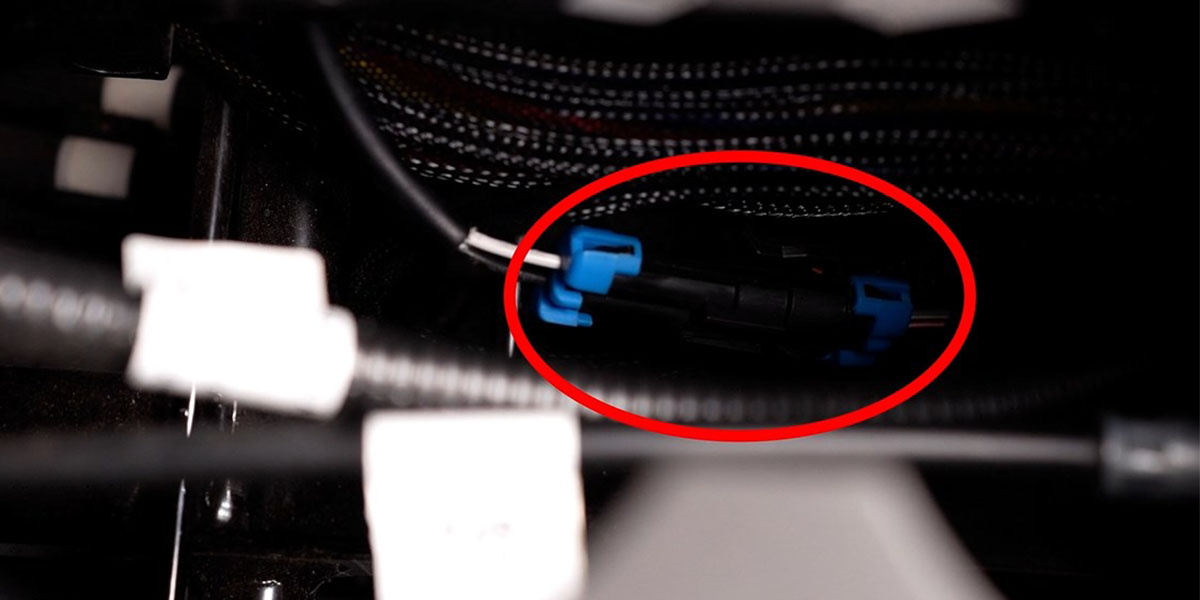
Undo both driver seat adjustment buckles using the red pull tabs. Use a plastic trim removal tool to pry up the cup holder and disconnect the connector with blue tabs underneath. Feed the safety harness through the back of the seat, then pull the release handle to tilt the seat forward and remove it. Remove the four 10mm bolts along the bottom of the center console. Remove the two 10mm bolts and two clips from the driver-side kick panel. Lift the rubber shift cover and remove the T40 bolt underneath to remove the shifter trim.


Wiring and Switch Instructions
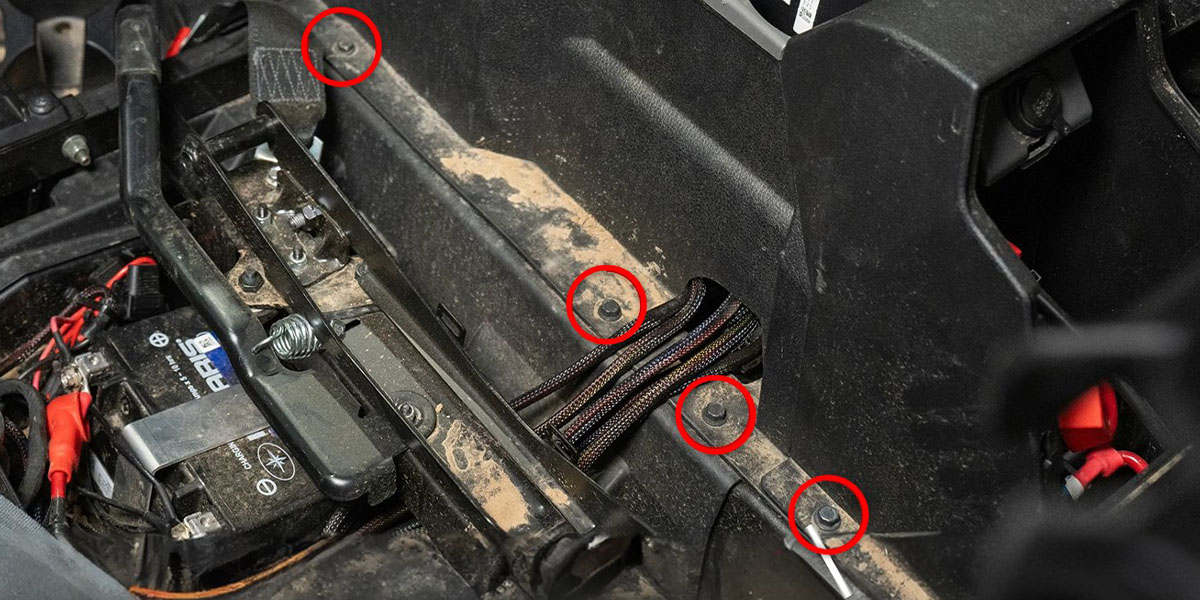
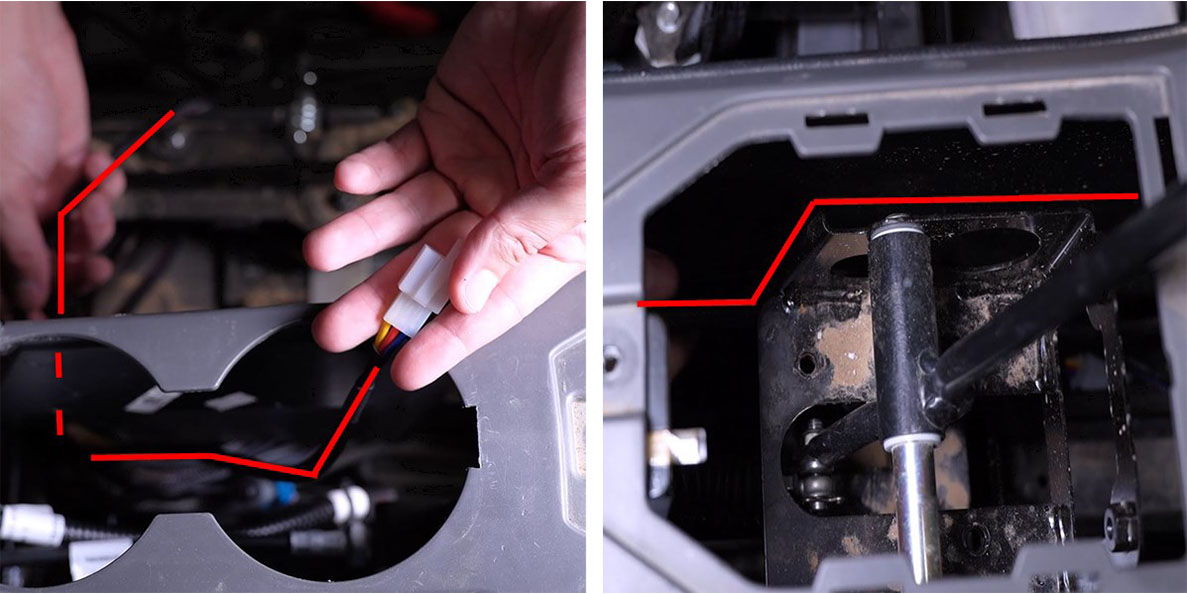
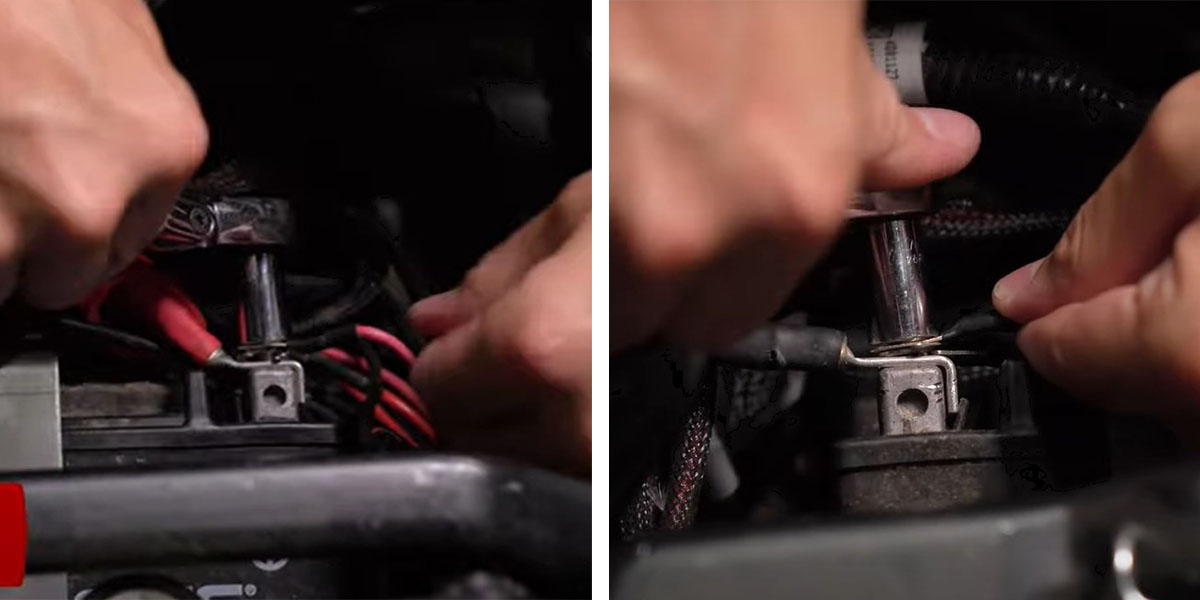
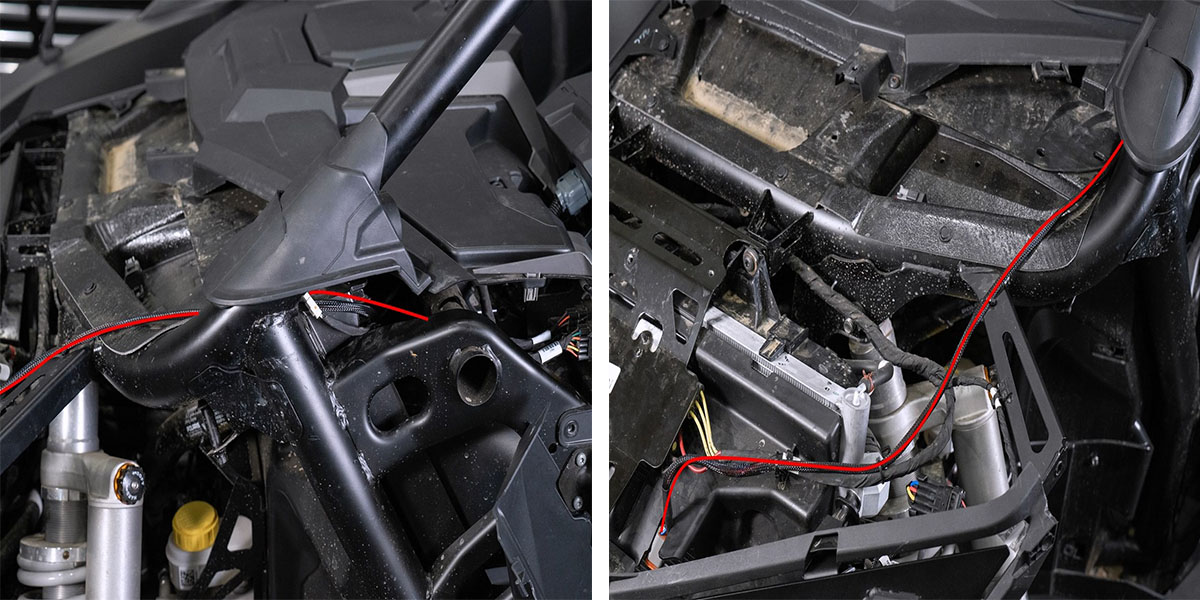
Step 3 — Connect Battery and Route Switch Lead
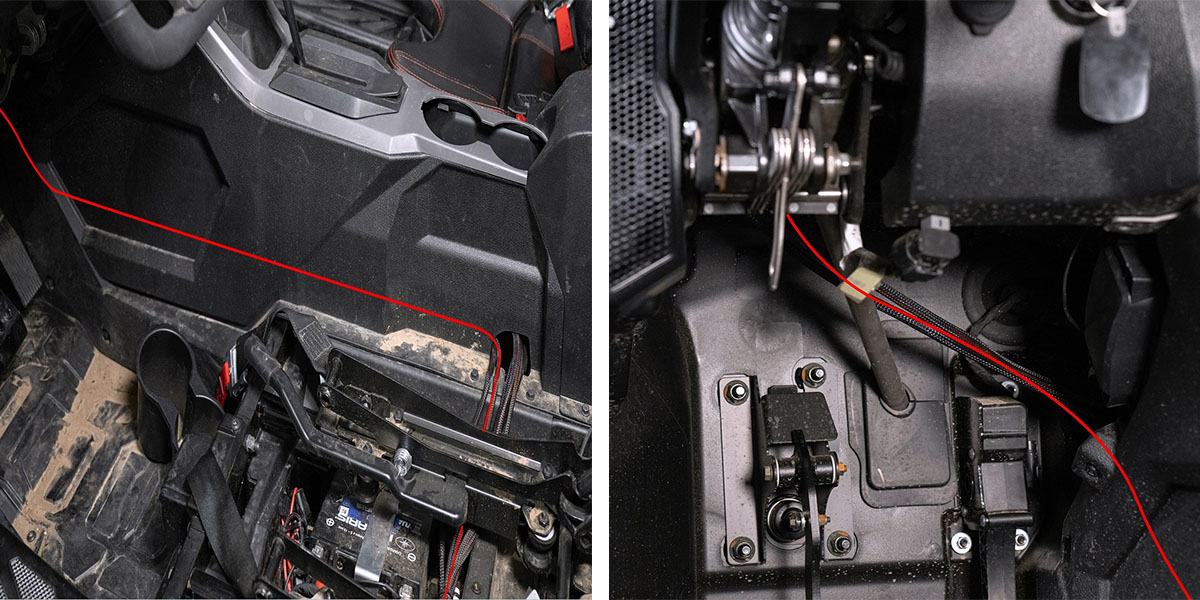
Using a 10mm socket, connect the red wire from the wiring harness to the positive battery terminal and the black wire to the negative terminal. Tuck the relay next to the battery. With the switch disconnected, route the white connector lead from the battery under the center console into the cup holder area, then down and around the shifter toward the firewall — route around the shifting bracket, not through it. Continue routing toward the firewall and out the hole at the back of the passenger-side kick panel.
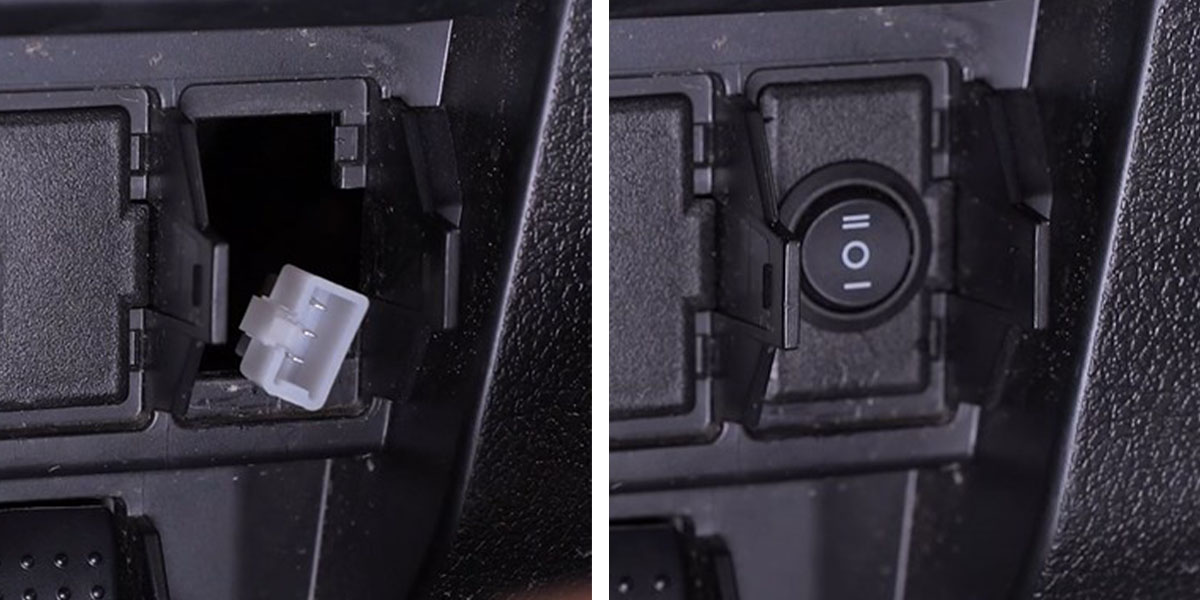
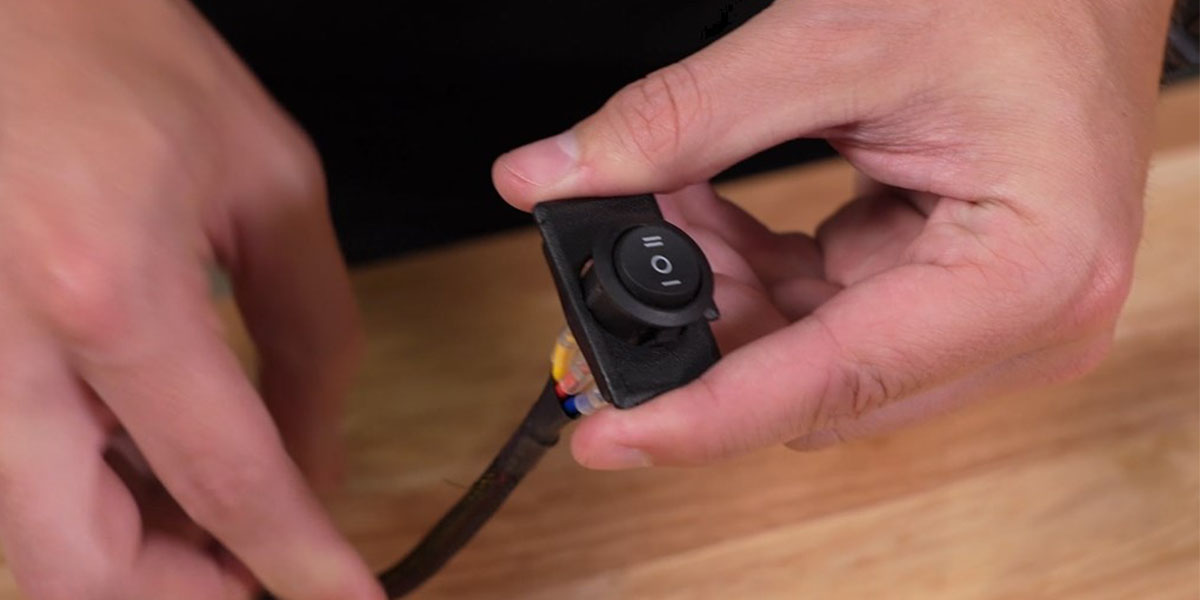
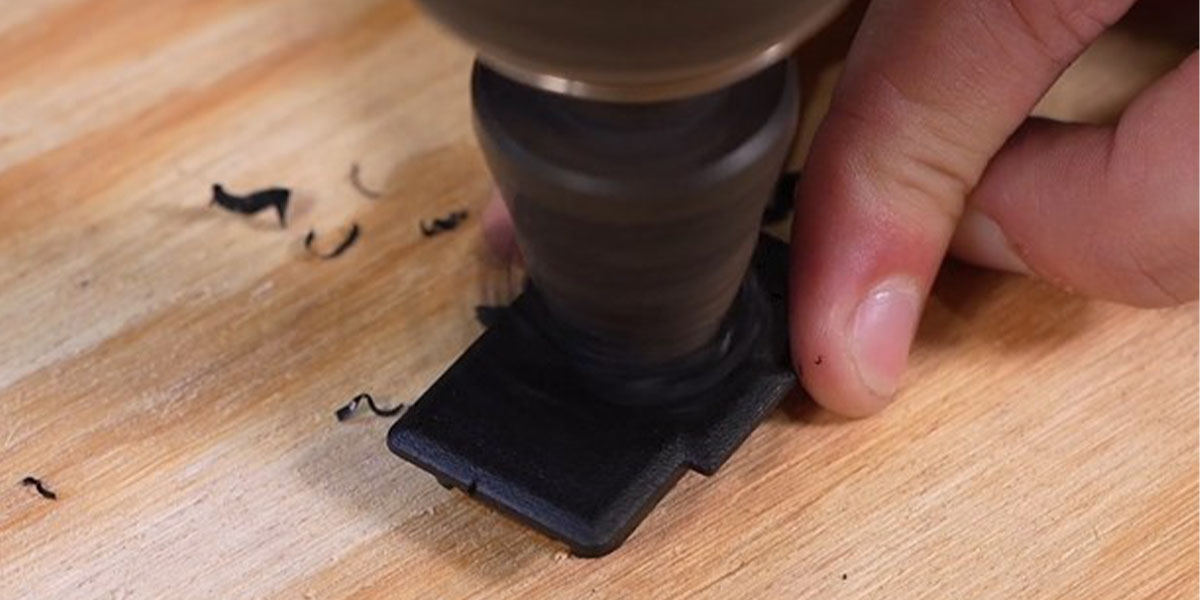
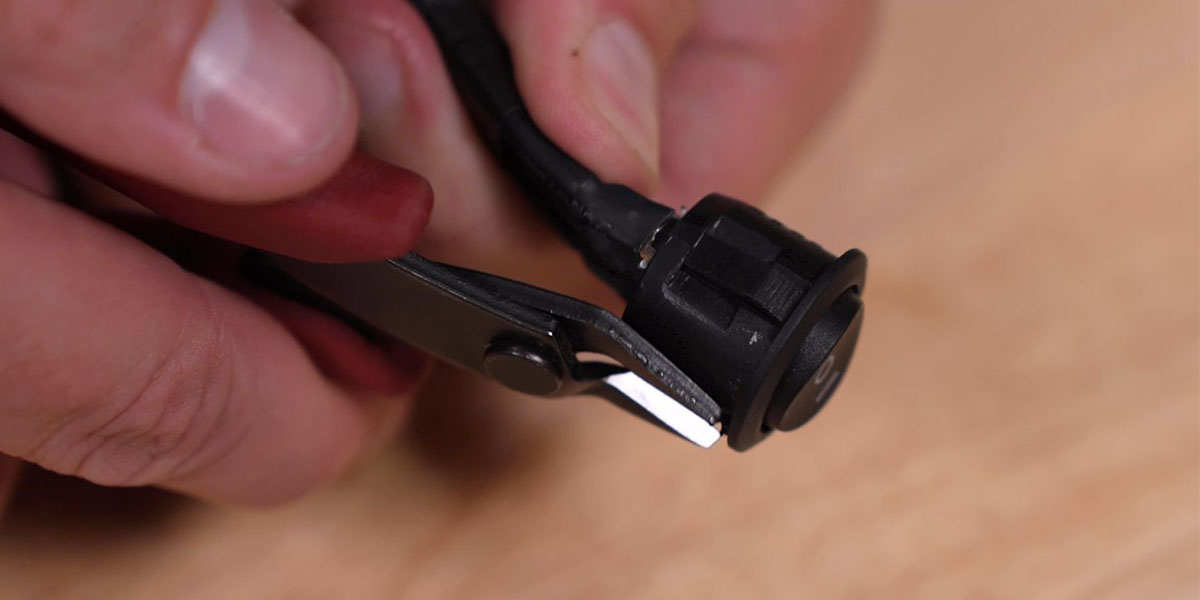
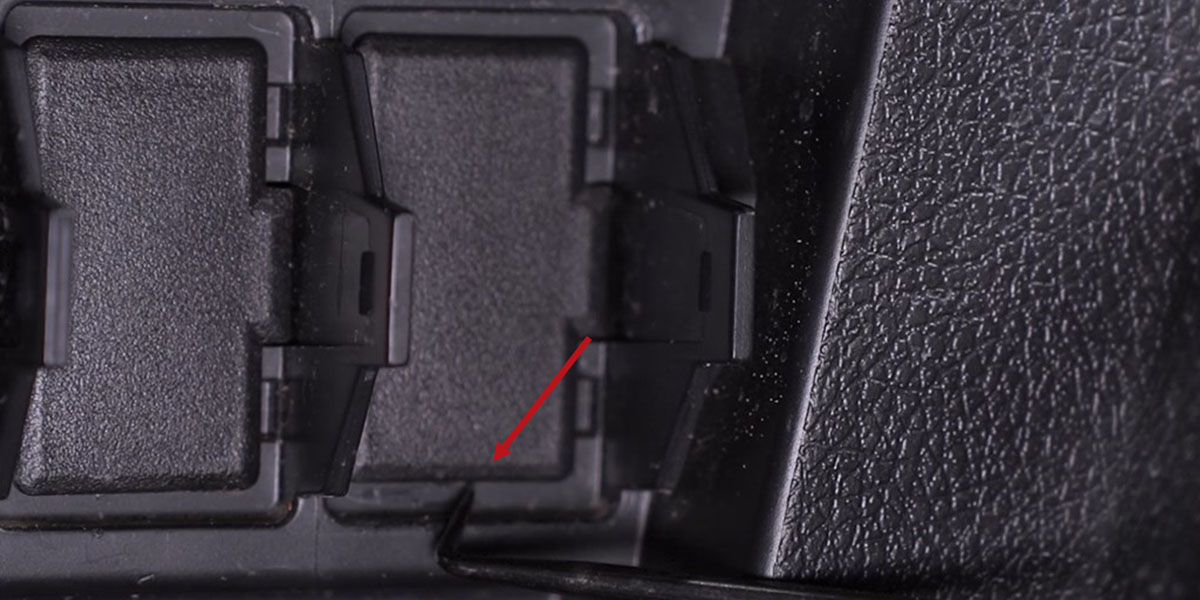
Step 4 — Mount and Connect Switch
Use a pick tool to pop out a factory switch blank cover. If using the included round toggle switch, trim the key slot with flush-cut pliers. Use the step bit to drill a hole in the switch blank to approximately 20.5mm or until the toggle switch fits snugly. Feed the white lead through the drilled hole on the front, press the switch into place with the double lines on top. Route the switch lead from the battery through the back of the switch panel and connect. Route the DT lead from the battery following the same path under the center console, exiting the driver-side kick panel. Cross behind the steering column, up toward the A-pillar, and down behind the front grille. Secure wiring with zip ties away from moving parts.
Pod Mounting and Aiming
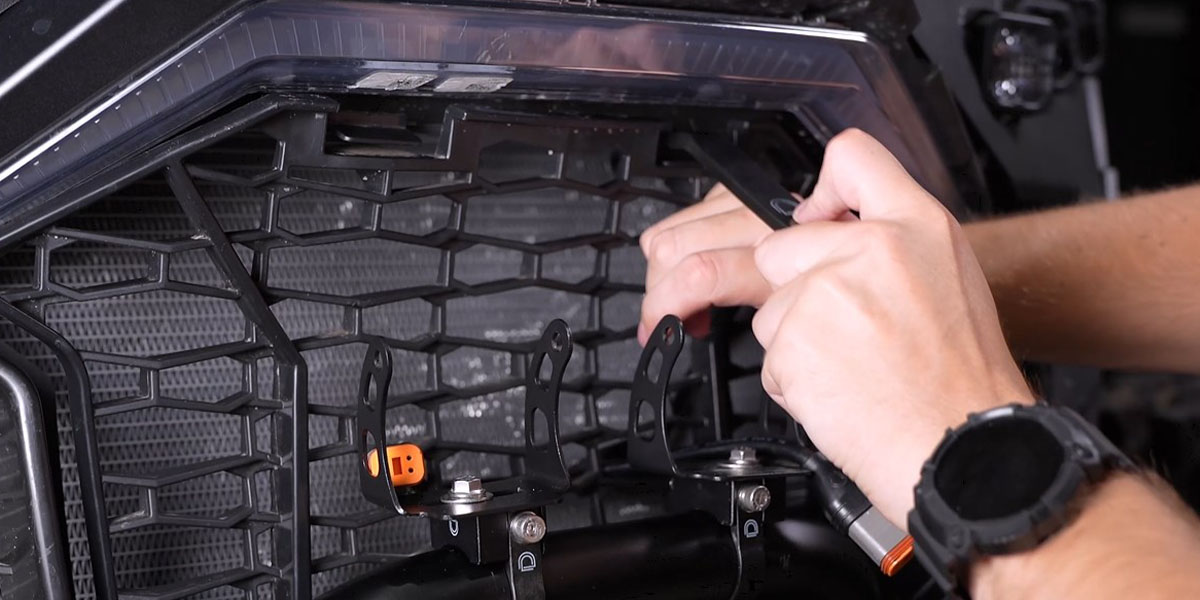
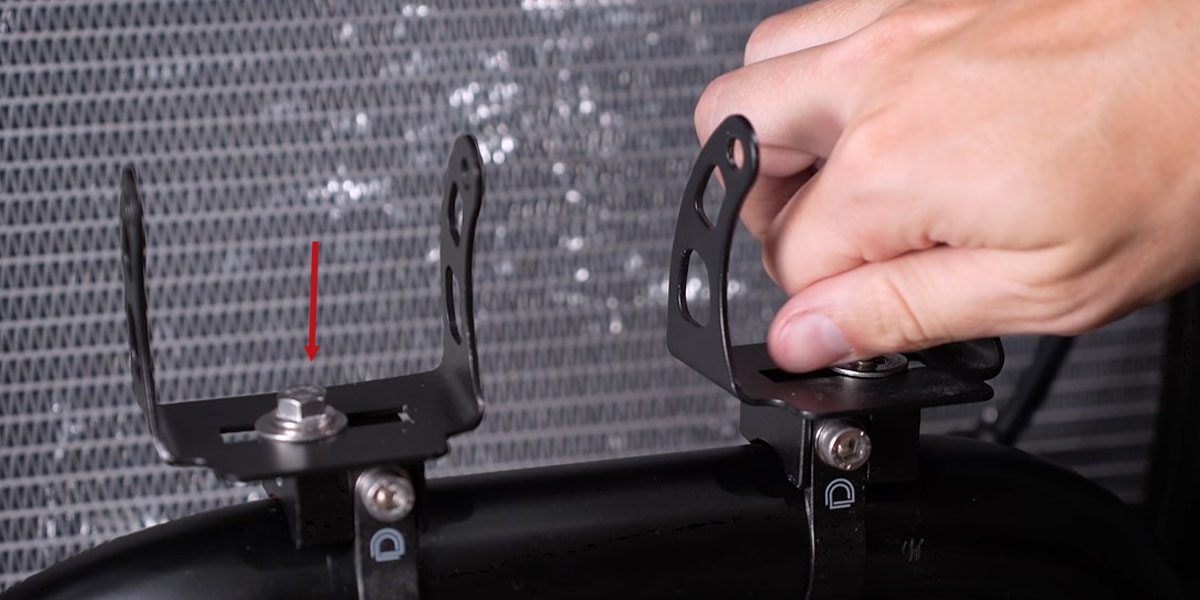
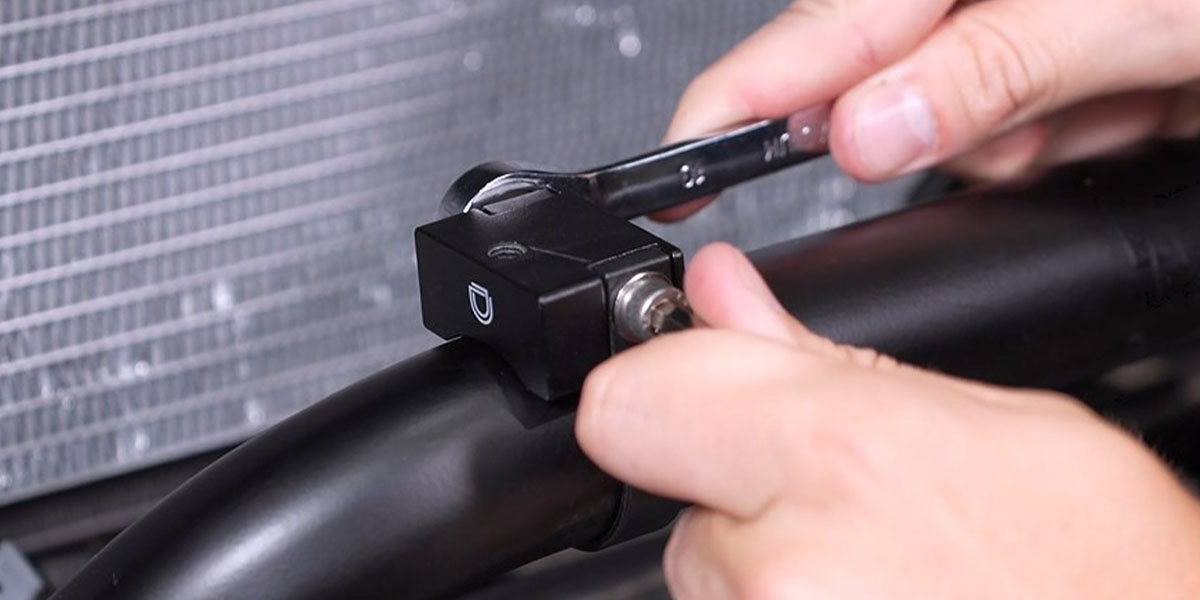
Step 5 — Mount SS3 LED Pods
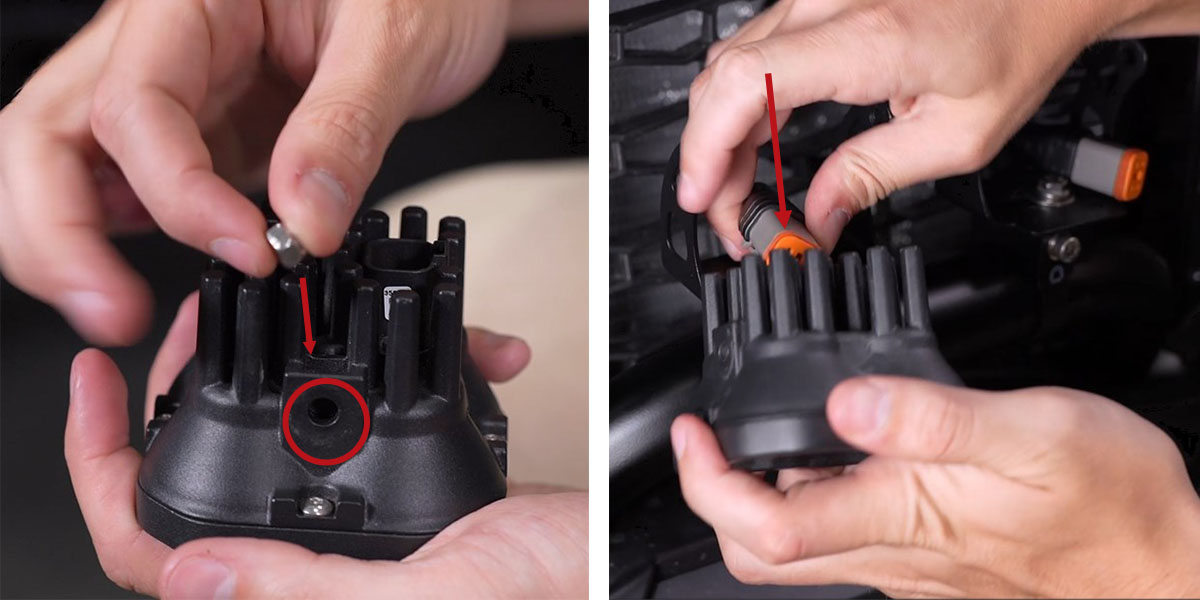
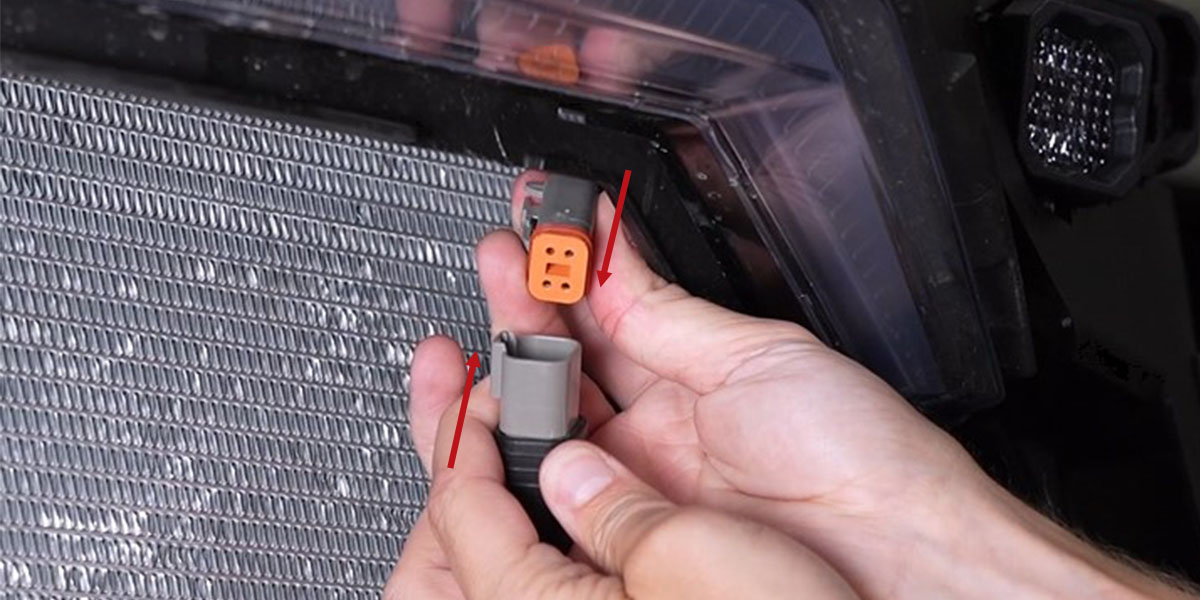
Connect the DT lead to the included DT splitter harness. Slide the roll bar mount rings over the bumper bar and fasten the platforms with the supplied bolt, washers, and nut using a 10mm wrench and 3/16" Allen key. Secure the SS3 universal brackets to the roll bar mounts using supplied 10mm bolts and washers — hand-tighten only to allow for adjustment. Feed the DT leads from the splitter harness through the front of the grille, then reinstall the grille. Insert the included nuts into the SS3 LED pods (nylon rings facing inside), plug in the DT leads, and secure the pods to the brackets with 5/32" Allen bolts and washers. Test function and aim as desired, then tighten all hardware.

Reassembly
Reassemble the RZR by reversing the disassembly steps. Make sure to zip-tie any loose wiring to keep it away from hot or moving parts.

Questions About the Install?
If you run into any issues during the installation, contact Ess K Customs — as an authorized Diode Dynamics dealer, we're here to help.
Shop RZR Lighting at Ess K Customs
Looking for lighting upgrades for your 2020+ Polaris RZR Pro? As an authorized Diode Dynamics dealer, Ess K Customs carries genuine products with full manufacturer warranty.
Browse RZR Pro SS3 Bumper LED Pod Kits at Ess K Customs →
This install guide applies to Diode Dynamics SKUs: DD7655-DD7666, DD6817